How To Prepare A Fence For Painting

Why Paint A Wooden Fence?

Are you bored of your standard white picket fence? Is your wooden fence starting to look unruly with breaking boards and chipping paint?

A fence provides privacy, varying measures of security, and, if you put in the effort, can significantly improve the curb appeal of your property. To get this desired curb appeal, it’s important to make sure your fence is painted to protect the wood. To figure out if you need to paint your fence, look for water on the surface. If the wood is absorbing moisture instead of locking it out, it’s time to get out those paint supplies. Painting your fence will take time, preparation, and a bit of money, but if you do a good job, you can remarkably improve the exterior appeal of your home.

Steps To Painting A Fence

Before you start the paint job, there are some things to take into account. First, pick a quality paint or stain that will effectively block moisture. Secondly, be ready to get dirty, as you’ll probably get paint or stain on your clothes (so wear old clothes that you don’t mind getting stained!). You’ll also want to ensure that any materials that you may need throughout the project are handy.

A man and young boy painting a wooden fence after preparing it for paint.
Since you’re painting your wood fence to shield it from moisture, it’s a good idea to check the weather before you start painting. It’s best to choose a day that’s not too humid. Be sure it’s not going to rain to avoid any moisture buildup as you go.

Step 1: Prepare The Area

The first step of the process is to prep the area around the fence. Start by clearing any vegetation that could get in your way and leave streaks. Use pruning shears to trim long plants or garden netting to hold them back. Then, lay a drop cloth or a sheet of plywood or plastic on the ground at the bottom of the fence to cover the grass. Finally, repair any areas of damage on the surface of the fence. Replace rotten planks as needed and use wood glue for minor damage. You may need some nails, screws, and power tools for this part.

Step 2: Clean The Wood Fence

Next, wash off any old paint, debris, or mold stuck to the fence. Scrape off the loose paint with a scraper, then spray the fence with a pressure washer to get the worst of the dirt and loose paint off. Pressure washers have different tips you can use to target problematic areas. You’ll also likely need to use bleach water and a sponge to kill any mold.

Once the wood dries, you’ll be ready to sand everything down. Using a sanding block or handheld sander, sand the surfaces of the fence, gate, and fence posts so they’re smooth for priming. Be sure to wear a dust mask and safety glasses while you do this!

Step 3: Apply Primer

The last step of the process involves taping sections of the fence you don’t want to paint. Stick painter’s tape over any handles or hinges, and then you’re ready to brush on a coat of primer. It’s best to paint on the primer in sections, giving it time to dry. A roller is an ideal tool for painting fences, although you may need to use a brush to paint surfaces that are hard to reach. For example, the tip of your paintbrush can get the surfaces between boards better, and a roller is more convenient to apply primer to the larger surfaces and get rid of drips. Once you’ve applied the primer over the whole fence, you’re ready to paint your fence and complete your project!
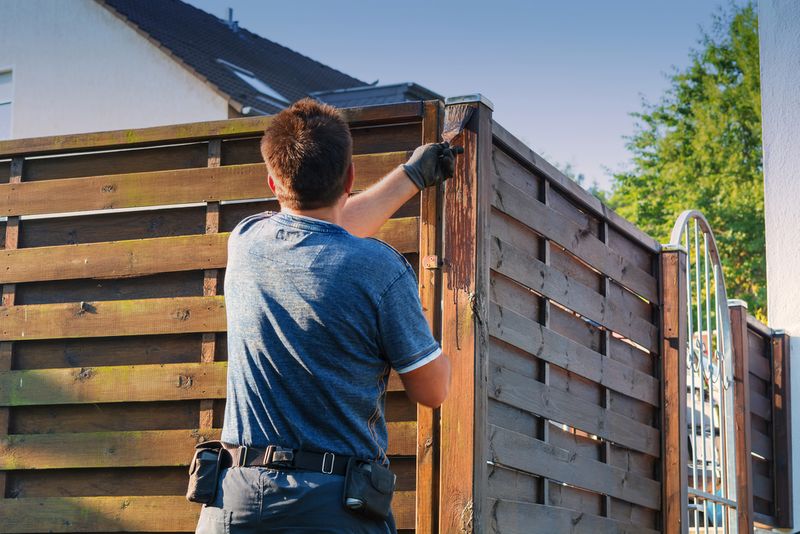
A person preparing a fence for painting with gloves and a brush.

Have Fun With It!

That’s it! Prepping your wooden fence for painting is simple. You’ll just want to ensure you choose the right day for the job and have all the tools necessary to make the process even easier. Last but not least, don’t rush it. Just have fun with it! Painting can be a very relaxing and fun project you can enjoy on your own, or with family.

Curb Wise
Logo