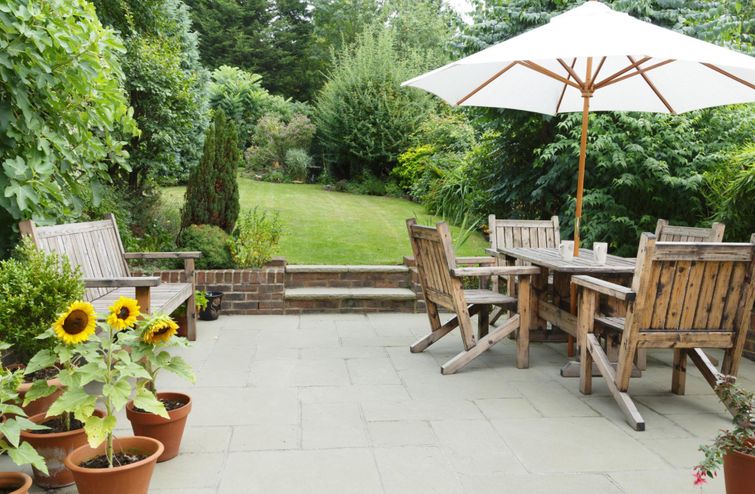
Extend your living space outside of the house and into your backyard with a DIY patio area. A patio is a beautiful outdoor space that one can retreat to on a warm sunny day. Not only does it create a wonderful location for lounging, but it is a great spot for hosting guests and spending time with family.
Much to many people’s surprise, building a concrete patio is much easier than expected.
A patio made out of flagstone, bricks or concrete pavers is much like putting together a jigsaw puzzle – it simply requires some time and strategy. In this article, we will detail what materials you need and the steps you should follow to transform your outdoor landscape with a patio.
Tools You'll Need
- Shovel
- Stiff broom
- Tape measure
- Nails
- Rubber mallet
- Hand tamper or plate compactor
- Level
Materials You'll Need
- Gravel paver base
- Wood
- Polymeric sand
- Pavers
- String
- Landscape fabric
Choose Your Patio Pavers

Concrete
Natural Stone
Brick
Steps To Build A DIY Patio
1. Preparing The Ground Surface
The first step in building a patio is preparing the site of your future patio. Choose a site that does not have a large slope, then mark out the perimeter of the area. The average size of a patio is approximately 25 square feet but can be adjusted according to your liking. Simply make sure the area is completely square before moving on.
Mark the edge of the site using string or wood edging to guide your next steps. These markers will work as a sign of where you should dig and where you shouldn’t.
Following the line, excavate 8 inches of dirt plus the height of your patio pavers. This will ensure that you have an appropriate amount of space for all of the materials needed to create your patio.
2. Add Landscape Fabric
3. Creating The Base With Gravel
After the fabric has been laid, fill the allotted area with a 6-inch layer of gravel paver base. This will level out the ground and act as a secure base for the pavers.
A great tip for ensuring that you lay the correct amount of paver base is to use PVC pipes. Cut two 1-inch PVC pipes to the approximate size of the patio, then lay them in the base. As you spread the paver base, you can reference their height to determine the approximate depth of sand needed. Pour the material up to the line level, then remove the pipes and fill the rest.

Next, tamp the sand using a hand tamper, plate compactor, or a spare piece of lumber to ensure that it’s compact and level. It’s important to have a compacted and level base because it will keep the stone pavers level and in place.
While doing so, use a level to ensure that the gravel sand is not on a slope. Keep your patio level to reduce the risks of catching your foot and tripping.
4. Install Pavers
Laying pavers is the most exciting step of the process because you can see your patio start to come together. Begin at one side of your patio and lay the stones on top of the sand, working in one direction to cover the patio area completely. Use a rubber mallet to hammer the stones firmly in place.
As you install the pavers, keep in mind that you will need to leave a gap between the stones for polymeric sand. You should leave approximately 3/8 of an inch between the stones.
If you have chosen to lay pavers in a pattern, you should also take the time to map it out before beginning. This could save you a great deal of time and help prevent any errors.
5. Seal With Polymeric Sand Material
Adding sand to a patio helps provide drainage while preventing any weeds from growing between pavers.
Using a stiff broom, sweep polymeric joint sand over the patio surface until the gaps between the stones are filled. Then sweep any excess sand off of the patio after completion. To set the sand, add less than an inch of water to the surface of your patio using a garden hose. The water will encourage the sand to sink and set in between the pavers.


