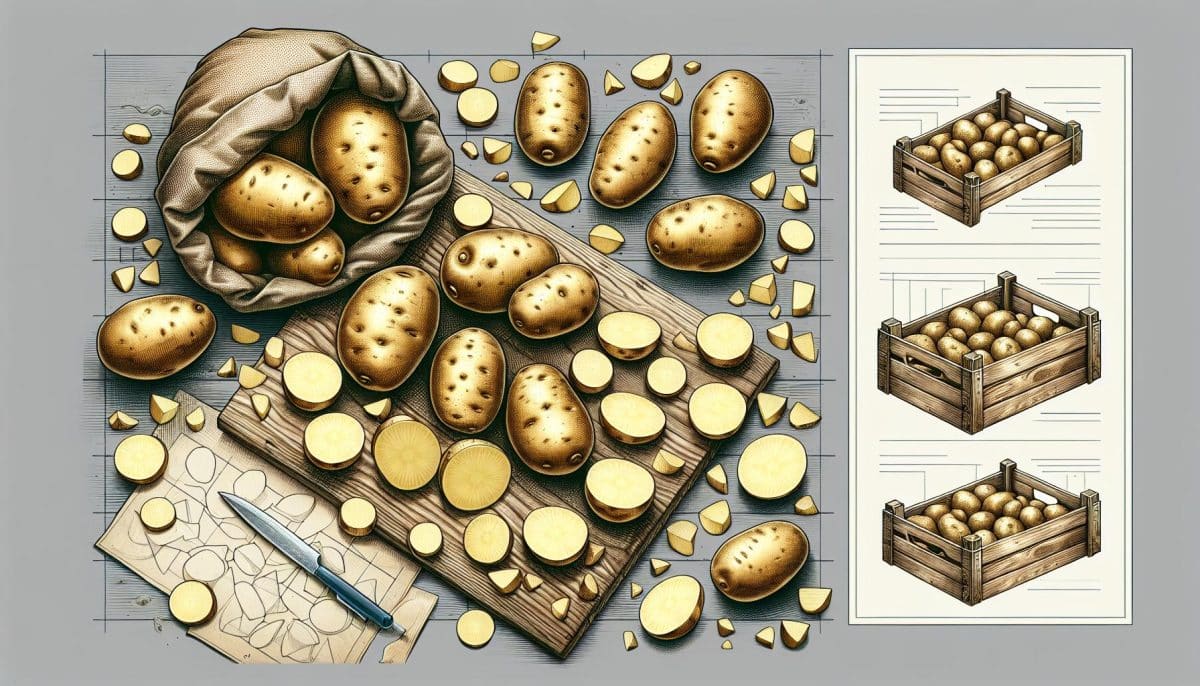
Ready to grow your own spuds? Cutting potatoes for planting is simpler than you might think. With the right technique, you’ll turn a few potatoes into a bountiful harvest. Whether you’re a seasoned gardener or trying your hand at growing food for the first time, prepping your seed potatoes is the crucial first step.
Why cut potatoes for planting?
When you’re looking to grow potatoes, cutting them beforehand is a staple step in the process. But what exactly does this method serve, and why is it so widely recommended among seasoned gardeners?
Maximising Yield: By cutting seed potatoes, you effectively increase the potential output of your crop. Each piece you plant has an eye, or bud, that will sprout into a new plant—so, more pieces mean more plants.
Cost-Effective: Purchasing seed potatoes can be costly, particularly if you’re planning a large garden. If you cut the potatoes into smaller pieces, each containing at least one or two eyes, you’ll need fewer whole seed potatoes to cover the same planting area.
Disease Control: Cutting seed potatoes allows you a closer look at their quality. It’s easier to spot and remove diseased or rotting sections before they’re planted, reducing the risk of spreading pathogens in your garden.
Custom Sizing: Not all gardens and plots are the same. By cutting seed potatoes, you’re able to manage the size and number of the potato parts to fit the space you have available. This ensures each sprout has ample room to grow without competition.
Remember, each cut piece needs time to form a callus over the cut surface before being planted—this step is vital for protecting against soil-borne diseases. It’s not just about cutting, but also about prepping the potato for a successful journey from slice to sprout.
So when you next decide to grow those tubers, keep in mind that with a sharp knife and a little patience, you’re not just cutting potatoes—you’re laying the groundwork for a bountiful harvest.
Choosing the right potatoes
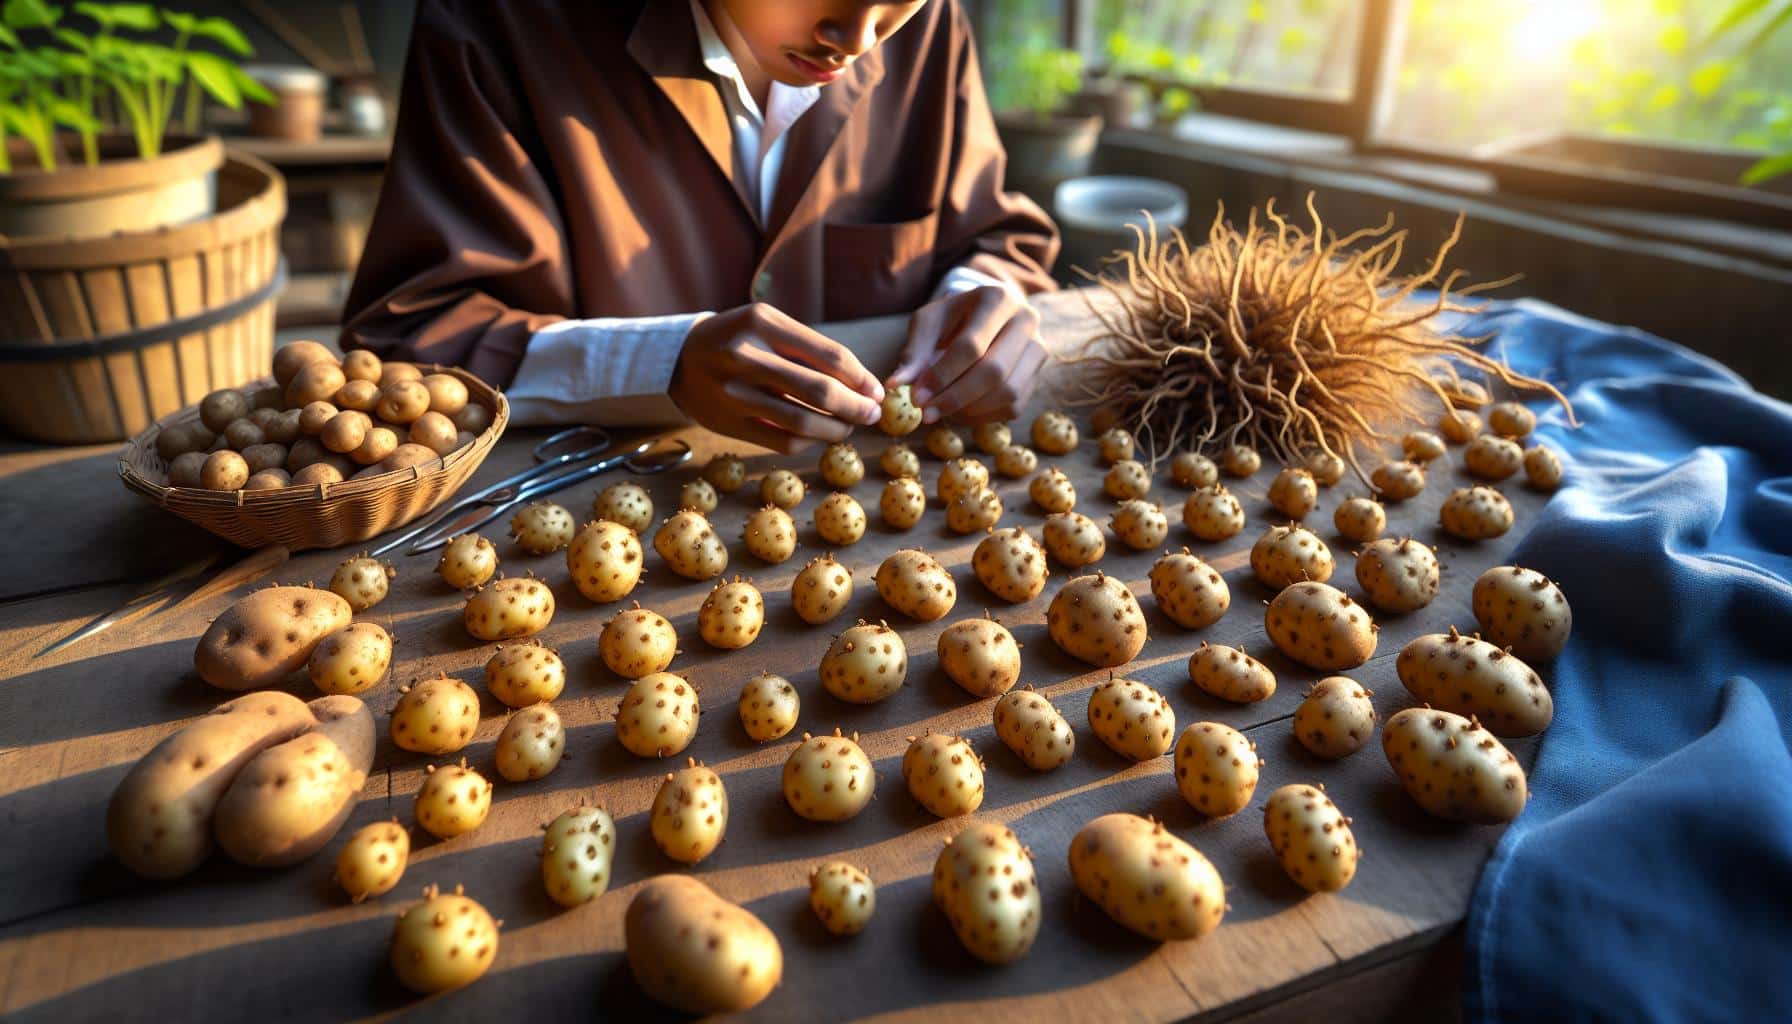
When gearing up for planting, selecting the right seed potatoes is a crucial step you can’t afford to overlook. Your potato crop’s success starts long before you make the very first cut; it begins with choosing healthy, high-quality seed potatoes. Here’s what you need to consider:
- Certified seed potatoes: Always opt for these as they’re disease-free and have been tested for optimal growing standards.
- Variety: Think about your palate and cooking needs; different varieties suit different culinary uses—from roasting to mashing.
- Eye Density: Look for potatoes with multiple eyes. Each eye can potentially develop into a new plant.
Avoid supermarket potatoes for planting. Although it might be tempting due to ease of access and lower prices, these potatoes may have been treated to prevent sprouting and could carry diseases that are detrimental to your new crop.
Research the origin of the potatoes. Locally sourced ones are more likely to be adapted to your regional growing conditions, increasing your chances of a bountiful harvest. Besides, be keen on:
- Size and Shape: Opt for medium-sized potatoes; they’re easier to cut and handle.
- Condition: Only choose firm potatoes without signs of rotting or damage. Soft spots and green tinges are red flags.
Remember to inspect your chosen seed potatoes carefully. Solid, smooth-skinned potatoes are your best bet to get the crop off to a strong start. After selecting the right potatoes, the next phase involves preparing these seed potatoes for planting, which involves cutting and curing them properly to maximise yield and ensure plant health.
Preparing the potatoes for cutting

Before you start cutting your seed potatoes, it’s crucial to prepare them correctly to ensure the best possible start for your crop. Proper preparation sets the stage for healthy growth and a bountiful harvest down the line.
Inspect Your Seed Potatoes: Start by closely examining each potato. Look for firmness and avoid any with soft spots or rot. Your seed potatoes should have a healthy skin without cuts or blemishes. If you find any damaged ones, set them aside; they’re not suitable for planting.
- Ensure cleanliness: Wash your seed potatoes gently to remove soil and potential pathogens that can cause diseases.
- Cure if necessary: Some gardeners recommend letting your seed potatoes sit in a cool, dry place for a few days to form a protective callus over the cuts, which reduces the risk of rot.
Identify the Eyes: When preparing potatoes for cutting, your goal is to create seed pieces with one or two eyes each. Eyes are the dimples from which new growth sprouts. A larger seed potato can be cut into several pieces, provided that each piece has at least one good eye.
- Cut with care: Use a sharp, clean knife to make smooth cuts. This helps prevent infection and promotes faster healing of the cut surface.
- Ideal size: Aim for seed pieces that are roughly the size of a chicken egg, which typically helps ensure enough energy for sprouting.
While the temptation might be to start cutting immediately, allocating time to prepare your seed potatoes can lead to a more successful planting. By taking these steps, you improve your odds of growing a robust potato crop that’s primed for the conditions in your garden.
Cutting techniques for potato planting
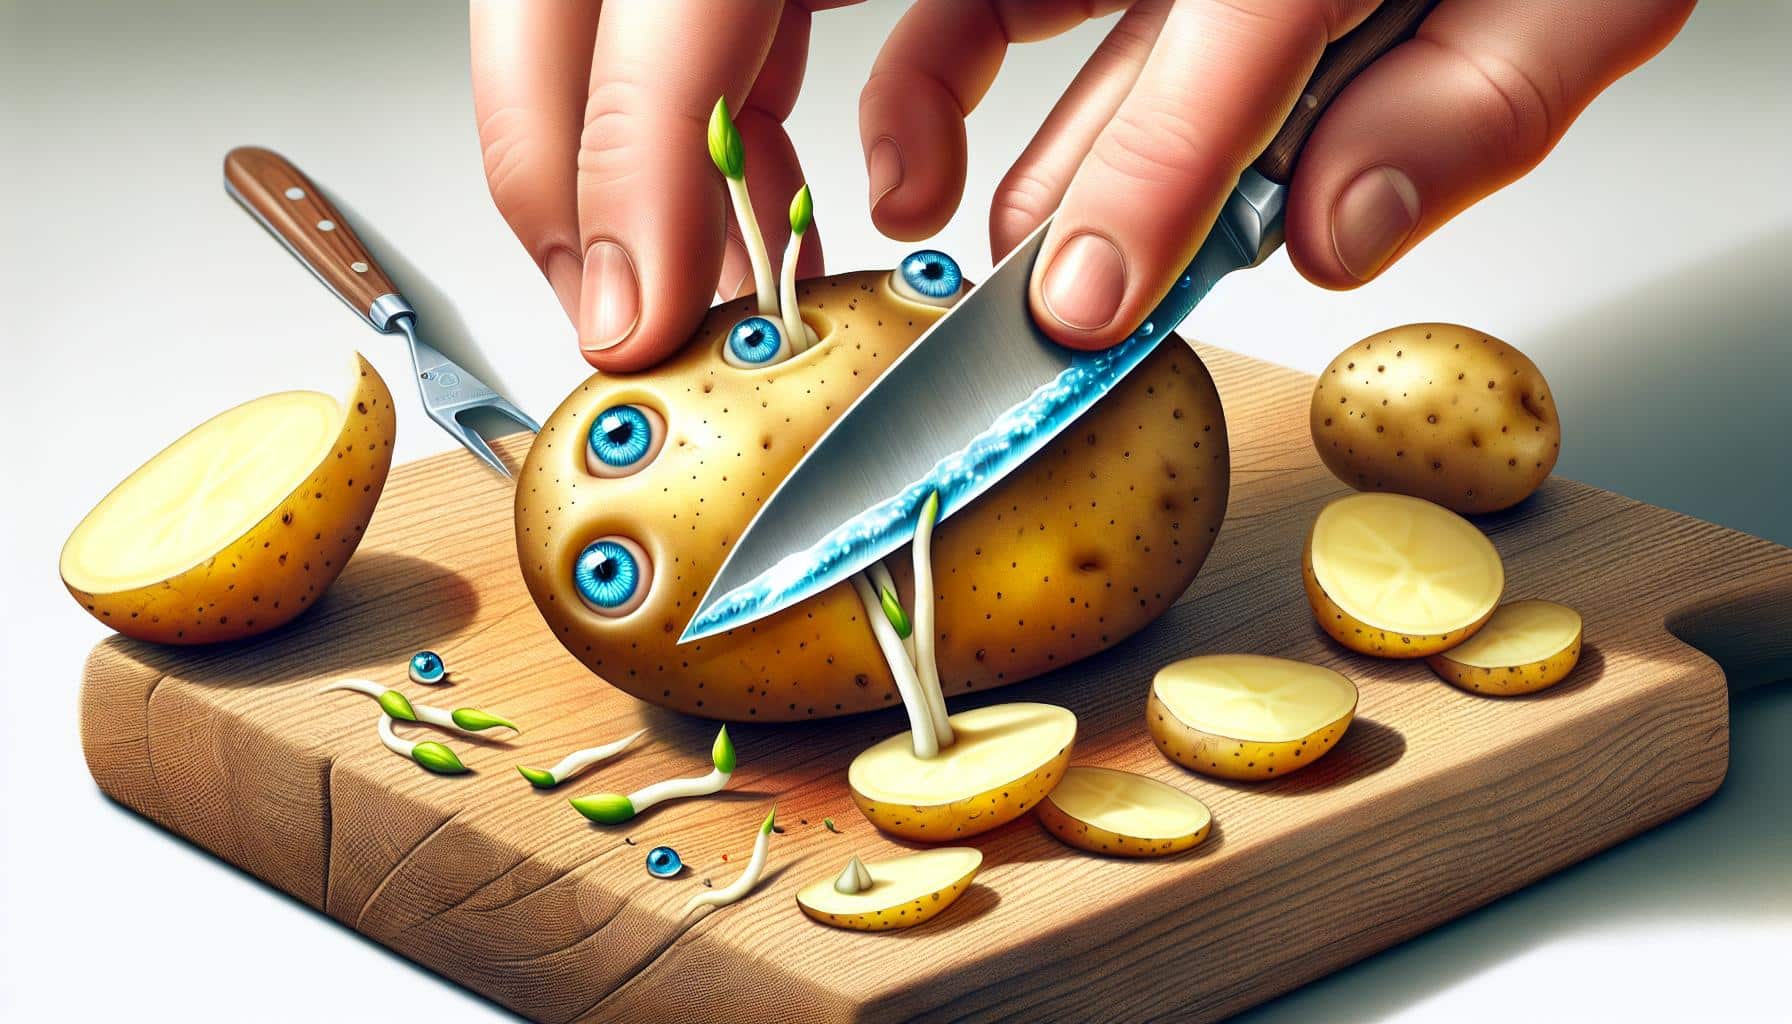
After preparing your seed potatoes, cutting them properly is crucial for healthy plant growth and optimal yields. Remember, each piece needs at least one or two eyes or buds. Here’s how to cut your seed potatoes effectively.
Use the Right Tools
First, ensure you’re equipped with a sharp, clean knife or a potato cutter. A dull knife can damage the tissue around the potato’s eyes, impairing sprout development.
Cutting Methods
There are a couple of methods you can employ:
- Chitting – Start by placing your whole seed potatoes in a light-filled room at moderate temperature. – Once the eyes sprout, cut the potatoes into sections, each with a sprout.
- Direct Cutting – If you’re not chitting, lay each potato on a cutting board, identifying the most robust eyes. – Slice the seed potatoes into pieces, ensuring each has at least one eye. ### Preventing Disease
Dip the freshly cut surfaces in a solution of water and fungicide to prevent fungal diseases. This step is vital if you’re planting in wetter conditions where rot is a concern.
Piece Size Matters
Cutting the potatoes too small can lead to a lack of energy reserves, while too large pieces may result in overcrowding. Aim for pieces about 50 grams in weight. Here’s a quick reference table:
| Potato Size | Weight Range | Suggested Cut Size |
|---|---|---|
| Small | 50 grams | No cut – plant whole |
| Medium | 100-200 grams | Cut in half |
| Large | 200+ grams | Cut into 3-4 pieces |
After cutting, allow the pieces to “heal” for a couple of days in a cool and dry place. This healing process forms a protective layer over the cut surfaces, reducing the risk of soil-borne diseases.
Curing and storing cut potatoes
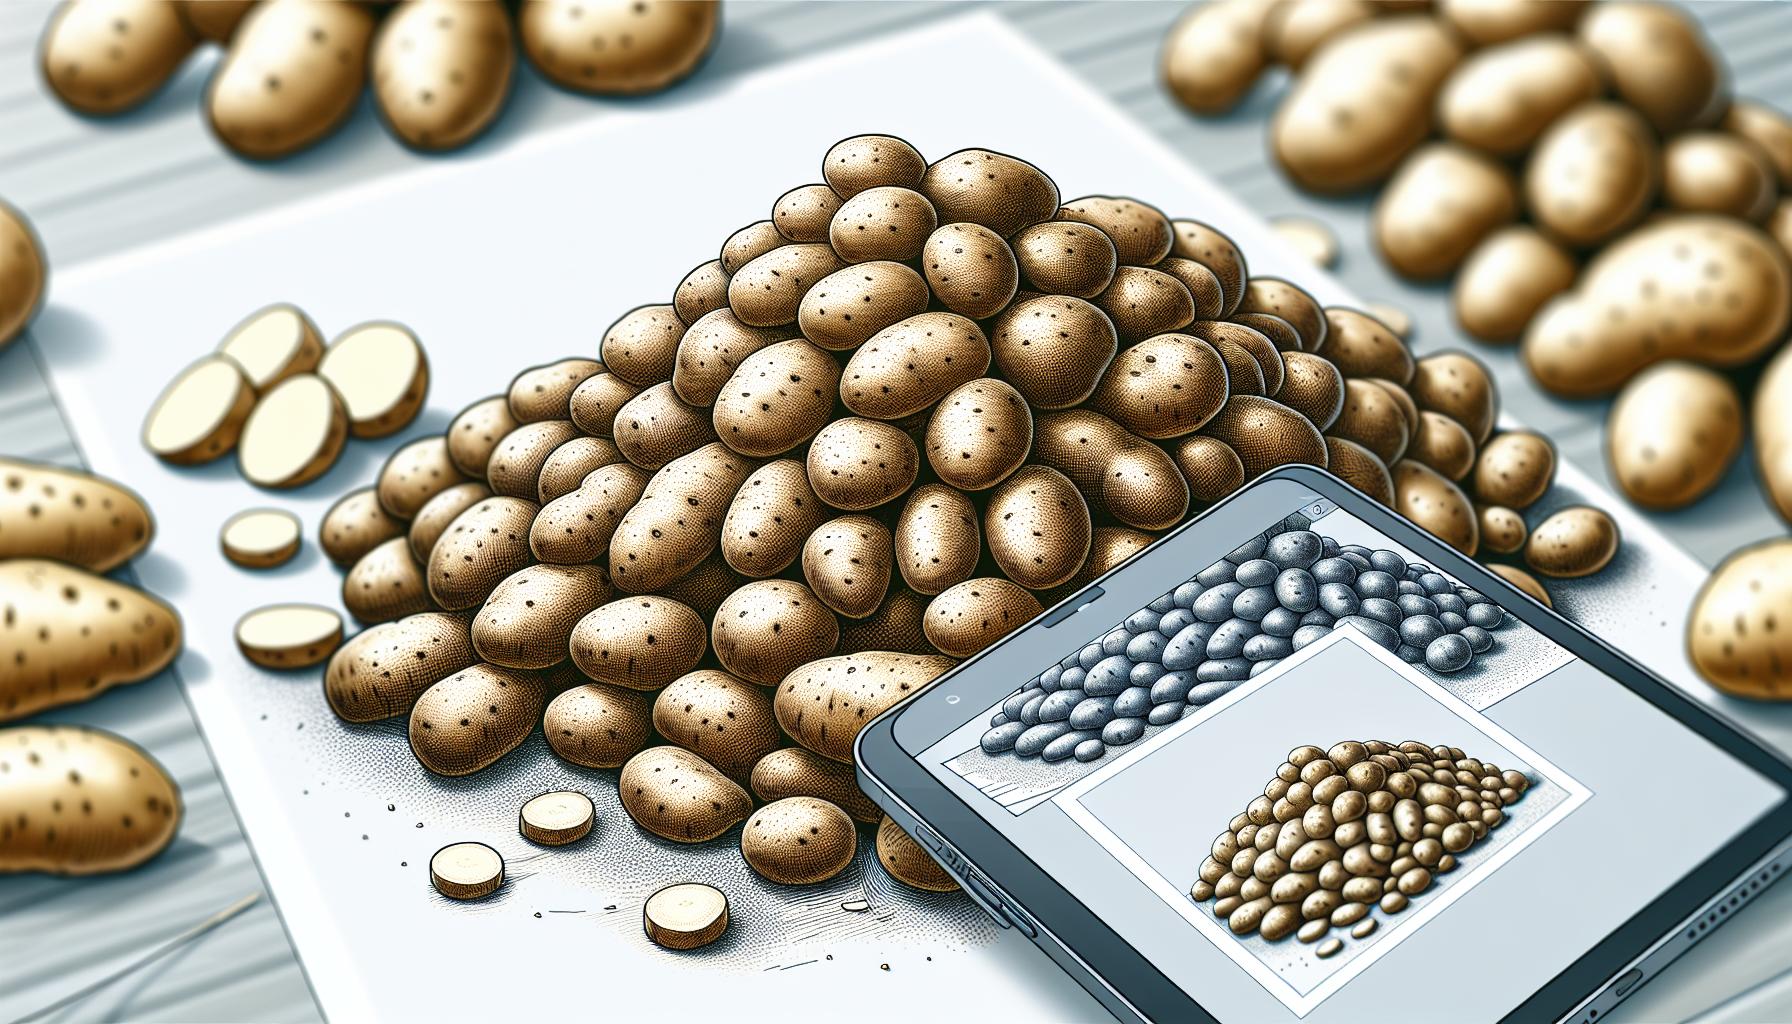
After you’ve successfully cut your seed potatoes, curing is your next crucial step. Curing aids in hardening the cut surfaces to form a protective layer, reducing the risk of soil-borne diseases. You’ll find the skin around the cuts turns slightly suberized, forming a callous that’s less susceptible to pests and rot.
To cure your seed potatoes, follow these simple steps:
- Place the cut pieces in a well-ventilated, dry space away from direct sunlight.
- Ensure a consistent temperature of about 15°C to 20°C for ideal curing conditions.
- Maintain this environment for 2-3 days, allowing the cuts to heal properly.
Once cured, you need to store your seed potatoes right to preserve their quality until planting. Proper storage not only maintains the potatoes’ health but also their viability. Store your seed potatoes in a cool, dark place with good air circulation. A temperature of about 4°C to 10°C is best for long-term storage.
Here’s how to manage your storage:
- Use crates or paper bags to allow air to circulate around the potatoes.
- Check periodically for signs of rot or disease.
- Avoid plastic bags as they trap moisture and may promote decay.
Remember, while it’s tempting to plant your seed potatoes immediately after curing, resisting this impulse ensures that you give your potatoes the best start. The added effort now contributes to healthier growth and potentially improved crop yields.
Optimal storage conditions are vital to maintain the potatoes’ dormancy and prevent early sprouting. When it’s time to move from storage to soil, your seed potatoes will be ready to thrive and bring forth a bountiful harvest.
Conclusion
Mastering the art of cutting potatoes for planting is crucial for a bountiful harvest. Remember, curing and proper storage are key to ensuring your potato pieces are primed for planting. By following the steps you’ve learned, you’re set to give your spuds the best start. Keep an eye on those stored cuts and resist rushing them into the ground. With patience and care, you’re on track for a successful growing season. Happy planting!
Colin Macmillan is a seasoned entrepreneur and the CEO of Riverwood Landscape, a leading landscaping company based in Canada. He has been at the helm of the company since leaving high school, demonstrating his strong leadership skills and business acumen.
Colin’s expertise lies in various aspects of landscaping, including lawn care, interlocking, sod installation, and commercial maintenance. His hands-on approach and dedication to the craft have been instrumental in building Riverwood Landscape into a reputable brand.
One of his most notable achievements is the creation of a successful landscape franchise that services multiple locations. This accomplishment underscores his strategic thinking and ability to scale operations effectively.
Colin has also had the privilege of working with Guelph Hospital for landscaping and maintenance, a testament to the trust and reliability that his company has earned over the years.
His professional mission is to offer the best services and experiences for customers, a goal that he tirelessly pursues. Colin’s commitment to excellence and customer satisfaction continues to drive the growth and success of Riverwood Landscape.


