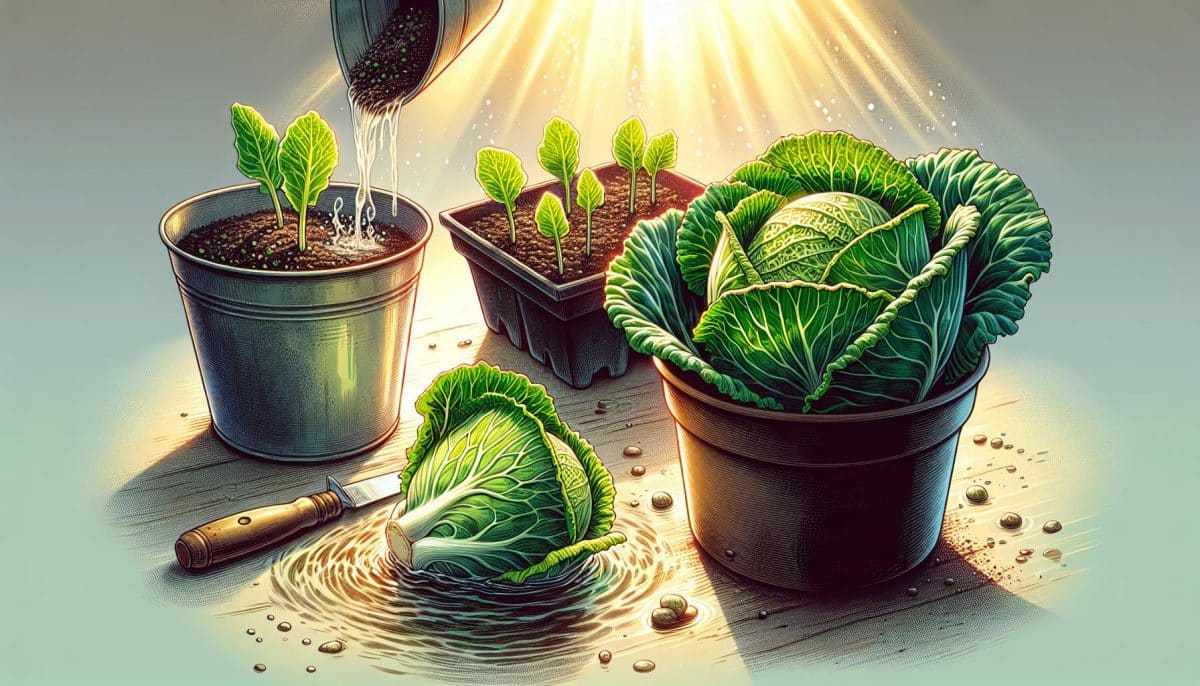
Ever wondered what to do with those leftover cabbage scraps? Instead of tossing them in the bin, you can give them new life by regrowing them into fresh cabbage. It’s a simple and sustainable way to make the most out of your veggies.
Growing cabbage from scraps isn’t just eco-friendly; it’s also incredibly easy and satisfying. With just a bit of water and some patience, you’ll be on your way to harvesting your own homegrown cabbage in no time. Let’s jump into the steps you’ll need to follow to turn those scraps into a flourishing vegetable.
Gathering the Cabbage Scraps
If you’re keen on giving your cabbage scraps a new lease on life by regrowing them, getting started is simpler than you might imagine. First, you’ll need to select the right scraps. Quality is key—use healthy and firm cabbage bases. Here are the scraps you should look for:
- When you’re cutting a cabbage, keep the bottom part of the head intact. Around 2-3 inches from the base is ideal.
- Look for stumps with vibrant leaves still attached, as these have higher regrowth potential.
- Ensure the scraps aren’t discolored or mushy; these qualities could indicate decay, leading to poor results.
After identifying the best scraps, you’ll need to prepare them for the regrowing process. It’s a simple task:
- Rinse the cabbage base gently with water to remove any dirt or residual pesticides.
- Pat the base dry with a clean towel to prevent any fungal growth that might be prompted by excess moisture.
Now that you have your prepared scraps, you can move on to the next steps, which include submerging the base in water and providing adequate sunlight. These actions will jumpstart the regrowth process, allowing you to see the first signs of life in just a few days. Your continued care will see these humble beginnings transform into a full head of cabbage, ready for your next meal.
Preparing the Cabbage Scraps
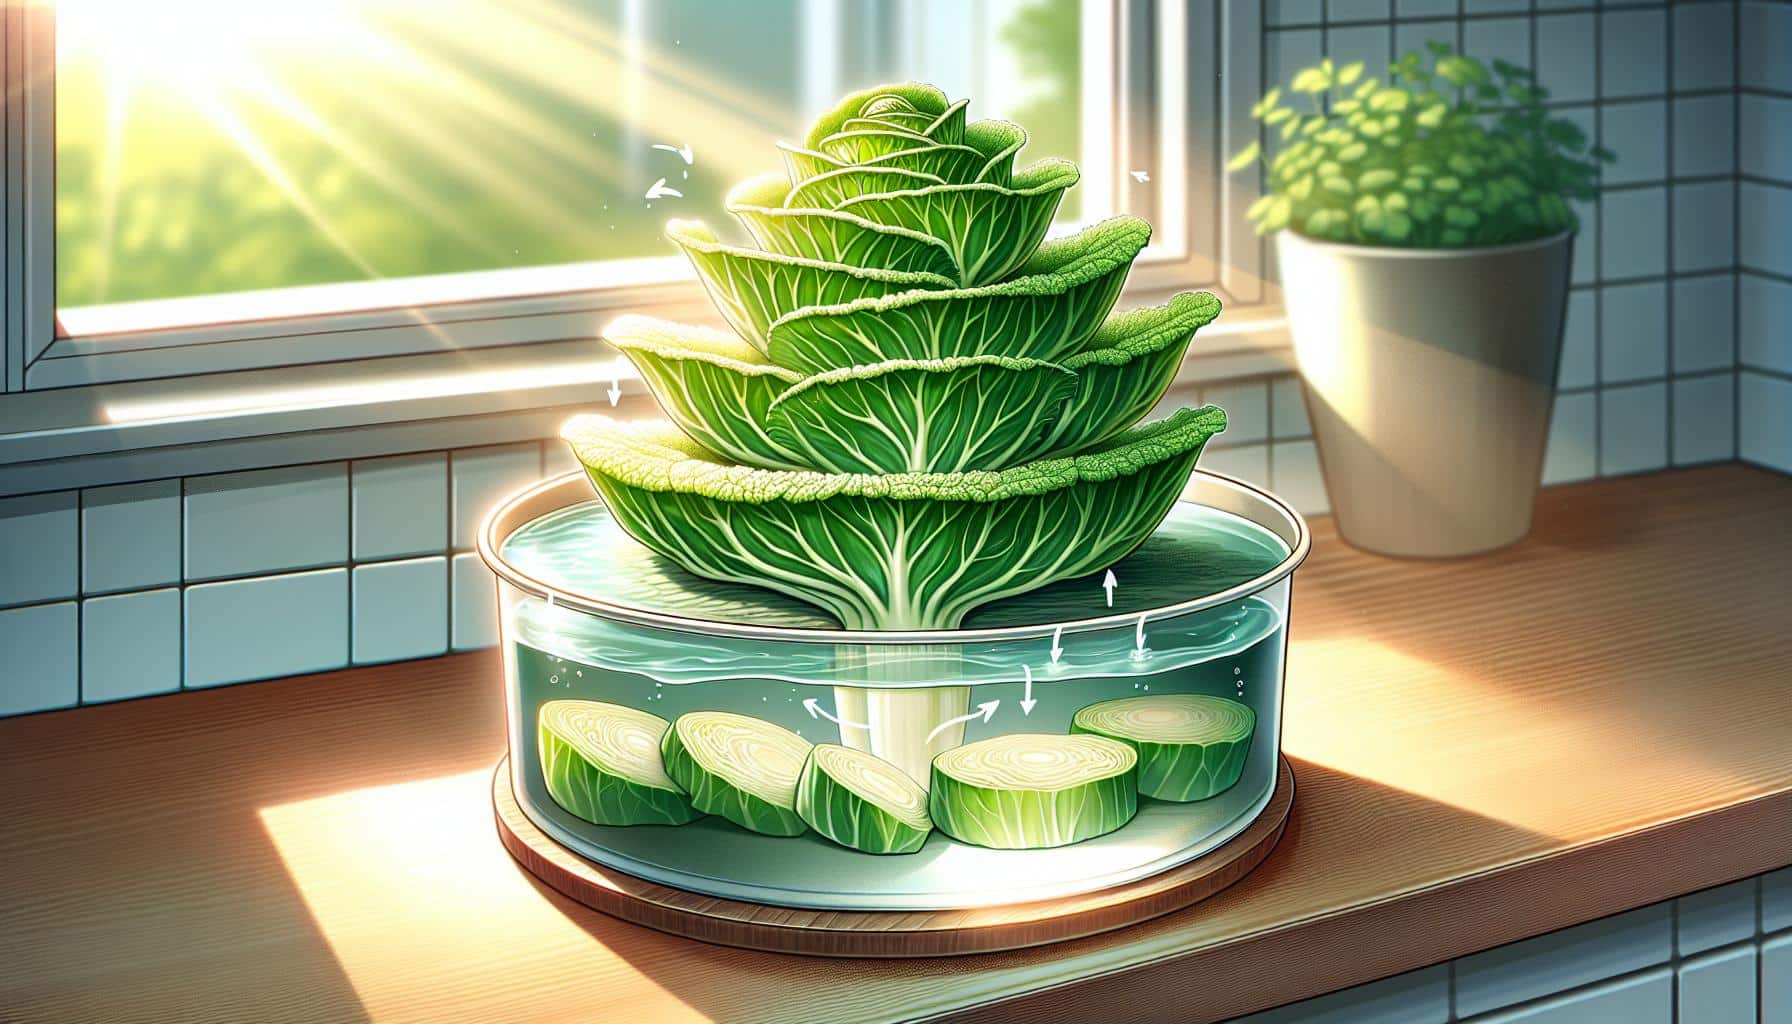
When starting your cabbage regrowth project, preparation is key. First, select cabbage leftovers that are fresh and healthy looking; avoid using scraps that show signs of rot or disease. You’ll want a piece that includes the root end for best results.
Trimming is your next step. Using a sharp knife, cut off the base of the cabbage head, leaving about 2 inches of the bottom intact. This piece will serve as your starter. Now, for the rooting process, you’ll need to hydrate your scraps. Submerge the bottom piece of the cabbage in shallow water, about halfway up its height. It’s best to use a shallow dish or bowl for this stage. Ensure you change the water every other day to prevent bacterial growth, which can spoil your scraps.
A conducive environment promotes growth. Place the dish on a windowsill or any spot with ample sunlight. Cabbage ideally requires around 6 to 8 hours of sunlight per day, so a well-lit room is an excellent choice. Also, maintain a consistent indoor temperature – extremes can hinder the regrowth process.
Finally, be patient. Within a few days to a week, you should notice new roots emerging from the base and possibly some tiny leaves sprouting from the top. This indicates that your scraps are ready for the next step: planting. Transfer your successfully rooted cabbage base to nutrient-rich soil, ensuring the roots are well covered but the very top sits above the soil line. Adequate aeration is crucial for the growth of your new plant – be careful not to compact the soil too tightly around the scraps.
By following these steps, you’ll find that growing cabbage from scraps is not just feasible, but also a satisfying way to reduce waste and enjoy fresh produce. Keep a watchful eye on your nascent cabbage and proceed to care for it as you would any other plant.
Regrowing the Cabbage Scraps
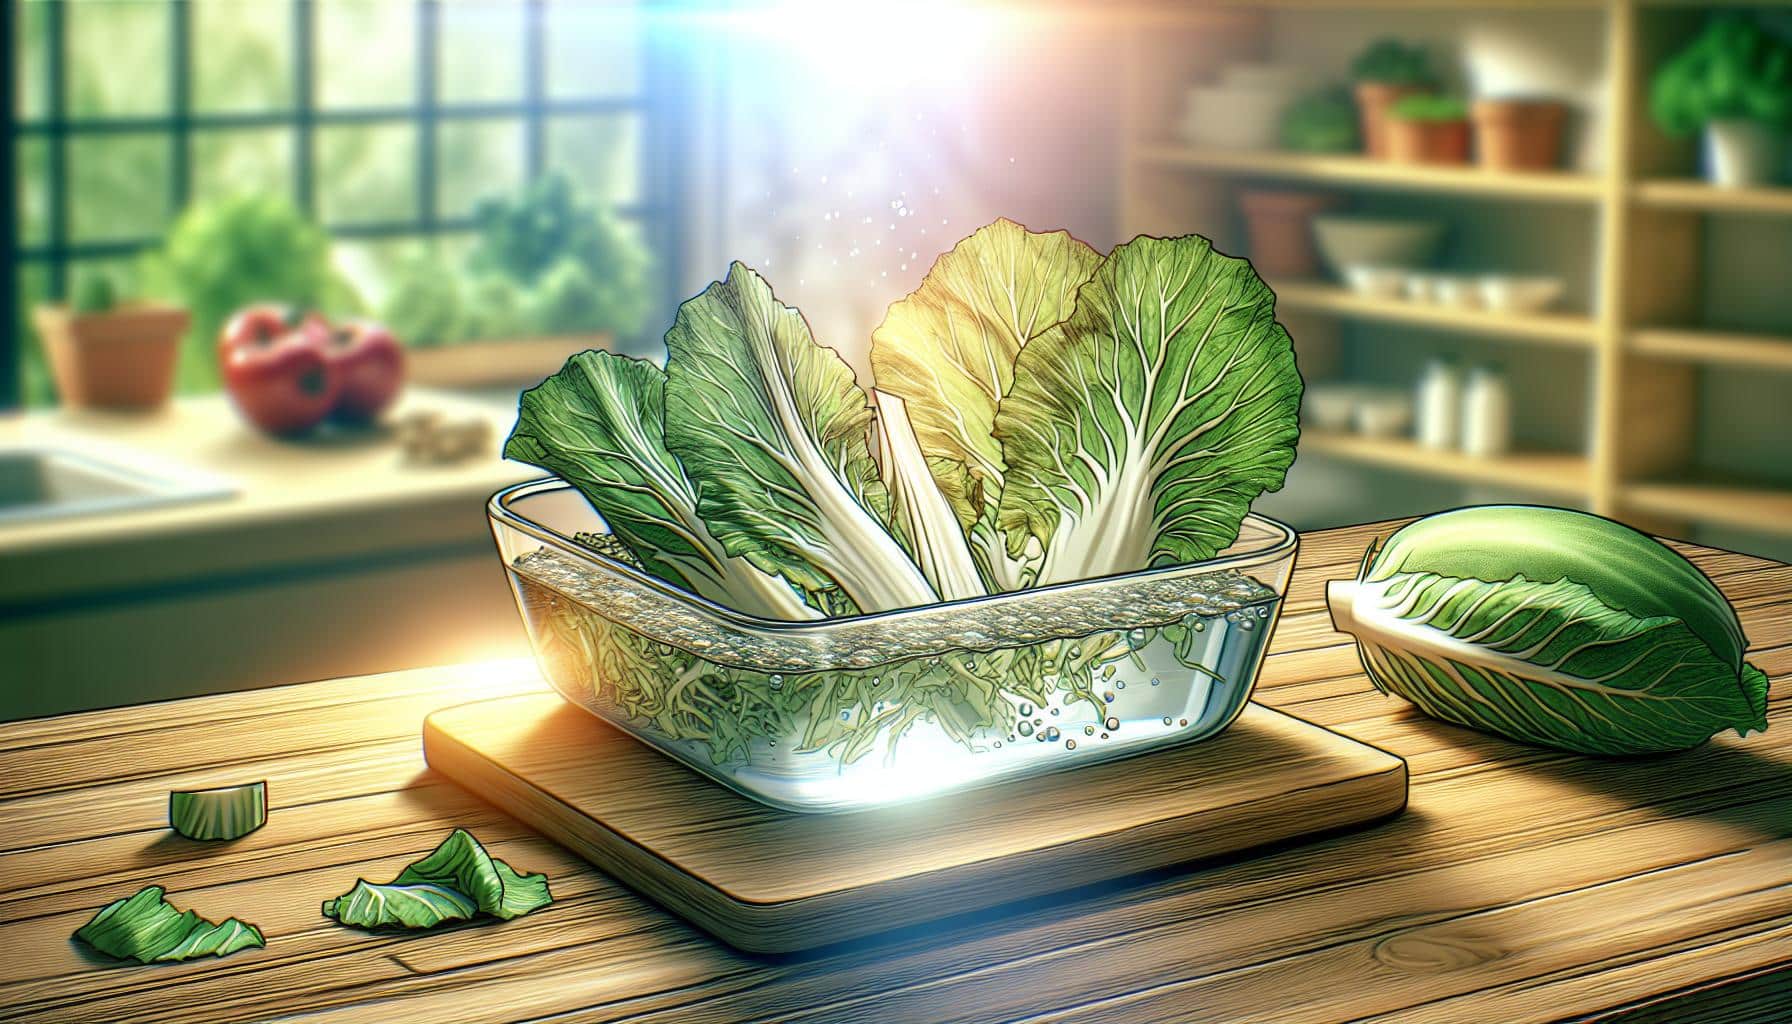
After you’ve selected the best scraps and trimmed them appropriately, it’s time to focus on the regrowth process. Submerge the leftover pieces in shallow water but change the water every day to prevent bacterial growth. Ensure the scraps get plenty of light — this could be natural light from a sunny window or artificial from grow lights. You’ll be amazed at how quickly new leaves can start appearing.
Place the cabbage scraps in a shallow dish with water covering the base. Light and temperature play critical roles in this phase of regrowth. Maintain a consistent indoor temperature, ideally between 18°C to 24°C, to create an optimum environment for your scraps. Avoid placing them in locations that experience temperature fluctuations or draughts.
Once you notice roots and the early stages of new leaves, prepare for the transition to soil. It’s vital to use nutrient-rich soil to support the new growth. Plant the scraps in a container or garden with adequate space for the roots to expand. Regular watering and partial sunlight will foster healthy growth, but take care not to overwater as cabbages are susceptible to root rot.
Monitor the plant’s progress, looking out for the forming of a new head. As time passes, these resilient plants will continue to grow, provided they receive consistent care and attention. Remember, the quality of the regrown vegetable hinges on the love and effort you pour into the process.
Caring for the Regrown Cabbage
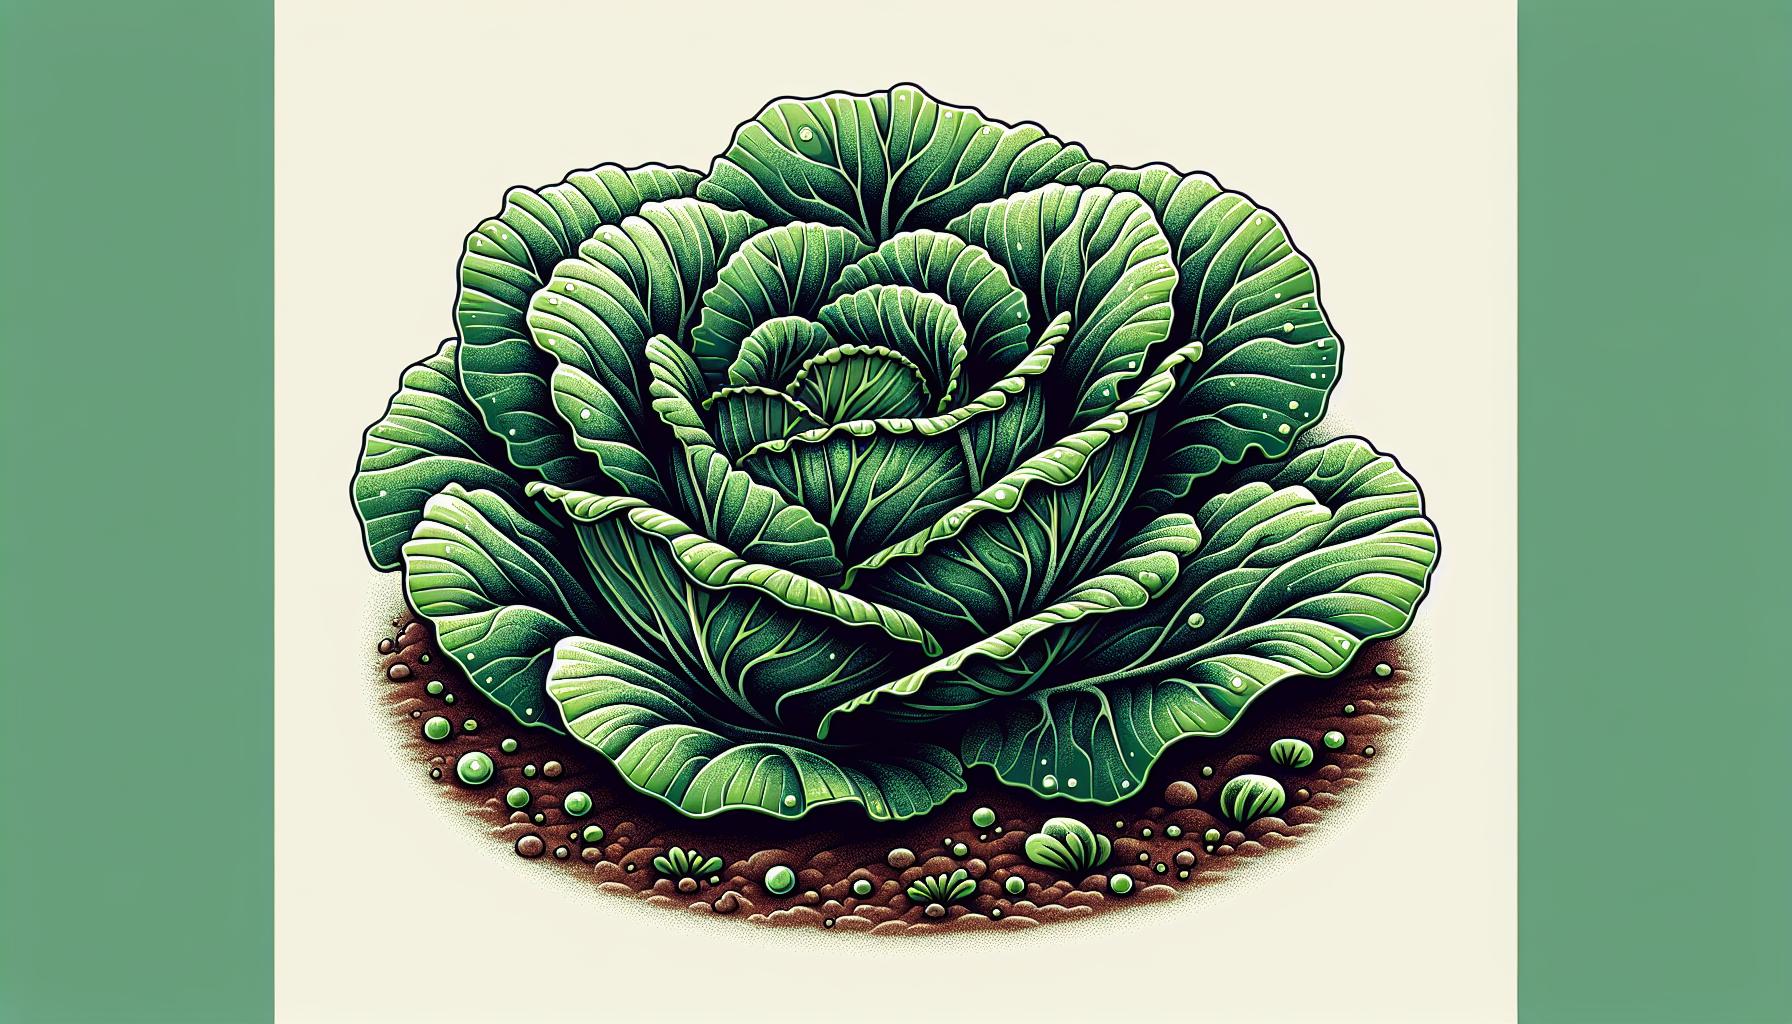
After successfully initiating the regrowth of cabbage from scraps, the next crucial phase is caring for the young plants to ensure they mature into full heads. Giving your cabbage the right care can make all the difference in achieving a bountiful harvest. Here’s how to nurture your plant for optimal growth.
First off, consistent watering is key. Unlike the initial sprouting phase, soil-moisture levels should be kept steady without oversaturating the roots. Cabbages are prone to rot if they sit in too much water. Aim for a balance, providing enough moisture to keep the soil slightly damp.
Sunlight plays a massive role in the development of your cabbage. Ensure your plant receives at least six hours of direct sunlight a day. If natural light is insufficient, especially during the colder months, consider investing in grow lights to supplement daylight hours.
Monitoring for pests and diseases is also essential. Common pests that love to feast on cabbage include aphids, cabbage worms, and flea beetles. Regularly inspect the leaves for any signs of infestation and employ organic pest control methods if necessary. Neem oil or insecticidal soap can be effective organic options.
Also, nutrient management cannot be overstressed. The transition from water to soil involves gradual fertilization. Cabbage benefits from a balanced fertilizer high in nitrogen, especially during the early stages of leaf development. As the plant matures, a balanced blend of nitrogen, phosphate, and potassium will promote overall health and head formation. Reference guidelines on fertilizer packaging to avoid over-fertilization, which can hinder growth.
Finally, spacing your cabbage plants properly can prevent overcrowding, which causes stunted growth and poor air circulation, leading to disease. Aim for spacing them approximately 45-60 cm apart. By following these care instructions, you’re well on your way to having a thriving cabbage that you’ve cultivated from scrap to full head. Regular observation and slight adjustments to care routines are all part of the rewarding process of growing your own food. Remember to adapt these tips to your local climate and soil conditions for the best results.
Harvesting Your Homegrown Cabbage
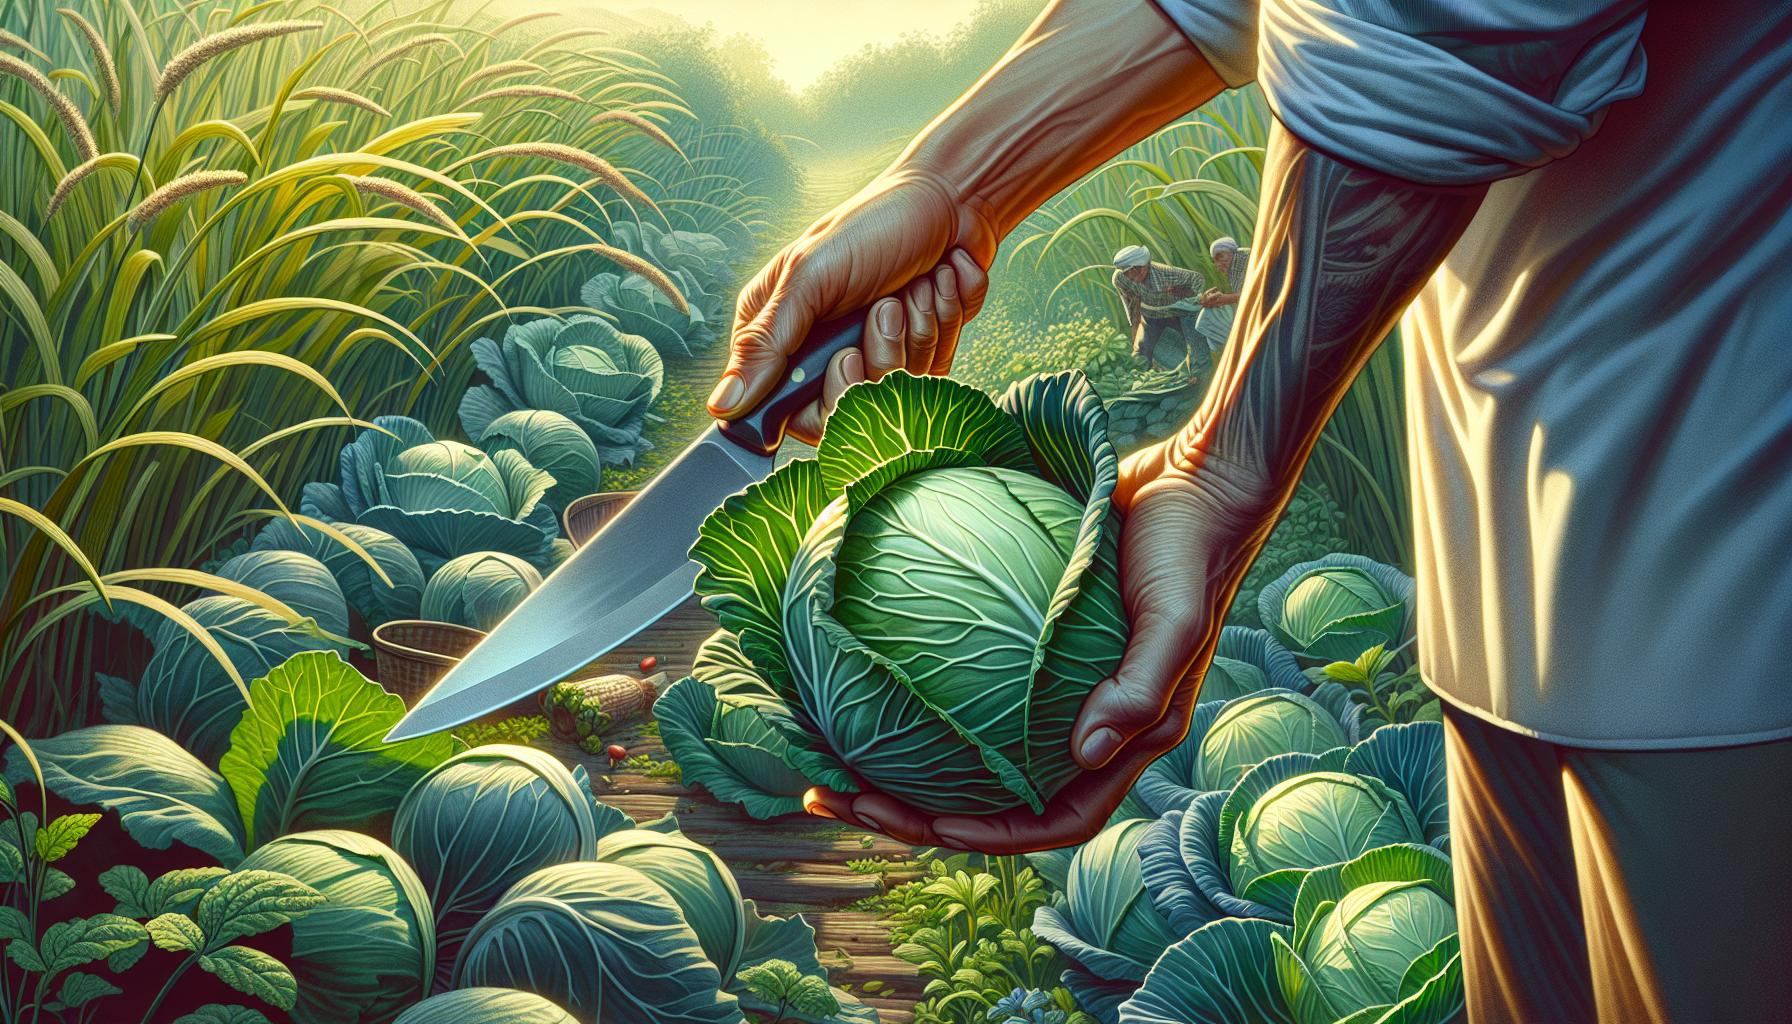
Harvesting cabbage from your garden is a rewarding experience. After nurturing your plants from mere scraps to mature heads, knowing when and how to harvest is essential for the best outcome.
Firstly, cabbages are ready to harvest when the heads are firm and reach the size you desire. Most varieties will take about 70 to 100 days to reach maturity from transplanting. Use your hands to feel the tightness of the head; a loose head often signifies that it’s not ready.
To harvest, you’ll need a sharp knife. Cut the stem of the cabbage just above the level of the soil. If you cut neatly and leave the outer leaves and root in the ground, you may be rewarded with a second crop of smaller heads or sprouts.
Here are some key indicators that your cabbage is ready to harvest:
- Size: Typically, a head should be about the size of a basketball, but this can vary with the variety.
- Firmness: Squeeze the head gently; it should feel solid and dense.
- Colour: Look for rich, vibrant colouring– a sign of peak freshness. After harvesting, it’s crucial to store your cabbage correctly to maintain its freshness. Wrap them loosely in a plastic bag and store in the crisper drawer of your refrigerator. They can last for several weeks when stored properly.
Remember to inspect your cabbage for pests or damage before storing. It’s better to use damaged or insect-infested heads promptly rather than store them. Regularly monitoring your cabbage patch and harvesting at the right time ensures that you enjoy the fruits of your labour at their best. Keep nurturing your garden, and you’ll have a steady supply of fresh cabbage to enhance your meals.
Conclusion
You’re now equipped to transform cabbage scraps into a lush green bounty. With the right care and attention, your kitchen scraps can flourish into a fresh supply of cabbage. Remember, regular monitoring and harvesting at the optimal time are key to enjoying your home-grown produce. Embrace the cycle of regrowth and relish the satisfaction of sustainable gardening right on your windowsill. Happy planting!
Colin Macmillan is a seasoned entrepreneur and the CEO of Riverwood Landscape, a leading landscaping company based in Canada. He has been at the helm of the company since leaving high school, demonstrating his strong leadership skills and business acumen.
Colin’s expertise lies in various aspects of landscaping, including lawn care, interlocking, sod installation, and commercial maintenance. His hands-on approach and dedication to the craft have been instrumental in building Riverwood Landscape into a reputable brand.
One of his most notable achievements is the creation of a successful landscape franchise that services multiple locations. This accomplishment underscores his strategic thinking and ability to scale operations effectively.
Colin has also had the privilege of working with Guelph Hospital for landscaping and maintenance, a testament to the trust and reliability that his company has earned over the years.
His professional mission is to offer the best services and experiences for customers, a goal that he tirelessly pursues. Colin’s commitment to excellence and customer satisfaction continues to drive the growth and success of Riverwood Landscape.


