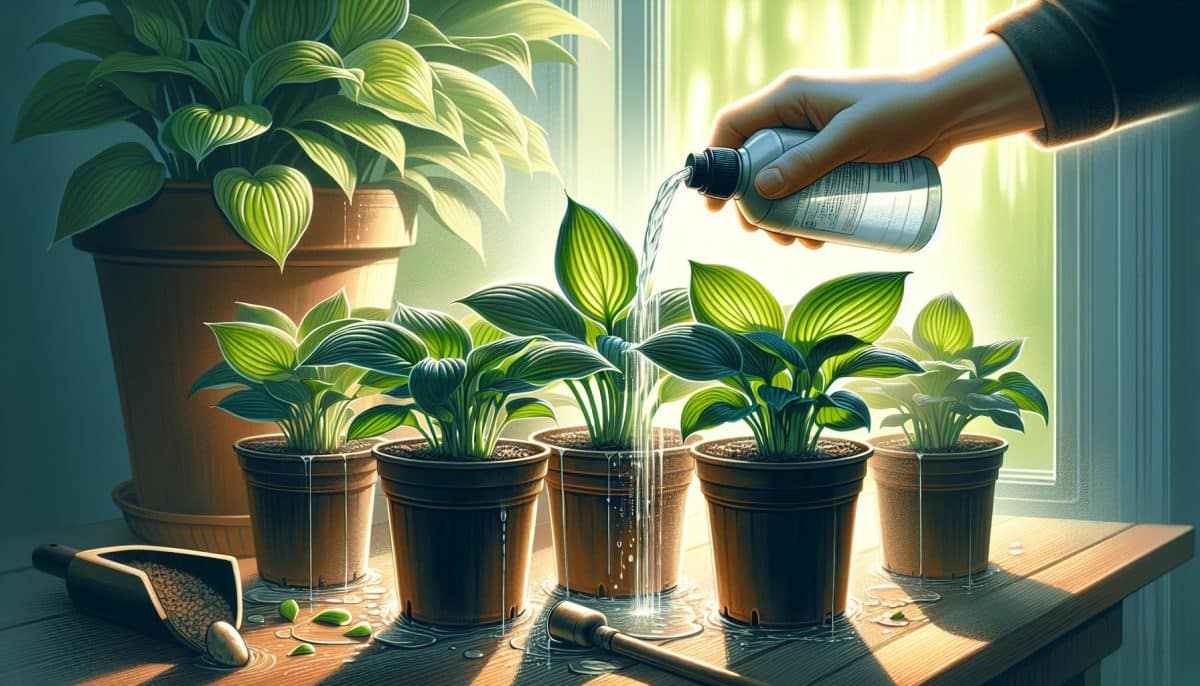
Growing hostas from seed can be a rewarding venture, adding lush foliage to your garden with a personal touch. You might think it’s a challenge, but with the right guidance, you’ll be nurturing these shade-loving perennials in no time.
Starting your hostas from seed allows for a wider variety of species beyond what’s available at your local nursery. Plus, it’s a cost-effective way to fill your garden with these robust plants. Ready to get your hands dirty? Let’s jump into the steps you’ll need to cultivate your own hostas from the very beginning.
Choosing the Right Hosta Seeds
When you’re on the hunt for hosta seeds, quality and variety are key. High-grade seeds are essential for robust seedlings, and the vast selection available means you can add unique textures and colours to your shade garden.
Source Responsibly
Look for reputable suppliers—or even fellow gardening enthusiasts who specialise in hostas. Purchasing from trusted sources ensures you’re getting viable seeds likely to germinate successfully.
Consider Varieties
Hostas come in many species, each offering distinct leaf shapes, sizes, and hues. Here’s a glimpse:
- Giant hostas like ‘Empress Wu’
- Blue-leafed varieties such as ‘Halcyon’
- Variegated types with striking patterns like ‘Fire and Ice’
Check for Freshness
Fresh seeds boost your success rate as they haven’t been compromised by time or adverse storage conditions. Always check the packaging date.
Research Specific Needs
Different hostas might require unique conditions. For instance:
- ‘Sun Tolerant’ varieties that manage better in brighter spots
- ‘Slug-Resistant’ features in some species
Planting Depth and Stratification
Don’t forget that some seeds may need specific planting depths and pre-sowing treatments like cold stratification to break dormancy. Instructions are often provided by suppliers, so always follow these guidelines for optimal growth.
By carefully selecting the right seeds, you’ll be well on your way to cultivating a lush, diverse hosta garden that stands out in the shade.
Preparing the Soil and Containers
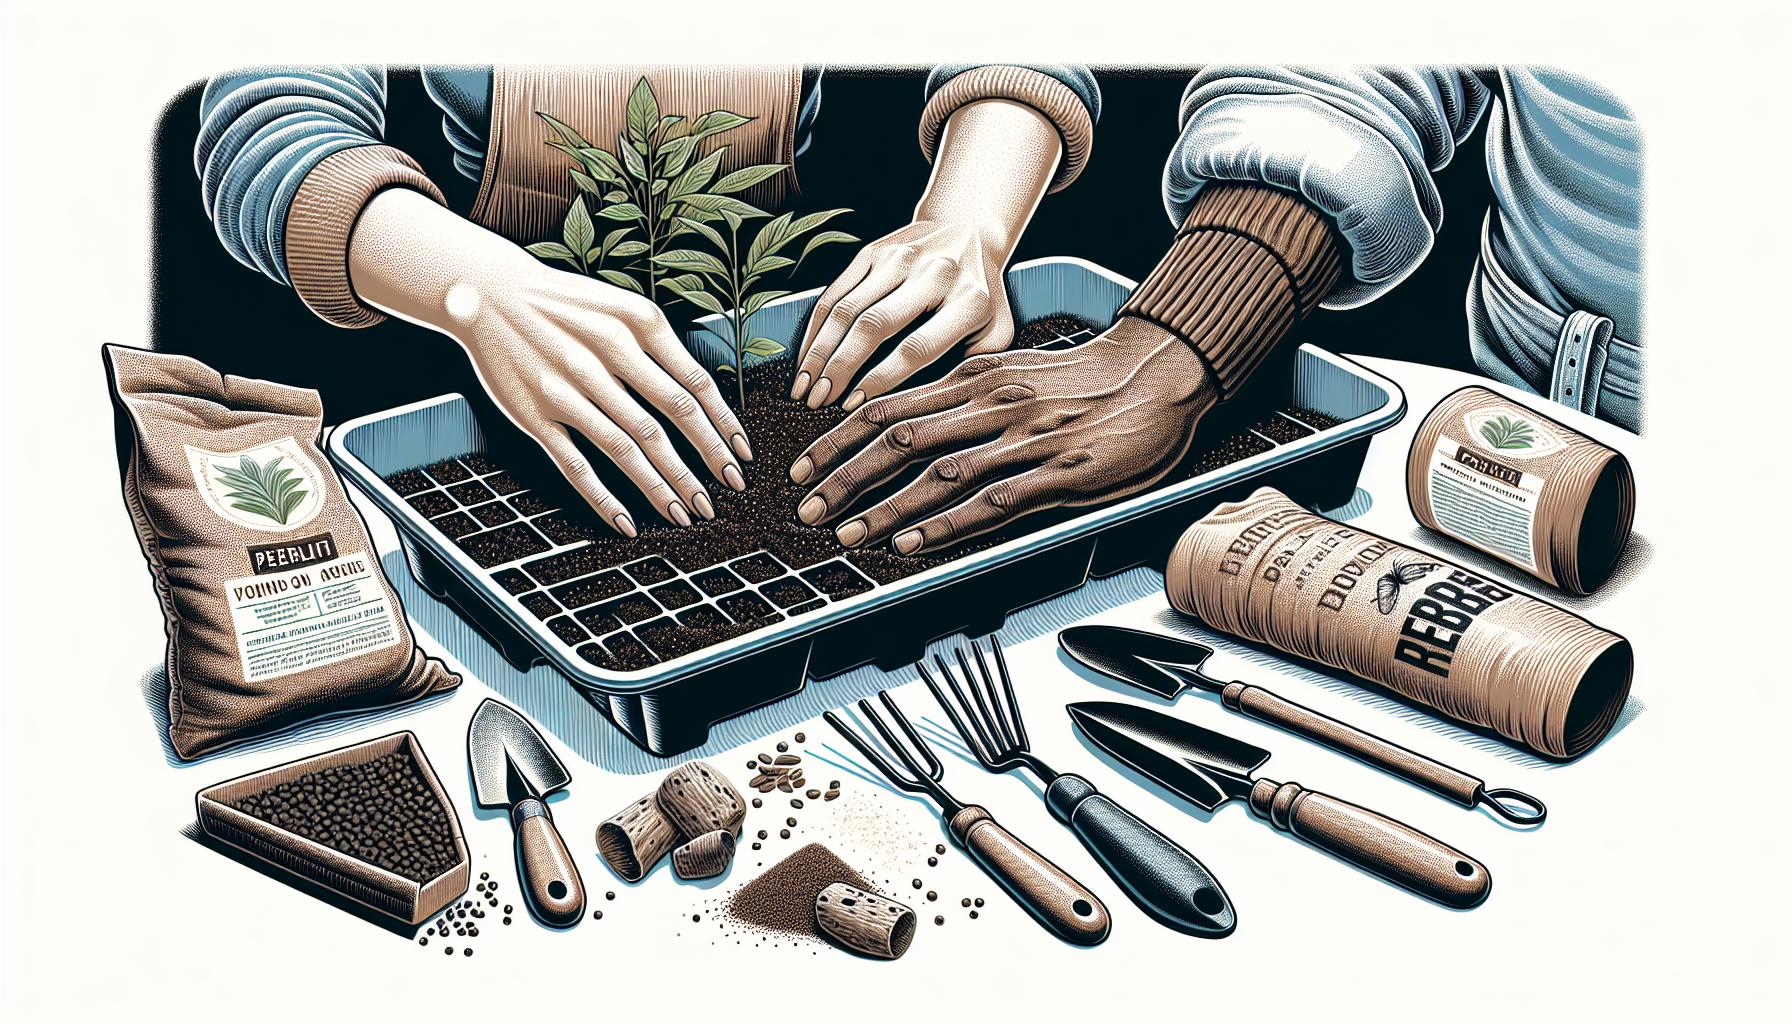
Before you sow a single seed, it’s essential to prepare the soil and containers for your hostas to ensure they have the best possible start. Select Appropriate Containers
Your choice of containers can make a significant difference. Opt for shallow trays or pots allowing for ample root growth. Ensure they have proper drainage holes to prevent waterlogging, a common issue leading to root rot.
Soil Composition and pH
Hostas thrive in nutrient-rich soil with good moisture retention. A mix of peat moss, perlite, and garden soil often provides the perfect balance. The pH should be slightly acidic to neutral, ideally around 6.5 to 7.
Sterilise Soil to Prevent Diseases
Sterilise your soil mix by heating it in an oven at 93°C for 30 minutes. It’ll help kill any bacteria, fungi, or pests that could harm the seedlings.
Moistening the Soil
Evenly moisten the soil before planting the seeds. It should be damp but not wet, providing an ideal environment for seeds to germinate. Over-watering can suffocate the seeds, causing them to rot before they have a chance to grow.
As you’ve carefully selected your hosta seeds and are preparing their new homes, remember the environment you create now sets the stage for the months to come. Your dedication to these initial steps will influence the health and beauty of your hostas.
Stratifying the Seeds
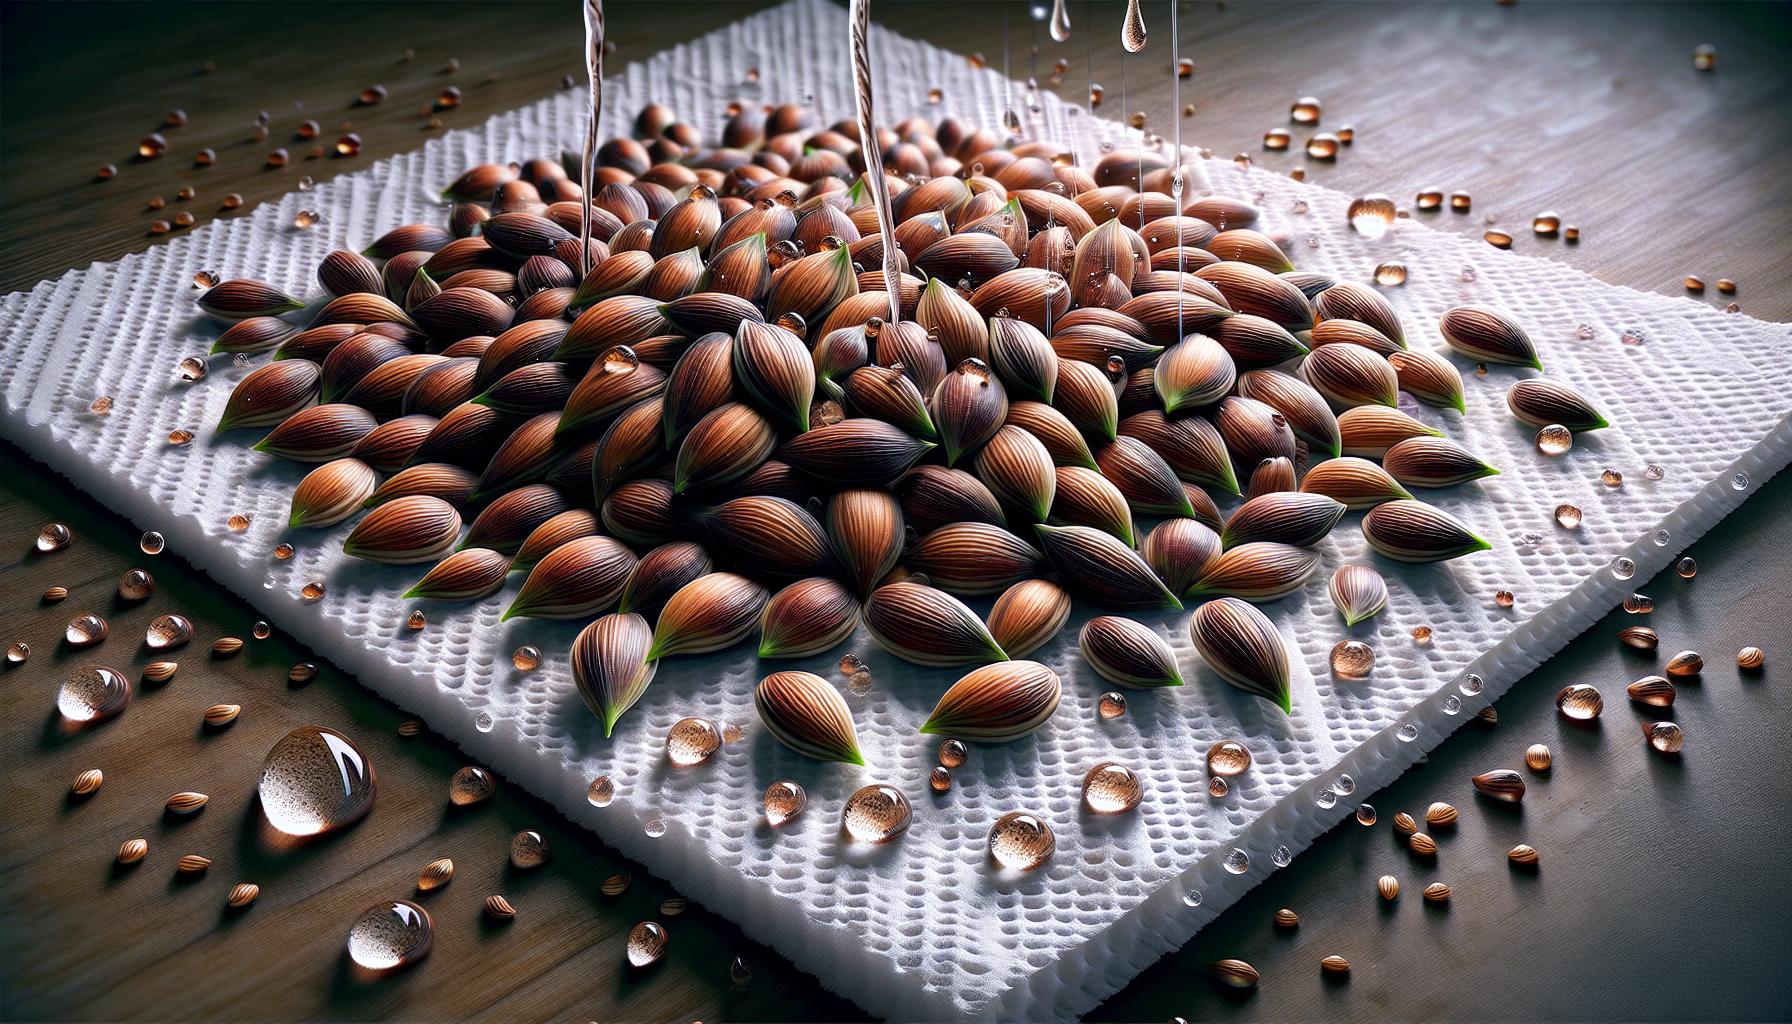
Before sowing hosta seeds, stratification is a critical step to emulate the cold period that seeds would naturally undergo during winter months. This process breaks seed dormancy, enhancing germination rates when temperatures warm up.
Step-by-Step Stratification Guide
Begin by moistening a paper towel or a mix of sand and peat. It should be damp, but not overly wet, to avoid the risk of mould forming. Once your medium is prepared:
- Place your hosta seeds evenly across the surface.
- Roll or fold the towel gently, or mix the seeds into the peat and sand.
- Seal the seeds within a plastic bag or container to maintain humidity.
- Label the package with the date and seed type for reference.
- Store this in a refrigerator, not a freezer, at approximately 1-5°C for about 4 to 6 weeks.
During this chilling period, check on your seeds periodically. If you notice any mould or smell, it’s essential to take them out and start the process again with fresh materials.
After Stratification
Once the stratification period is over, the seeds are ready for planting. Shift them to the prepared soil and container setup mentioned in the previous section of the article. Sow the seeds lightly on the surface, ensuring they are not covered deeply with soil as hosta seeds need light to germinate. Maintain a constant temperature of about 20°C, the perfect warmth for hostas to start sprouting.
Remember, patience is key; hosta seeds can take anywhere from 2 weeks to 1 month to germinate. Regular checks for signs of growth and adequate moisture levels will support their journey from seed to sprout.
Planting the Hosta Seeds
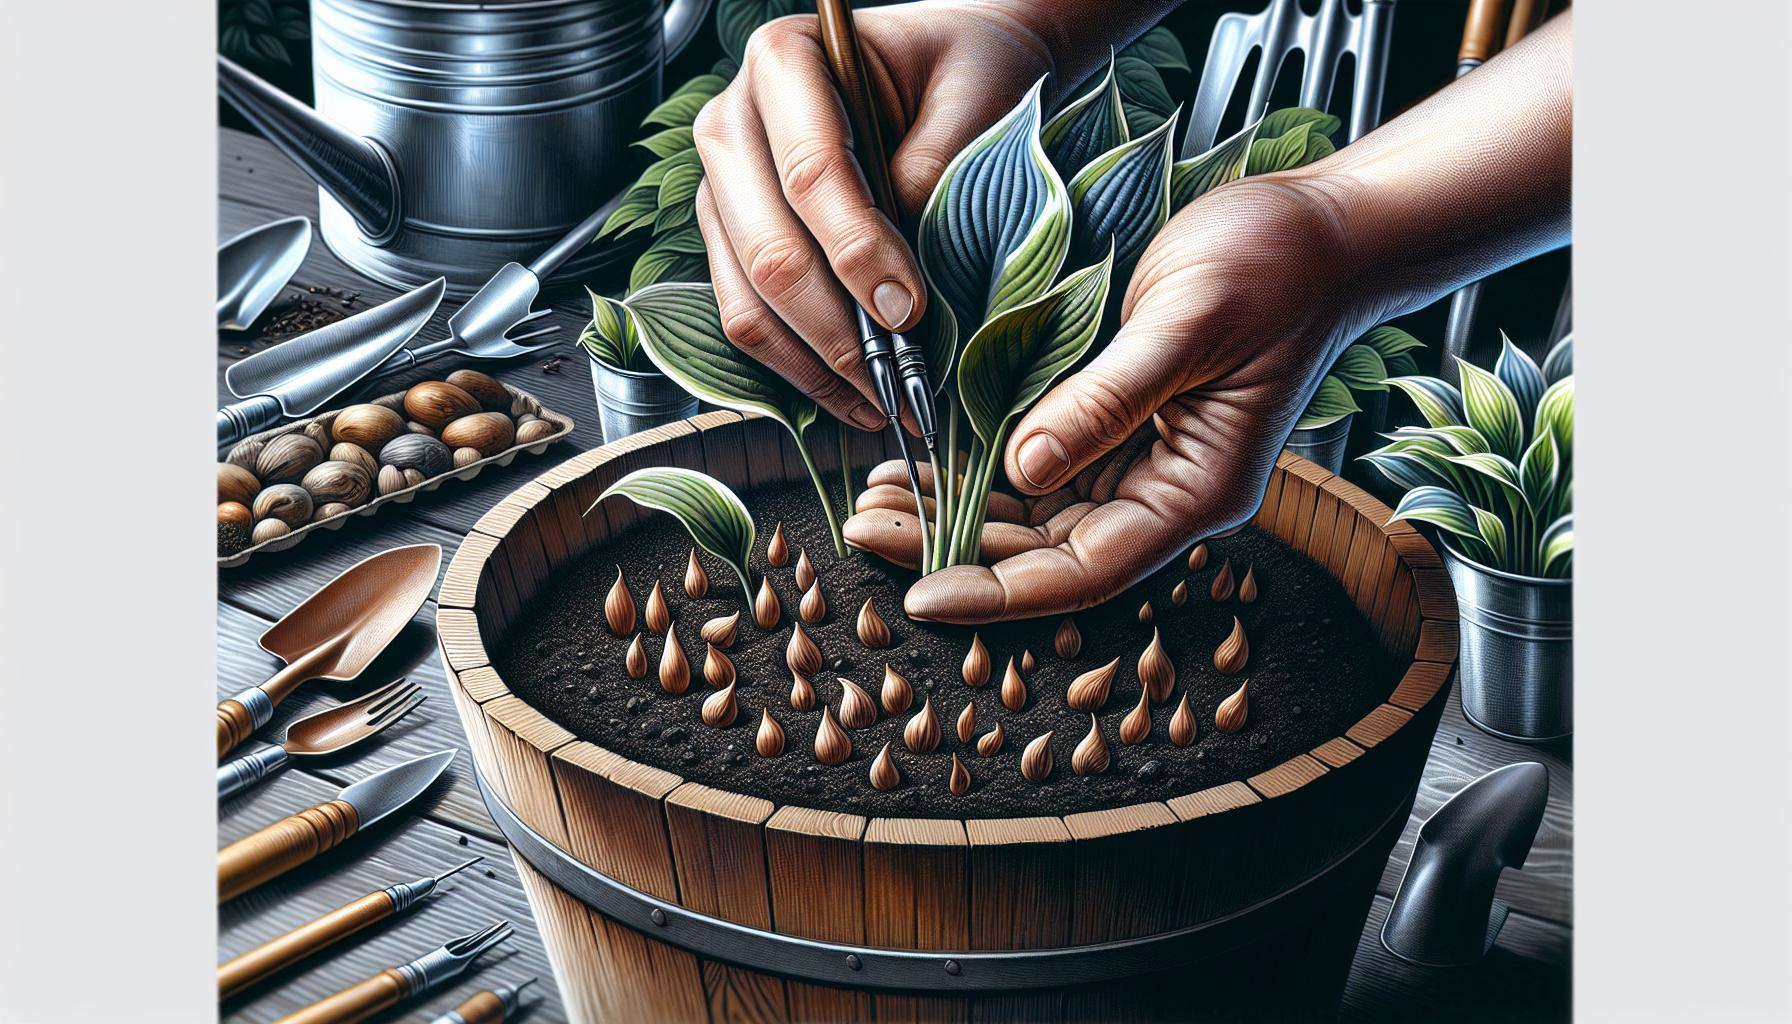
After successfully stratifying your hosta seeds, you’re ready to move on to planting. The most critical part is to get the soil and environment just right to ensure the best chance of successful germination.
Start by choosing a well-draining seed starting mix. Ensure the container you’ve prepared for planting has plenty of drainage holes. Fill it with the mix, leaving a small gap at the top for easy watering. Moisten the soil before sowing to provide a welcoming environment for the seeds.
Sow the Seeds Sparingly
Disperse the seeds lightly across the surface of the soil. Remember, hostas need light to germinate, so don’t cover them with more soil. Instead, gently press them down to ensure they’re in contact with the wet soil.
Maintain Constant Warmth
For optimal germination, the seeds need a warm environment, roughly 20°C. A heat mat can be invaluable here, providing a steady heat source. Monitor temperatures regularly to maintain this ideal range.
Keep the Soil Moist
Use a fine mist to water the seeds; a heavy hand can dislodge or bury them. Cover the container with a clear plastic lid or wrap to keep the humidity high and the soil moist, but not waterlogged.
Provide Adequate Light
Once you’ve planted the seeds, they’ll need plenty of light. A windowsill with bright, indirect light or under grow lights will stimulate growth. Ideally, provide 14-16 hours of light per day.
Watch for Germination
It could take anywhere from 1 to 8 weeks for seeds to germinate. Check regularly for any signs of sprouting, and once the seedlings appear, gradually reduce the humidity by removing the cover for a few hours each day. Adjust watering accordingly, ensuring the tender young plants never dry out completely or sit in water. Thin Out the Seedlings
When the seedlings develop their second set of leaves, it’s time to thin them out. This allows the strongest specimens room to grow and prevents competition for nutrients. Gently separate and transplant the strongest seedlings into individual pots, handling with care to avoid damaging the roots. Regular checks and adjustments are pivotal in this phase. You’re not just planting seeds; you’re nurturing the beginnings of robust hosta plants that, with the right care, could flourish in your garden for years to come.
Caring for the Seedlings
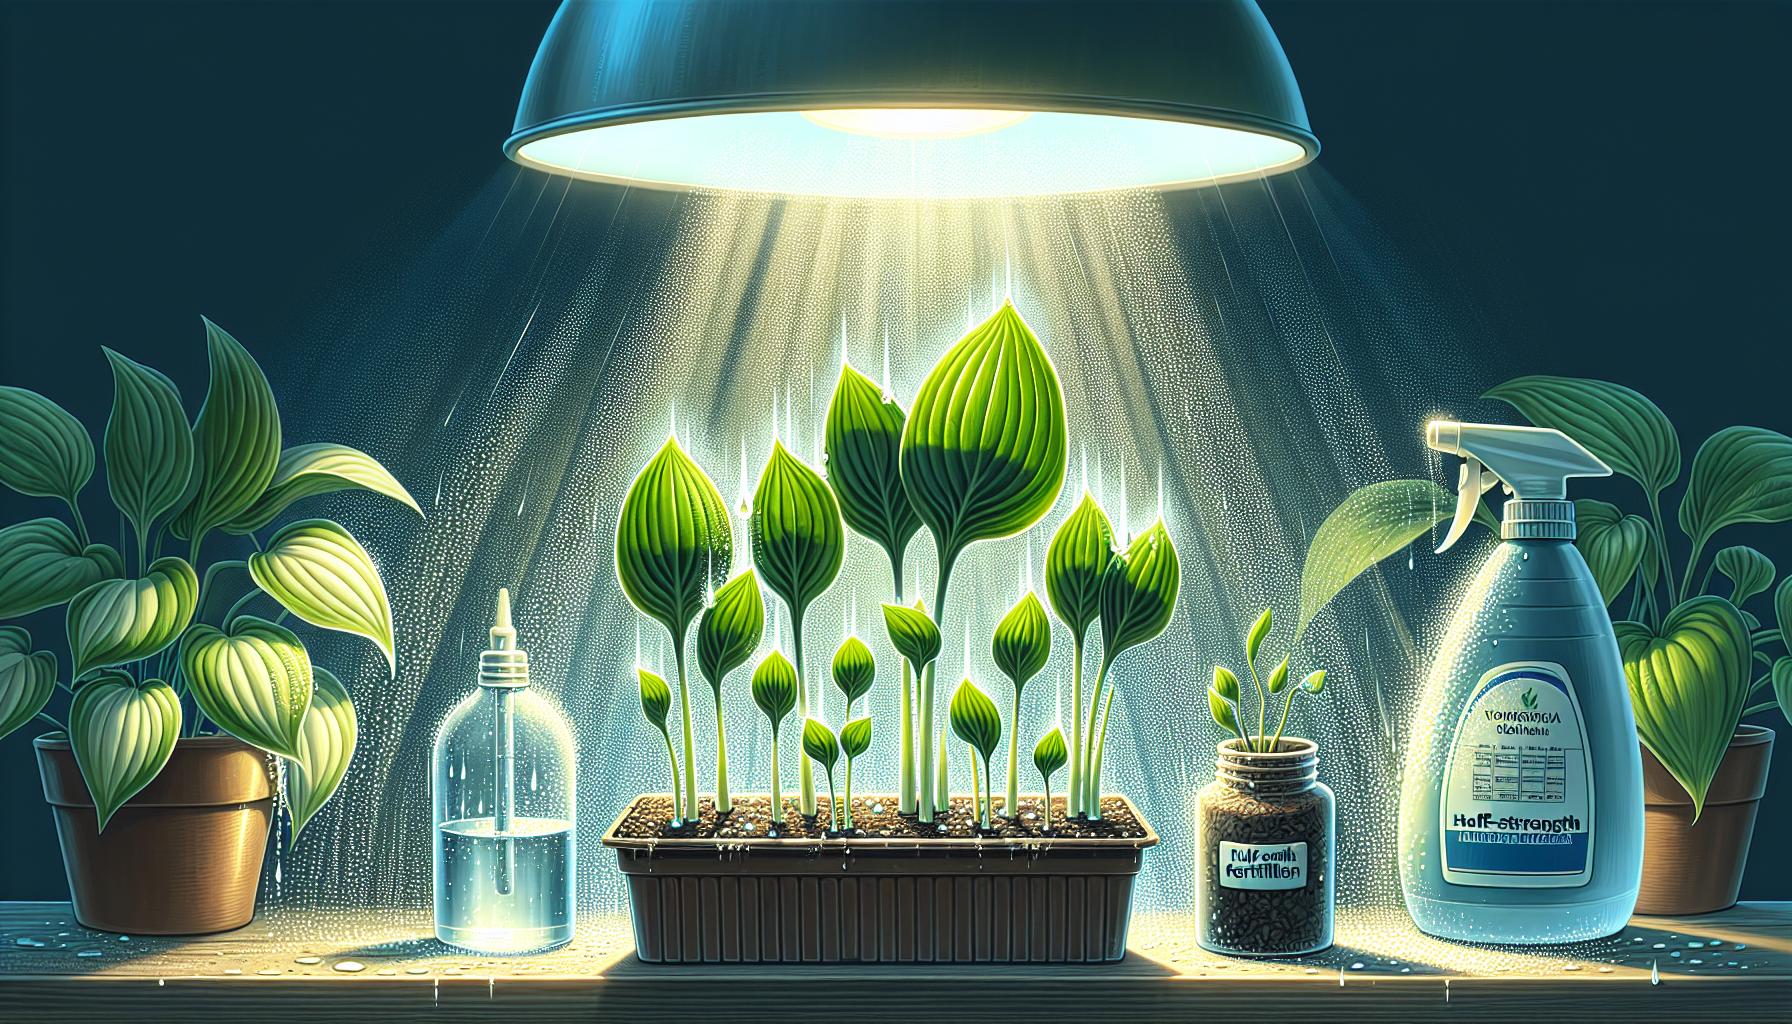
Once hosta seedlings make their appearance, your careful attention becomes crucial to their growth and development. Consistent watering is key: the soil should remain evenly moist but not waterlogged to prevent rot. ### Watering Techniques
- Use a spray bottle for a gentle mist
- Avoid dislodging or burying the seedlings
- Allow the topsoil to dry slightly between watering
Feeding Your Hostas
At this stage, seedlings benefit from a well-balanced fertilizer. Stick to a half-strength solution to reinforce their delicate systems without overwhelming them.
- Apply fertilizer every two weeks
- Choose a formula high in nitrogen to support leaf growth
Lighting and Environment
Hostas require plenty of light post-germination. – Position your seedlings in a bright location with indirect sunlight
- Protect them from extreme temperatures
Transplanting
When hosta seedlings have several sets of true leaves, they’re ready for transplanting. – Use individual pots to prevent root damage and crowding
- Plant at the same depth to avoid stem rot
Through attentive care, your hostas will flourish, rapidly becoming the lush, hearty plants renowned for their foliage and resilience. With each new leaf, they’ll demonstrate their capability to enhance any garden or world with their vibrant presence, ensuring that your efforts in sowing and nurturing these seeds are well rewarded.
Conclusion
You’ve mastered the art of nurturing hostas from the humble beginnings of a seed to the rewarding stage of transplanting. With your consistent care, watering, and feeding, you’ve set the stage for these plants to thrive. Remember, your patience and dedication are key to revealing the full potential of your hostas. As they grow, they’ll not only add beauty to your garden but also stand as a testament to your gardening prowess. Now, watch as your seedlings transform into the lush, leafy wonders you’ve envisioned, ready to make their mark in your outdoor space.
Colin Macmillan is a seasoned entrepreneur and the CEO of Riverwood Landscape, a leading landscaping company based in Canada. He has been at the helm of the company since leaving high school, demonstrating his strong leadership skills and business acumen.
Colin’s expertise lies in various aspects of landscaping, including lawn care, interlocking, sod installation, and commercial maintenance. His hands-on approach and dedication to the craft have been instrumental in building Riverwood Landscape into a reputable brand.
One of his most notable achievements is the creation of a successful landscape franchise that services multiple locations. This accomplishment underscores his strategic thinking and ability to scale operations effectively.
Colin has also had the privilege of working with Guelph Hospital for landscaping and maintenance, a testament to the trust and reliability that his company has earned over the years.
His professional mission is to offer the best services and experiences for customers, a goal that he tirelessly pursues. Colin’s commitment to excellence and customer satisfaction continues to drive the growth and success of Riverwood Landscape.


