
Getting your garden soil ready for next year’s planting season is crucial for a bountiful harvest. It’s about understanding what your soil needs and giving it the attention it deserves. You’ll need to enrich it, ensure it’s well-drained, and protect its delicate structure.
Start by testing your soil to identify nutrient deficiencies and pH imbalances. Then, incorporate organic matter like compost to improve fertility and texture. By following these steps, you’ll set the stage for robust plant growth and a successful garden year after year.
Reasons to Prepare Garden Soil for Next Year
Ensuring your garden’s longevity and productivity hinges on the preparation of your soil in advance. When you’re proactive with soil preparation, benefits abound, not only for your next crop but also for the overall health of your garden ecosystem.
Enhanced Soil Structure and Aeration
- Prepping your garden soil ahead of time breaks up dense clumps, allowing roots to easily penetrate and access nutrients.
- Loose soil permits better water infiltration, reducing the likelihood of runoff and erosion.
Nutrient Replenishment
- Test results often show nutrient depletion after a season of growth; adding amendments in the offseason replenishes these vital elements.
- This proactive approach ensures a balanced soil ecosystem, offering plants the exact nutritional mix they require come spring.
Weed and Pest Management
- Turning the soil can expose pests and weed seeds to harsh winter conditions, naturally reducing their populations.
- Organic material amendments may also foster beneficial microorganisms that outcompete or prey on harmful pests.
Optimal pH Balance
- Soil pH directly affects nutrient availability; adjusting it during the offseason stabilizes the soil environment.
- By doing so, you safeguard against pH-related deficiencies that could compromise future plant growth.
With these strategic measures, you’re not just preparing the soil, you’re setting the stage for a garden that will thrive with minimal intervention. Embracing soil preparation now can transform your garden into a resilient, self-sustaining oasis.
Step 1: Test your Soil

Testing your soil is an essential first step to prepare your garden for the next planting season. You’ll understand what your soil lacks and what it has in abundance. There are several key components you need to assess:
- Soil pH: Crucial for nutrient availability.
- Nutrient levels: Determines the need for fertilizers.
- Soil composition: Affects water retention and root growth.
To accurately test your soil, you have the option to use at-home testing kits or to send a sample to a local extension service. Professional testing is more comprehensive but an at-home kit gives you immediate, although less detailed, results.
Once you’ve got your results, you’ll be equipped to make informed decisions about how to amend your soil. If your soil is too acidic, you might need to add lime; if it’s too alkaline, sulfur could be necessary. Nutrient deficiencies call for specific fertilizers. For instance, low nitrogen requires a high-nitrogen fertilizer.
Insects, weeds, and diseases often thrive in soils with imbalances. Testing reveals these issues, allowing you to manage them before planting. It’s also the perfect time to assess moisture levels and drainage, which can affect plant health and yield.
Remember, soil health isn’t just about immediate improvements. It’s about setting the stage for years of bountiful gardens to come. Testing your soil is the first step on this journey.
Step 2: Identify Nutrient Deficiencies and pH Imbalances

When it comes to optimizing your garden’s potential, pinpointing nutrient deficiencies and pH imbalances in your soil is a critical step. A balanced pH is essential for plant roots to access nutrients effectively. Most plants thrive in a soil pH of 6.0 to 7.0, which is slightly acidic to neutral.
Performing a soil test can reveal the levels of key nutrients, including nitrogen (N), phosphorus (P), and potassium (K)—collectively known as the NPK ratio. Here’s what your tests can uncover:
- Nitrogen: Crucial for leafy growth, a deficiency in nitrogen can lead to stunted growth and yellowing leaves.
- Phosphorus: Vital for healthy root development and plant maturity, a lack of phosphorus might result in delayed flowering and fruiting.
- Potassium: Important for overall plant health, insufficient potassium is often evident through brown scorching and curling of leaf tips.
If tests indicate a pH imbalance, you can correct it by:
- Adding Lime: To increase the pH of acidic soil.
- Applying Sulfur: To lower the pH of alkaline soil.
Using organic amendments like compost can gradually improve nutrient content and soil structure. Green manures and cover crops such as clover or alfalfa fix nitrogen naturally, enriching the soil for the following planting season. Also, these crops can be tilled back into the earth, providing additional organic matter and nutrients.
Remember, understanding your soil’s current state is the best way to ensure you’re providing exactly what your plants need for a thriving garden. Organic matter can serve as a slow-release fertilizer, enhancing soil fertility over time. By following these steps, you’ll create a solid foundation for your garden, supporting robust plant growth and bountiful yields.
Step 3: Incorporate Organic Matter
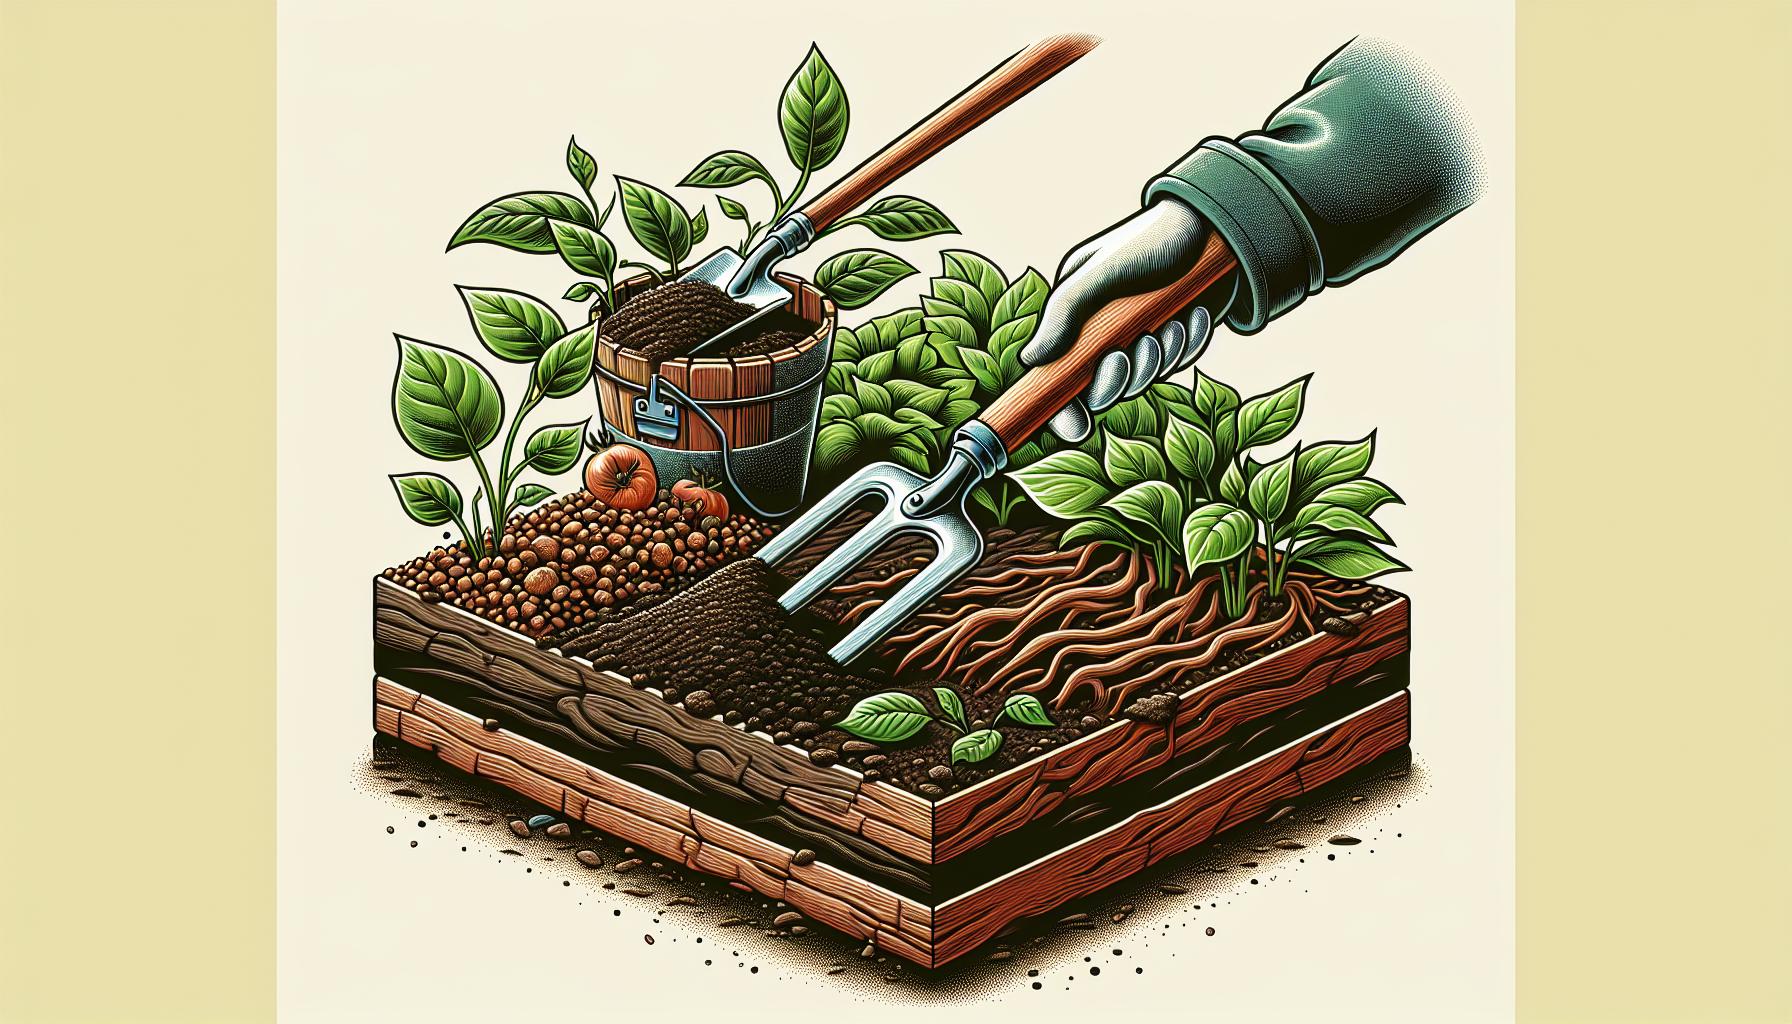
After balancing your soil’s pH and addressing nutrient deficiencies, enriching the soil with organic matter is your next step. Organic materials, such as compost, leaf mold, or well-rotted manure, offer a multitude of benefits for garden soil. They lead to:
- Improved soil structure
- Increased water retention
- Enhanced aeration
- Provision of essential nutrients
Incorporating organic material is straightforward. Throughout the fall, layer your garden beds with compost or other organic matter. This gives the materials time to break down over winter, enriching your soil for spring planting. To effectively incorporate organic matter, use a garden fork to mix it into the top 6-8 inches of your soil. The goal here is to create a nutrient-rich, well-aerated bed which will significantly boost plant health and growth.
Remember, the quality of the organic matter matters. For example, using well-rotted manure from herbivores ensures that you’re adding a weed-free, nutritious amendment to your garden. If you have a compost bin, the decomposed contents can be one of the best resources for enriching your soil.
Mulching is another key strategy for organic soil improvement. By placing a thick layer of mulch on your beds, you protect the soil from erosion and temperature extremes, while also gradually improving the earth as the organic mulch breaks down.
Also, consider implementing crop rotation and growing cover crops like clover or winter rye, which add biomass back into the soil. These plants can be turned over into the soil come spring, further improving soil quality and structure, while also preventing soilborne diseases. By maintaining a consistent practice of adding organic matter, you’ll ensure that your garden’s soil remains fertile and productive, boosting your plant’s resilience and yield.
Step 4: Improve Fertility and Texture

To get your garden soil in prime condition, enhancing its fertility and texture is key. Your soil needs to be rich in nutrients and have a good texture to allow for proper root growth and water management.
Introduce Nutrient-Rich Additives: For a nutrient boost, consider adding natural fertilisers like bone meal or fish emulsion. These are packed with essential nutrients that can supercharge your soil’s fertility.
- Bone Meal: Provides phosphorus and calcium.
- Fish Emulsion: Rich in nitrogen and micronutrients.
Both of these promote strong root development and vigorous plant growth.
Enhance Soil Texture With Sand or Clay: Depending on whether you have heavy clay soil or sandy soil, you may need to adjust the texture.
- For clay soil, incorporating sand can improve drainage and aeration.
- In sandy soil, adding clay can increase its ability to retain nutrients and water.
Integrate Green Manure: Utilising green manure, crops grown and then turned back into the soil, can significantly enrich your garden bed.
- Example: Planting legumes like clover or vetch captures nitrogen from the air and fixes it in the soil. These strategies, when combined with consistent organic matter addition, set a foundation for fertility that sustains lush and healthy plant growth. Remember, the key is achieving the right balance for your specific garden soil type to provide the best growing conditions for your plants.
Step 5: Ensure Proper Drainage
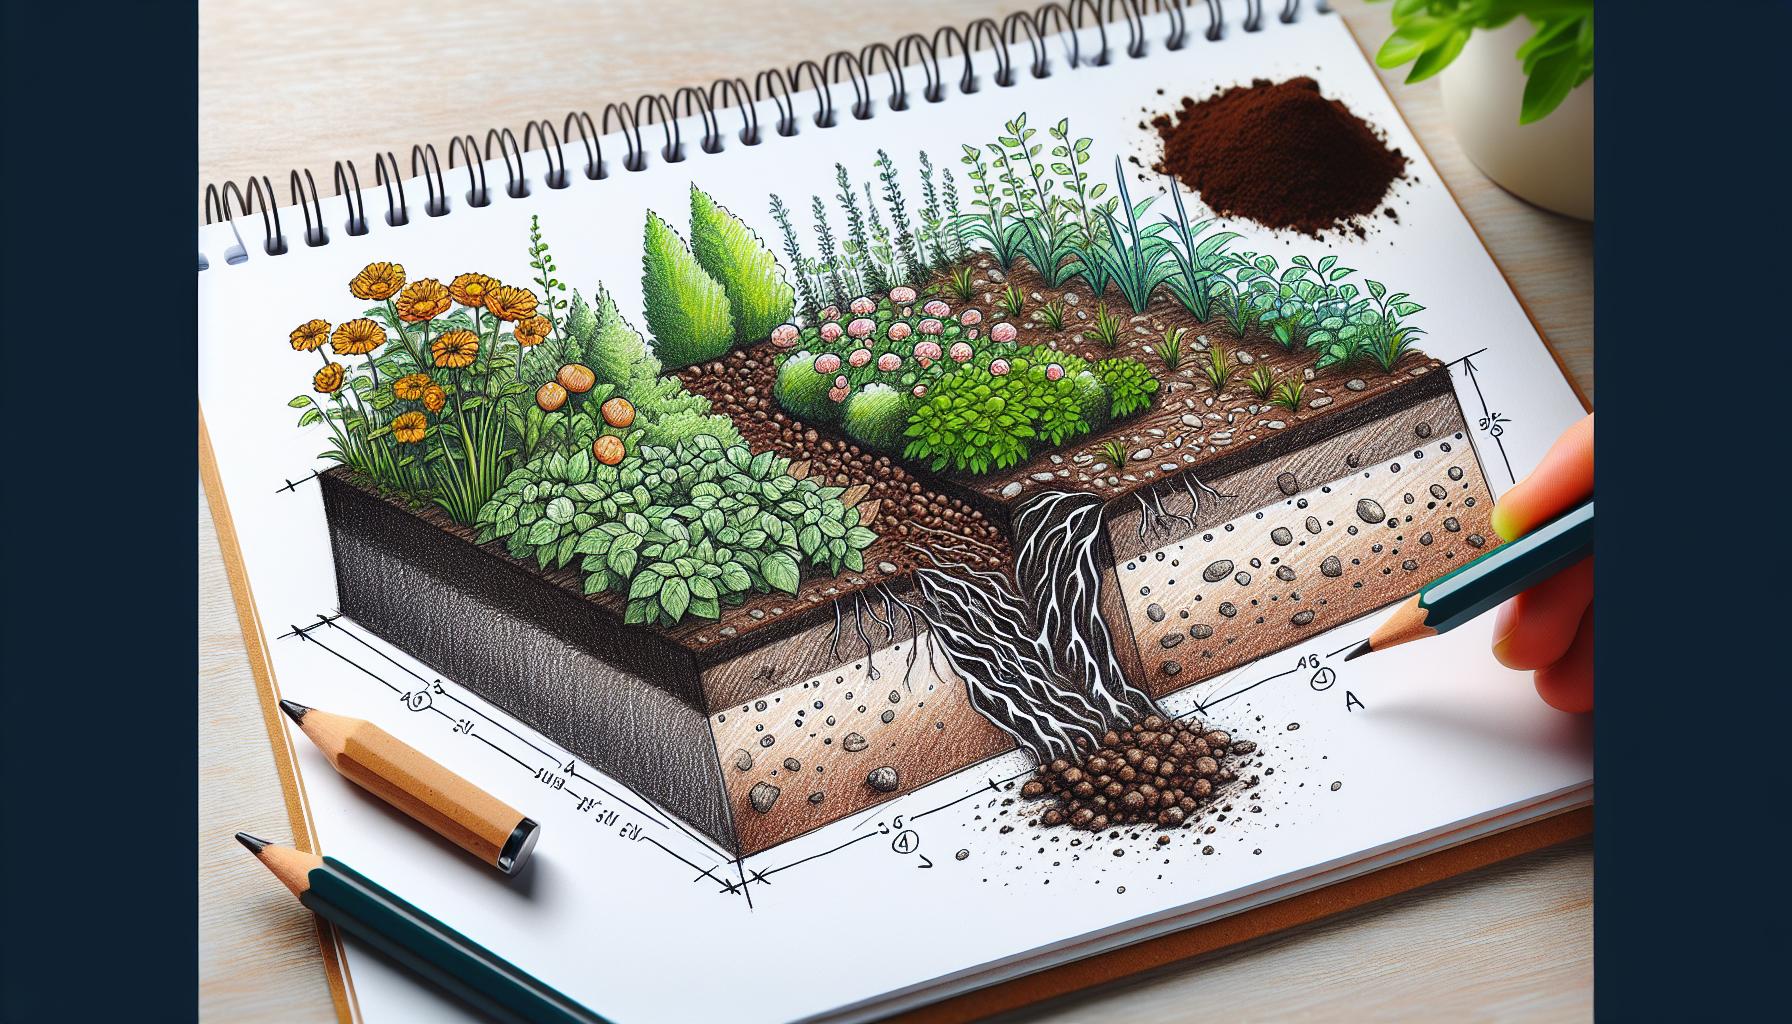
Maintaining proper drainage in your garden is essential to safeguard roots from waterlogging, which can lead to root rot and other plant diseases. Well-drained soil allows for necessary air flow to plant roots which promotes strong and healthy growth.
Improve Soil Permeability
Your first task is to assess your garden’s current drainage capability. After a heavy rainfall, observe how long it takes for the water to dissipate. Ideally, your soil should not remain soggy for more than 30 minutes after watering or rain. If it does, consider these methods to boost drainage:
- Amend the soil with organic materials like compost or well-rotted manure. These materials not only improve moisture retention but also allow excess water to drain more effectively.
- Integrate horticultural grit or perlite into the planting areas, especially if you have heavy, clay-based soil. This will increase the soil’s porosity.
Grading and Slopes
Examine the layout of your garden. The land should gently slope away from your home and garden beds to encourage water to flow outward rather than collecting at the base of plants. If you’re dealing with a flat terrain:
- Create raised beds to elevate the root zones above water collection points.
- Incorporate slopes or subtle grading in garden design to direct water runoff away from plant areas.
Install Proper Drainage Systems
For chronically wet areas, you may need to install a more robust solution:
- French drains, a system of gravel-filled trenches and perforated piping, can be installed to direct water away from plants and prevent accumulation.
- In extremely problematic areas, a sump pump might be necessary to mechanically remove excess water.
Implementing these strategies will not only optimize your garden’s drainage but will also contribute to the overall vitality and productivity of your garden space. Remember, the key to successful gardening often lies beneath the surface—ensure your soil’s structure caters to the need for both water retention and efficient drainage.
Step 6: Protect the Soil’s Structure
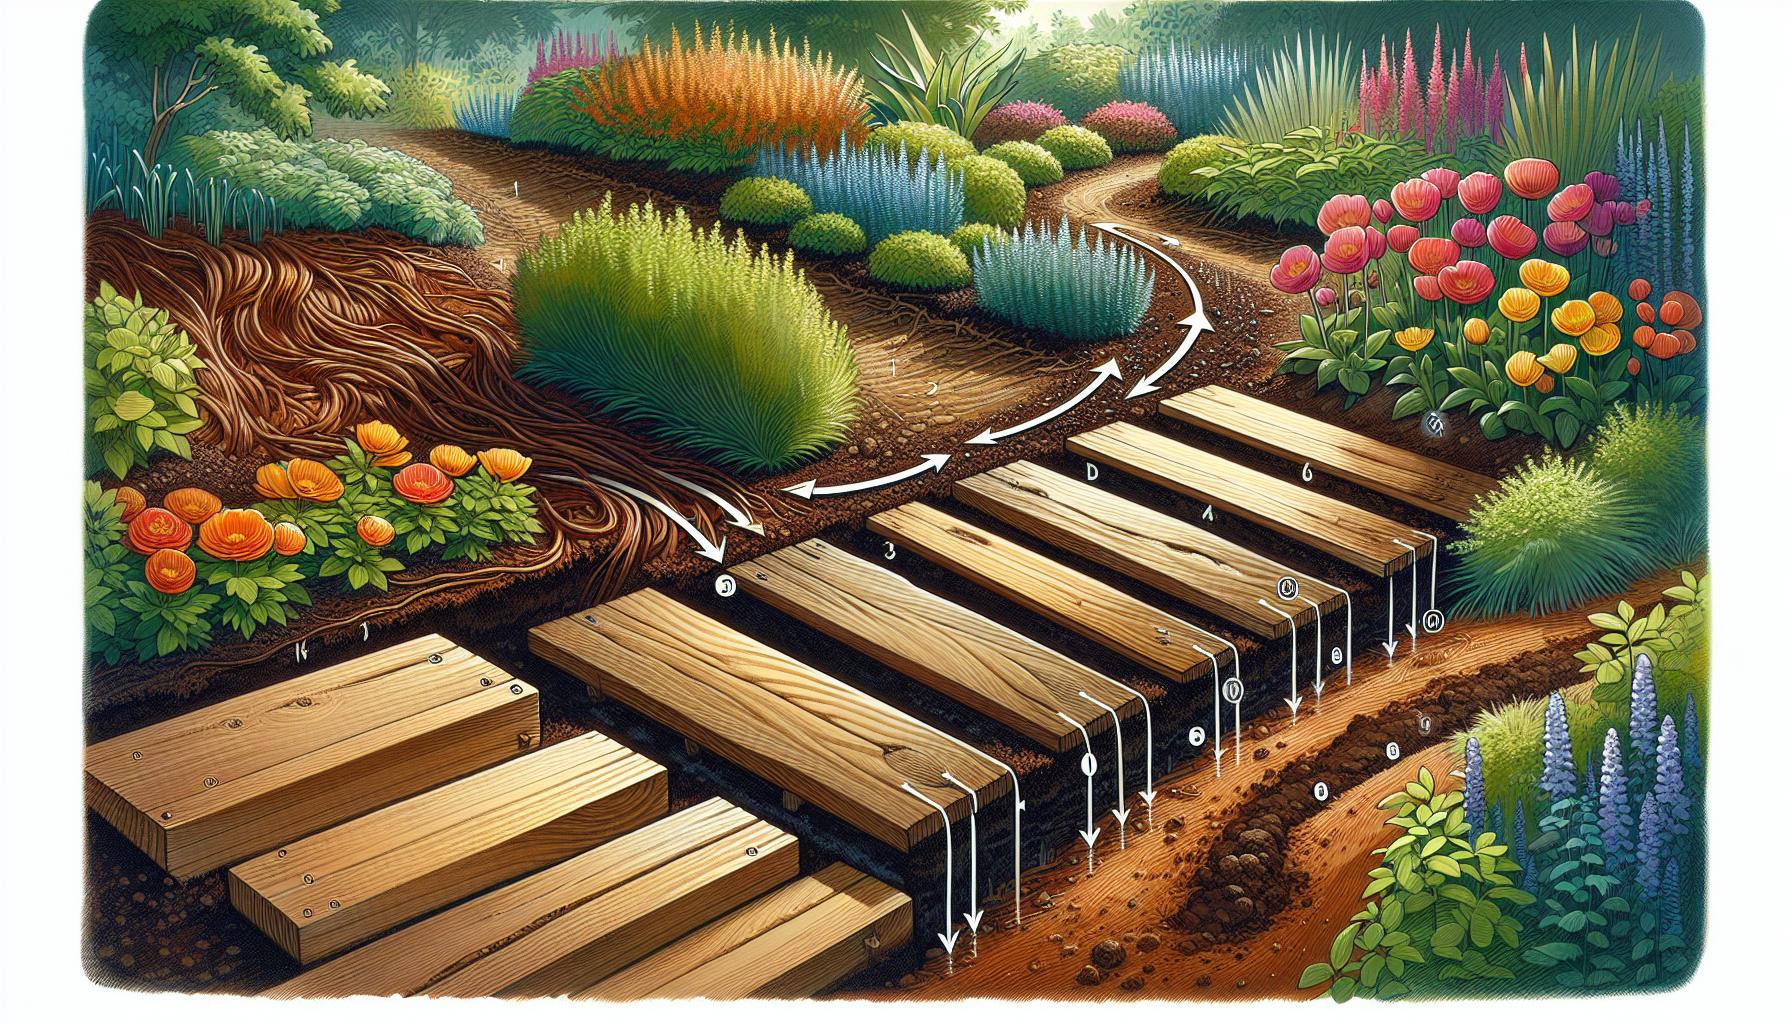
After ensuring proper drainage for your garden soil, protecting its structure is critical. Maintaining soil structure is vital because it affects water infiltration, root growth, and air circulation within the soil.
- Avoid Compaction: Keeping off wet soil is paramount. When soil is wet, it’s more susceptible to compaction, which can crush the airy pores that roots need to expand and water needs to penetrate. Stick to designated walkways and consider using boards to distribute your weight when working in the garden. – Use Mulch: Apply a layer of organic mulch, such as straw or compost. Mulch reduces the impact of heavy rains on the soil surface, preventing crust formation and erosion. Also, as mulch breaks down, it adds nutrients to the soil, fostering a robust soil ecosystem.
- Practice Crop Rotation: Rotating your crops reduces the risk of soil-borne diseases and balances the nutrients being absorbed. Different plants have varied nutrient needs and root structures, which can help maintain an evenly nourished and structured soil.
Remember, practices like deep tilling can harm the soil structure, so adopt a no-till or low-till approach where possible. This method preserves the soil’s natural layers and the beneficial organisms within it. Carry out these steps diligently to protect and maintain the health of your soil for the next planting season.
Conclusion
Now that you’ve got the know-how to protect your garden soil’s structure you’re all set for a flourishing planting season ahead. Remember to tread lightly on your soil avoid the pitfalls of compaction and let organic mulch shield it from the elements. With a no-till or low-till approach you’re not just gardening you’re stewarding a living ecosystem beneath your feet. Embrace these strategies and you’ll see the rewards in the health and vitality of your garden come next year. Happy gardening!
Colin Macmillan is a seasoned entrepreneur and the CEO of Riverwood Landscape, a leading landscaping company based in Canada. He has been at the helm of the company since leaving high school, demonstrating his strong leadership skills and business acumen.
Colin’s expertise lies in various aspects of landscaping, including lawn care, interlocking, sod installation, and commercial maintenance. His hands-on approach and dedication to the craft have been instrumental in building Riverwood Landscape into a reputable brand.
One of his most notable achievements is the creation of a successful landscape franchise that services multiple locations. This accomplishment underscores his strategic thinking and ability to scale operations effectively.
Colin has also had the privilege of working with Guelph Hospital for landscaping and maintenance, a testament to the trust and reliability that his company has earned over the years.
His professional mission is to offer the best services and experiences for customers, a goal that he tirelessly pursues. Colin’s commitment to excellence and customer satisfaction continues to drive the growth and success of Riverwood Landscape.


