Facing issues with your expandable garden hose can be frustrating, especially when it hinders your gardening activities. But before you consider tossing it out, there’s a quick and efficient solution to repair it. In just about 5 minutes, you can breathe new life into your hose, saving money and reducing waste.
Expandable garden hoses are known for their flexibility and ease of use, but they’re not immune to damage. Whether it’s a leak or a full break, the right repair kit can make all the difference. With universal compatibility and a new design that tightly connects broken hoses without additional tools, fixing your hose has never been easier. Keep reading to learn how to repair your expandable garden hose and get back to your gardening with minimal fuss.
Tools Required for Repairing an Expandable Garden Hose
Repairing an expandable garden hose requires a set of specific tools and materials to ensure that the job is done efficiently and effectively. In this section, you’ll discover exactly what you need to have on hand before you start your repair work. Whether you’re dealing with leaks, ruptures, or connection issues, being prepared is the first step to a successful repair.
Materials
To fix common issues with your expandable garden hose, such as leaks, breaks, or worn connections, you’ll need the following materials:
- E6000 Craft Adhesive: This waterproof, flexible glue is perfect for sealing holes or tears on the hose material.
- Precision Craft Cutting Blade or Razor Blade: Useful for cleanly cutting away damaged sections of the hose or making precise adjustments to the material.
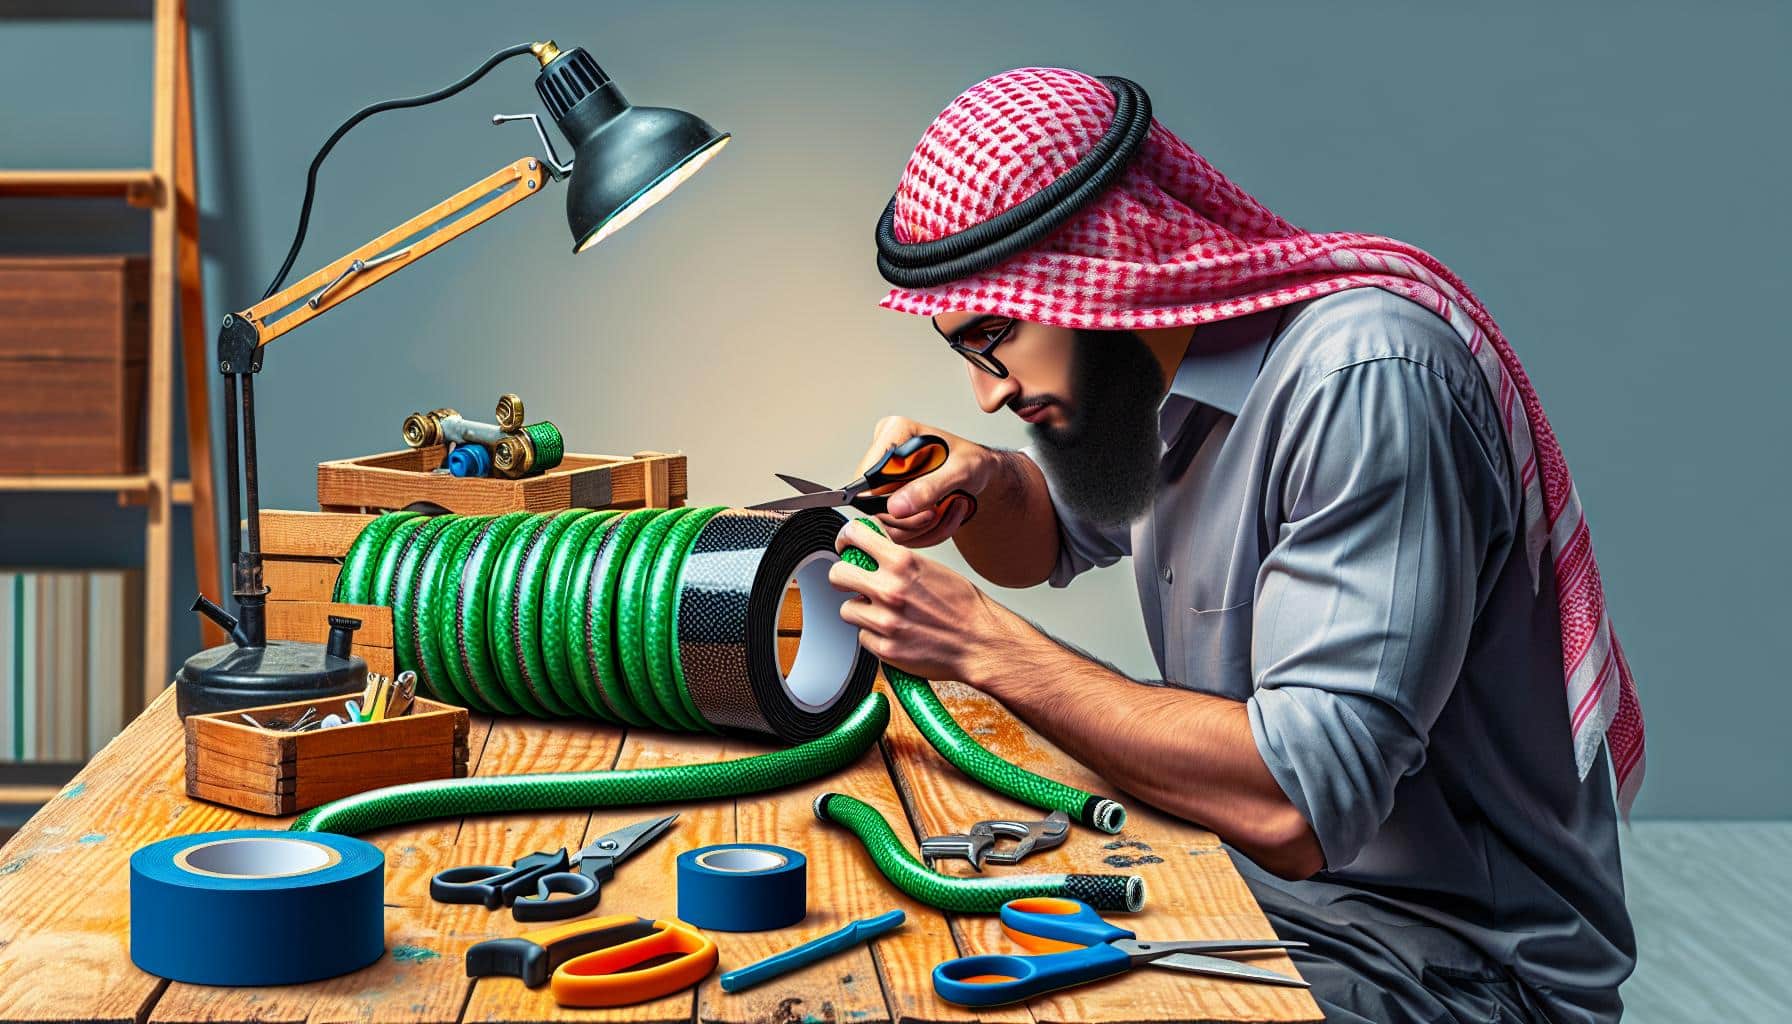
- Self-Adhesive Tape: Ideal for providing an extra layer of protection over repaired areas.
- Sewing Supplies: Needed to sew the nylon cover back together if you’ve had to cut into it to access the inner hose.
- Replacement Connectors: If the leak or issue stems from a faulty connection, having compatible female or male connectors is essential.
- Waterproof Hose Repair Tape: Specifically designed for sealing leaks in hoses, this can be a quick fix for smaller punctures or tears.
These materials will cover the essentials for most repairs about expandable garden hoses. Having them ready will make the repair process smoother and more efficient.
Optional Tools
Plus to the essential materials, there are a few optional tools that might make your repair work easier or lead to a higher quality repair:
- Garden Hose Repair Kit: Some manufacturers offer repair kits specifically tailored for their hoses. These kits often include compatible connectors, sealing tapes, and sometimes special tools designed for their product.
- Box Cutters or Garden Shears: While a precision craft cutting blade is recommended for detailed work, these tools can be useful for removing large sections of damaged hose.
- Latex Gloves: Protect your hands from adhesive, and help in handling slippery materials when cleaning and repairing the hose.
- Hose Clamps: For securing connectors in place or ensuring tight seals around repaired areas.
Armed with the right materials and tools, you’re now prepared to tackle most common issues that arise with expandable garden hoses. Remember, the key to a successful repair is not just having the right tools but also understanding the specific problem you’re dealing with. Take the time to carefully inspect your hose and plan your repair strategy before diving in.
Step-by-Step Guide to Repairing an Expandable Garden Hose

Repairing an expandable garden hose doesn’t have to be intimidating. With the right materials and a bit of patience, you can extend the life of your hose significantly. Here’s how to tackle this task effectively.
Step 1: Identify the Leak
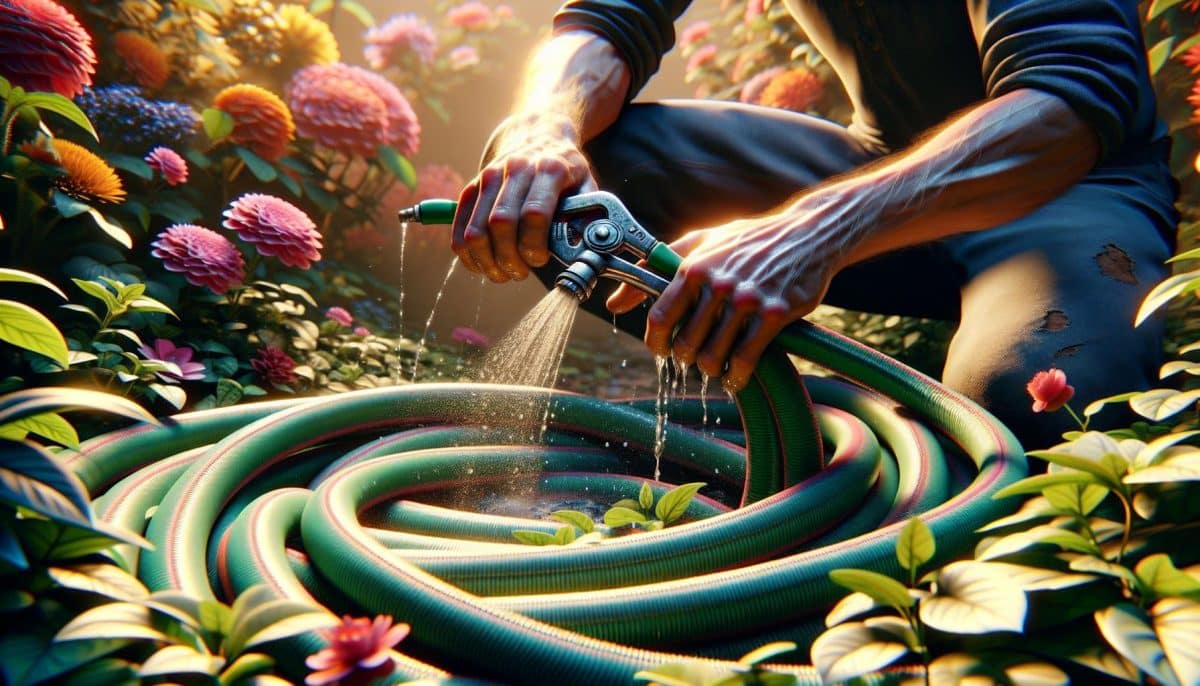
First things first, you need to locate the source of the leak. This initial step is crucial as it directs the rest of your repair process. Attach your hose to a water supply and gently turn on the water. Observe the hose as it expands; you’re looking for water escaping from places it shouldn’t. It might be a tiny puncture or a significant tear — either way, mark the leak clearly with a piece of brightly coloured tape. This visual marker will be instrumental as you proceed to the next steps.
Step 2: Prepare the Hose for Repair
Once you’ve identified and marked the leak, disconnect your hose and ensure it’s fully drained of water. Allowing the hose to return to its normal, unexpanded size is vital for an accurate repair. Make sure the area around the leak is clean and dry before you start repairing. Any dirt or moisture can compromise the adhesive’s ability to seal the leak effectively. Having the right tools at your disposal, such as Precision Craft Cutting Blades or Box Cutters, will aid in preparing the hose efficiently without causing further damage.
Step 3: Fixing the Leak
Onto the most critical part – fixing the leak. Your approach depends on the size and location of the leak. For small punctures, a robust waterproof hose repair tape might be all you need. Ensure the tape extends a few inches beyond the leak in all directions for a secure seal. If the damage is more significant, you may need to consider a patch. Using a piece of the same material as your hose, apply E6000 Craft Adhesive to both the patch and hose around the leak, press firmly, and allow the adhesive to cure as per the manufacturer’s instructions. In cases where the leak occurs near a connector, replacing the faulty connector with a new one might be the best solution. Replacement connectors are readily available and can be screwed on in place of the damaged one, ensuring a watertight fit.
Remember, regular inspections and proper hose maintenance, like avoiding sharp objects and ensuring gentle handling, can prevent many types of damage. By following these steps, you’ll not only fix your hose but also learn valuable skills in maintaining gardening tools for years of reliable service.
Maintaining and Extending the Lifespan of Your Expandable Garden Hose

To ensure your expandable garden hose serves you well for the long haul, it’s crucial to adopt a regimen of proper care and maintenance. These hoses, celebrated for their convenience and versatility, demand specific handling to prevent damage and prolong their usability. This section delves into effective cleaning and storage tips, as well as preventive measures that shield your hose from wear and tear.
Cleaning and Storing Tips
Cleaning Your Hose Regularly
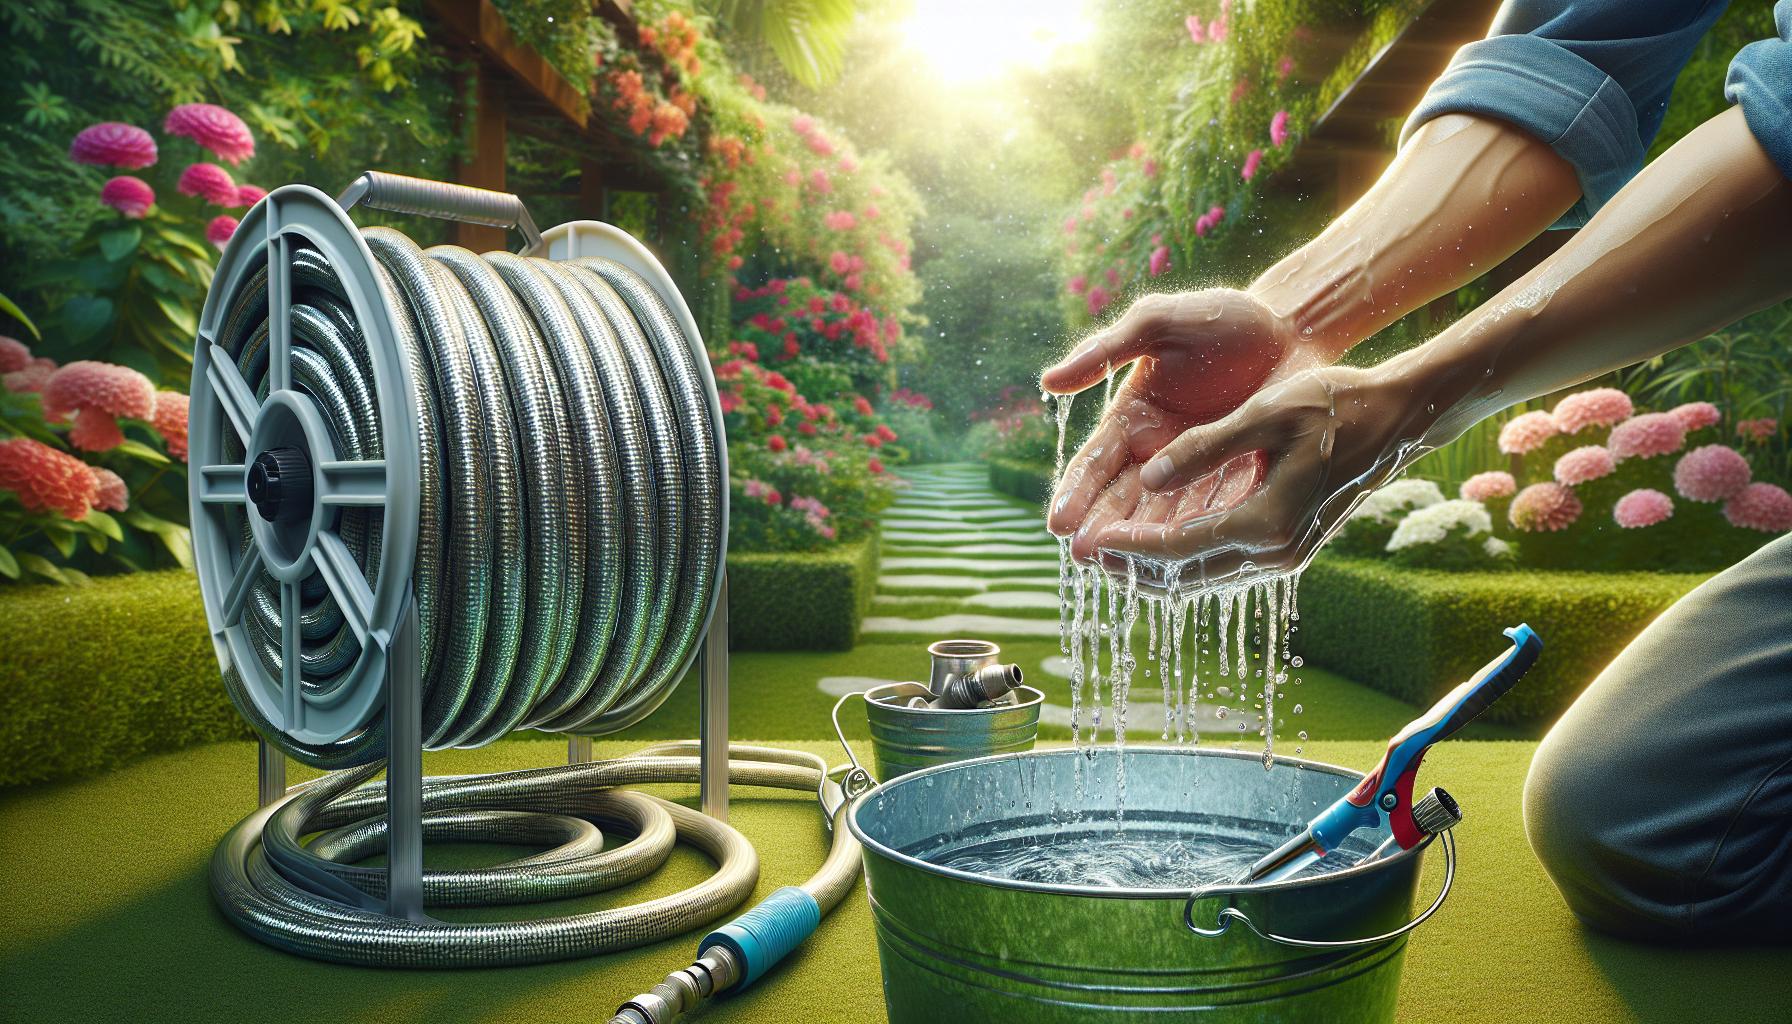
An often-overlooked aspect of garden hose maintenance is regular cleaning. After each use, it’s beneficial to flush out any residual water to prevent the build-up of minerals or algae inside the hose. To do this, simply attach it to the tap and allow clean water to run through it for a few minutes. For a deeper clean, fill a bucket with water and add a mild disinfectant or a mixture of water and vinegar. Attach one end to a water source, fill the hose with the cleaning solution, then let it sit for up to an hour before flushing it with clean water.
Proper Storage Is Key
How you store an expandable garden hose significantly impacts its lifespan. To avoid unnecessary stress and wear:
- Always drain the hose completely before storing to prevent damage from water left inside.
- Avoid leaving the hose exposed to prolonged sunlight or freezing temperatures. UV rays can degrade the materials, while ice formation can cause the inner tube to burst.
- Never store the hose with kinks or knots, as this can weaken the fabric and lead to leaks.
- Use a hose hanger or reel designed for expandable hoses to keep it off the ground, ensuring it’s neatly coiled and ready for the next use.
Preventive Measures
Regular Inspections
Dedicate time to periodically inspect your hose for signs of wear or damage, such as small leaks, cracks, or weak spots in the fabric. Early detection means you can address issues before they escalate, saving you from the inconvenience and cost of frequent replacements.
Use With Care
While expandable hoses are designed for flexibility, they’re not invincible. To avoid accidental damage:
- Steer clear of dragging the hose over sharp objects or rough surfaces that could puncture or tear the material.
- Don’t overstretch the hose to its maximum length, as constant tension can strain the connectors and fabric.
- Ensure the water pressure is within the recommended range for your hose. Excessive pressure can lead to ruptures in the inner tube.
Invest in Quality Connectors and Adapters
Cheap connectors often result in poor fittings and leaks. Investing in high-quality brass or metal connectors can enhance the durability of your hose. Similarly, using adapters that match your faucet’s size and type can prevent unnecessary strain on the hose ends.
Common Issues with Expandable Garden Hoses

Expandable garden hoses are favoured for their flexibility and ease of use, yet they’re prone to specific problems that can hinder their performance. Understanding these issues is crucial for maintaining your hose’s longevity.
Leaks
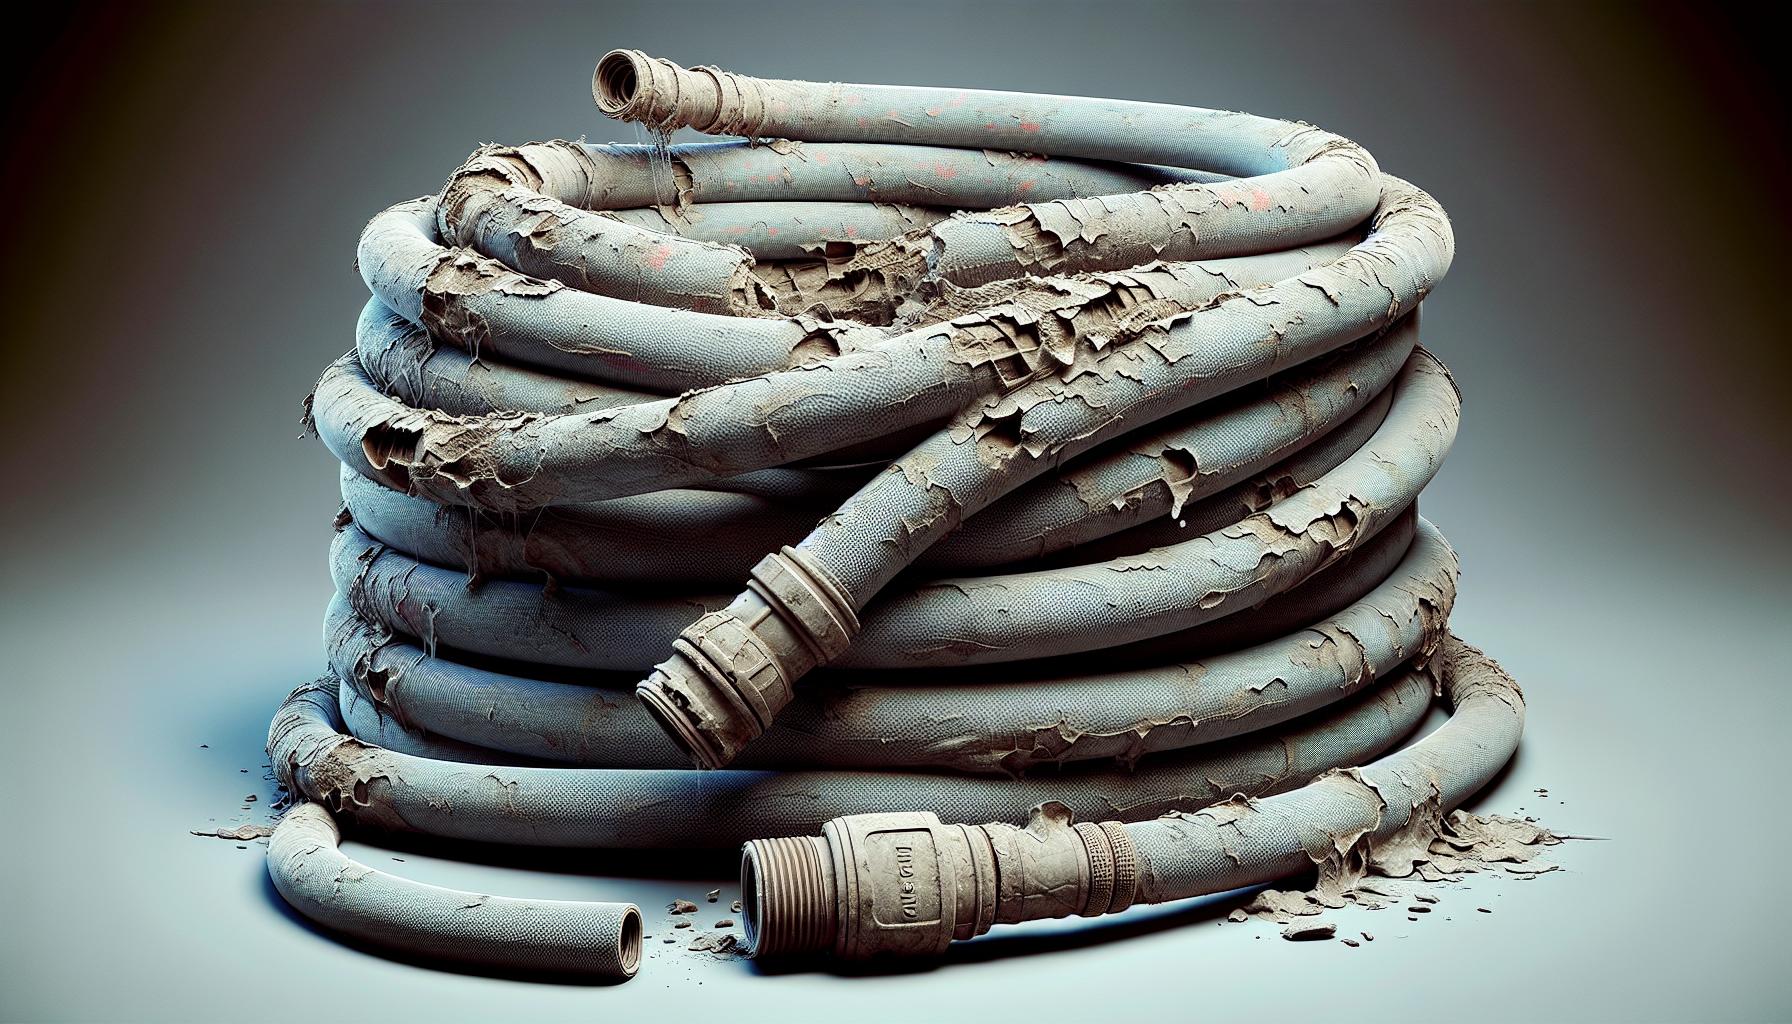
Leaks are the most common complaint among expandable garden hose users. They can arise from small punctures in the hose’s fabric outer layer or from wear and tear on the inner tube. Regular inspection can help identify leaks early, before they render the hose unusable.
Tangles and Kinks
Even though their kink-resistant claims, tangles and kinks can occur, especially if the hose is not stored correctly. This twisting can damage the inner workings of the hose, leading to decreased water flow or additional leaks.
Connector Failures
The point where the hose attaches to the tap or nozzle is another common failure spot, known as connector failure. High-quality connectors can mitigate this risk, but over time, even the best connectors can succumb to wear, leading to leaks or detachment.
Identifying these issues early allows you to take the necessary steps to repair your expandable garden hose, ensuring it remains a reliable tool in your gardening arsenal. Proper care and maintenance can address these common problems, extending the life and functionality of your hose.
Conclusion
Repairing your expandable garden hose isn’t just about fixing it when it’s broken; it’s about understanding its needs and ensuring it serves you well for years to come. By staying vigilant and addressing issues like leaks, tangles, and connector problems early, you’re not just saving your hose; you’re also saving yourself from the hassle and expense of frequent replacements. Remember, a well-maintained hose is key to a flourishing garden. So, take the time to inspect and care for your hose regularly, ensuring it remains a reliable ally in your gardening endeavours.
Colin Macmillan is a seasoned entrepreneur and the CEO of Riverwood Landscape, a leading landscaping company based in Canada. He has been at the helm of the company since leaving high school, demonstrating his strong leadership skills and business acumen.
Colin’s expertise lies in various aspects of landscaping, including lawn care, interlocking, sod installation, and commercial maintenance. His hands-on approach and dedication to the craft have been instrumental in building Riverwood Landscape into a reputable brand.
One of his most notable achievements is the creation of a successful landscape franchise that services multiple locations. This accomplishment underscores his strategic thinking and ability to scale operations effectively.
Colin has also had the privilege of working with Guelph Hospital for landscaping and maintenance, a testament to the trust and reliability that his company has earned over the years.
His professional mission is to offer the best services and experiences for customers, a goal that he tirelessly pursues. Colin’s commitment to excellence and customer satisfaction continues to drive the growth and success of Riverwood Landscape.


