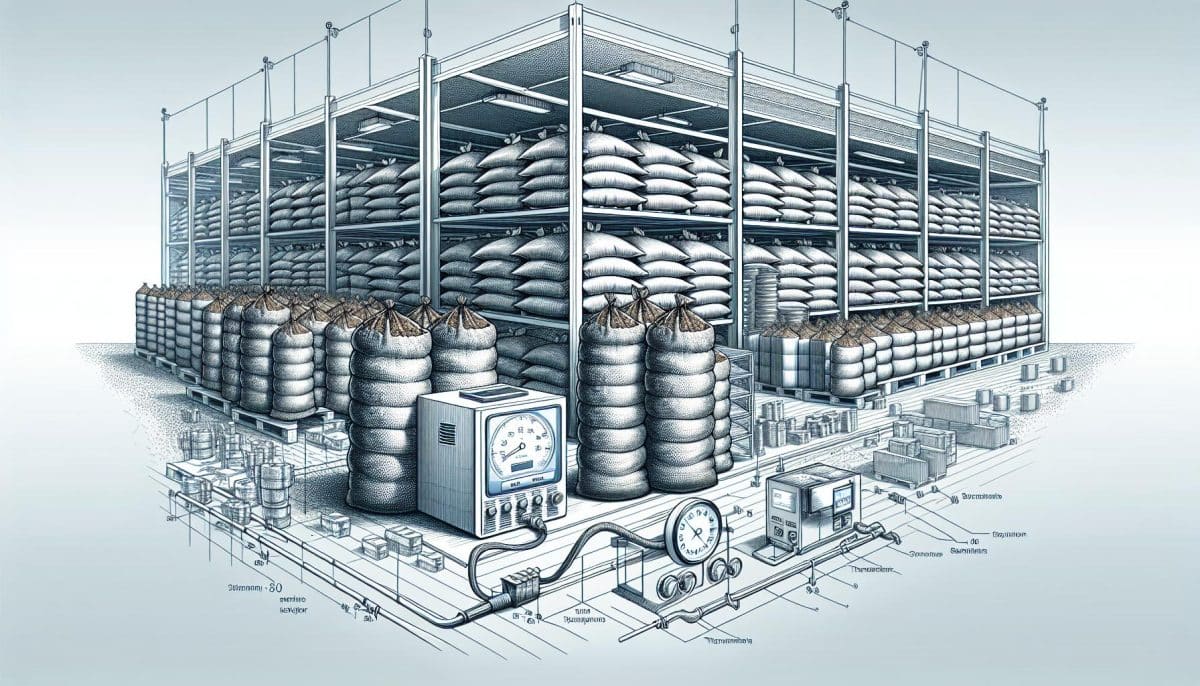
Storing large amounts of soil might seem straightforward, but it’s crucial to get it right to maintain its quality. Whether you’re a gardening enthusiast with excess topsoil or a landscaper managing bulk quantities, proper storage is key. You’ll want to protect your soil from weeds, pests, and erosion, ensuring it’s ready for when you need it.
Understanding the best practices for soil storage can save you time and money, and preserve the health of your soil. Let’s jump into effective strategies that’ll keep your soil in top condition, whether you’re storing it for a short spell or over the long haul.
Why Proper Soil Storage is Important
Proper soil storage is critical for sustaining its quality over time. By understanding and implementing the right storage techniques, you’ll ensure that your soil remains nutrient-rich and free of contaminants. Let’s investigate into the reasons proper soil management is non-negotiable.
Firstly, when you store soil correctly, nutrient depletion is minimized. Soil that’s left uncovered or improperly stored can suffer from nutrient loss due to leaching and erosion. These nutrients are essential for plant growth and can be costly to replace.
Secondly, by keeping your soil in a designated area, you reduce the risk of contamination from pollutants or chemicals. This is particularly important if your soil will be used for growing food crops, as it helps to ensure that your produce is safe for consumption.
Finally, proper soil storage helps to keep it structurally intact. Soil’s composition can be compromised when exposed to heavy rains or intense heat, leading to compaction or the breakdown of organic matter. By shielding your soil from these elements, you preserve its structure, ensuring that it remains aerated and loose, making it easier to work with when the time comes.
Implementing robust storage methods can yield long-term benefits by preserving the life and productivity of your soil, while protecting it from weeds and pests. Keep these points in mind as you decide on the best strategies for storing large soil volumes, and remember, the health of your soil directly influences the success of your future projects.
Assessing Your Soil Storage Needs
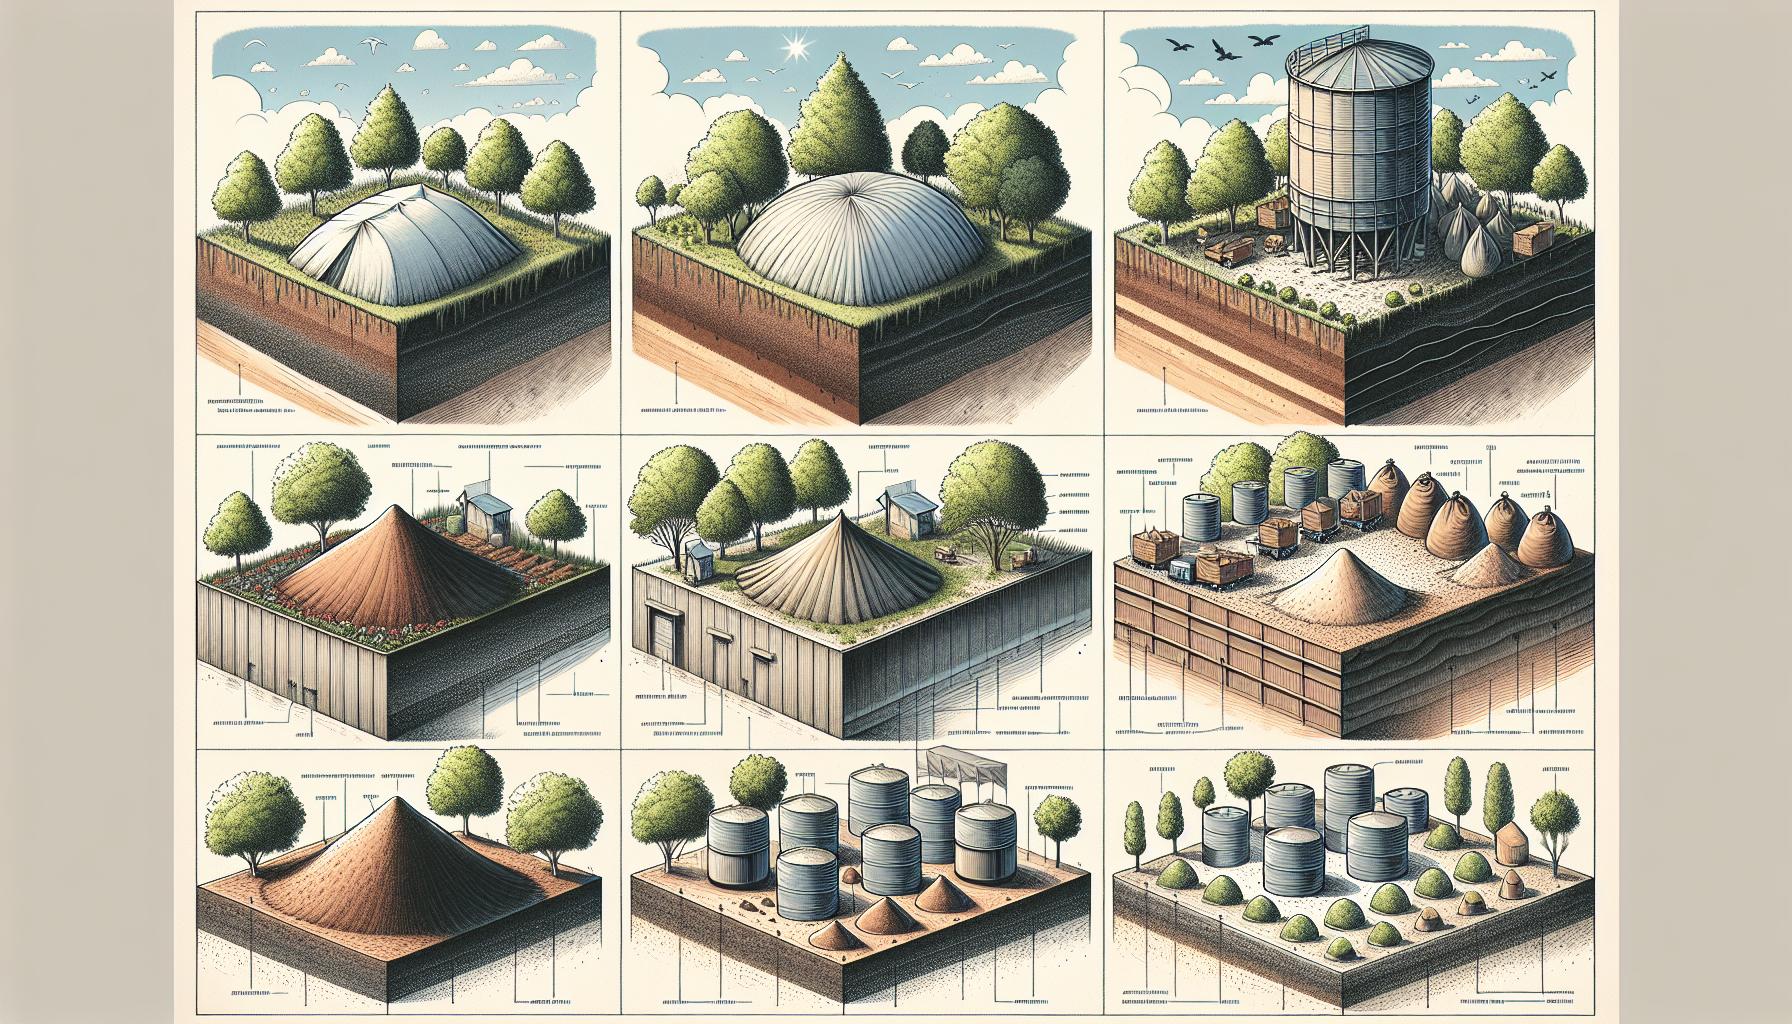
Before you decide on how to store your soil, it’s essential to assess your specific requirements. Consider the volume of soil you need to store, as this will determine the size of your storage solution. Are you looking to preserve a small garden’s worth or are you in charge of a large-scale agricultural project? Identify the Type of Soil you’re dealing with. Sandy soils, for example, have different storage needs compared to clay soils. The former tends to dry out quickly and may require covered storage solutions to retain moisture, while the latter can become compacted if too much weight is applied during storage.
Estimate the Duration of storage. If you’re storing soil over winter, protection against freezing temperatures is crucial to prevent the soil structure from breaking down. On the other hand, if you’ll be using the soil within a few weeks, your approach to storage can be more temporary and less intensive.
Evaluate Access Needs for your stored soil. How often will you need to access it? Frequent use requires a storage method that allows for easy reach and minimizes the effort of moving large quantities.
Examine Your Budget Constraints. The cost of storage solutions can vary significantly, so it’s vital to balance your financial resources with the ideal storage conditions. Simple tarp covers might suffice for short-term storage, whereas permanent structures are more cost-intensive but serve better for long-term storage.
Remember to factor in Location and Environmental Considerations. If your storage area is susceptible to high winds, water run-off, or animal disturbances, your storage method must be robust enough to withstand these elements.
When you’ve accurately assessed your soil storage needs, you’ll be able to choose a solution that maintains your soil’s health, structure, and fertility, ready for when you need it next.
Choosing the Right Storage Containers
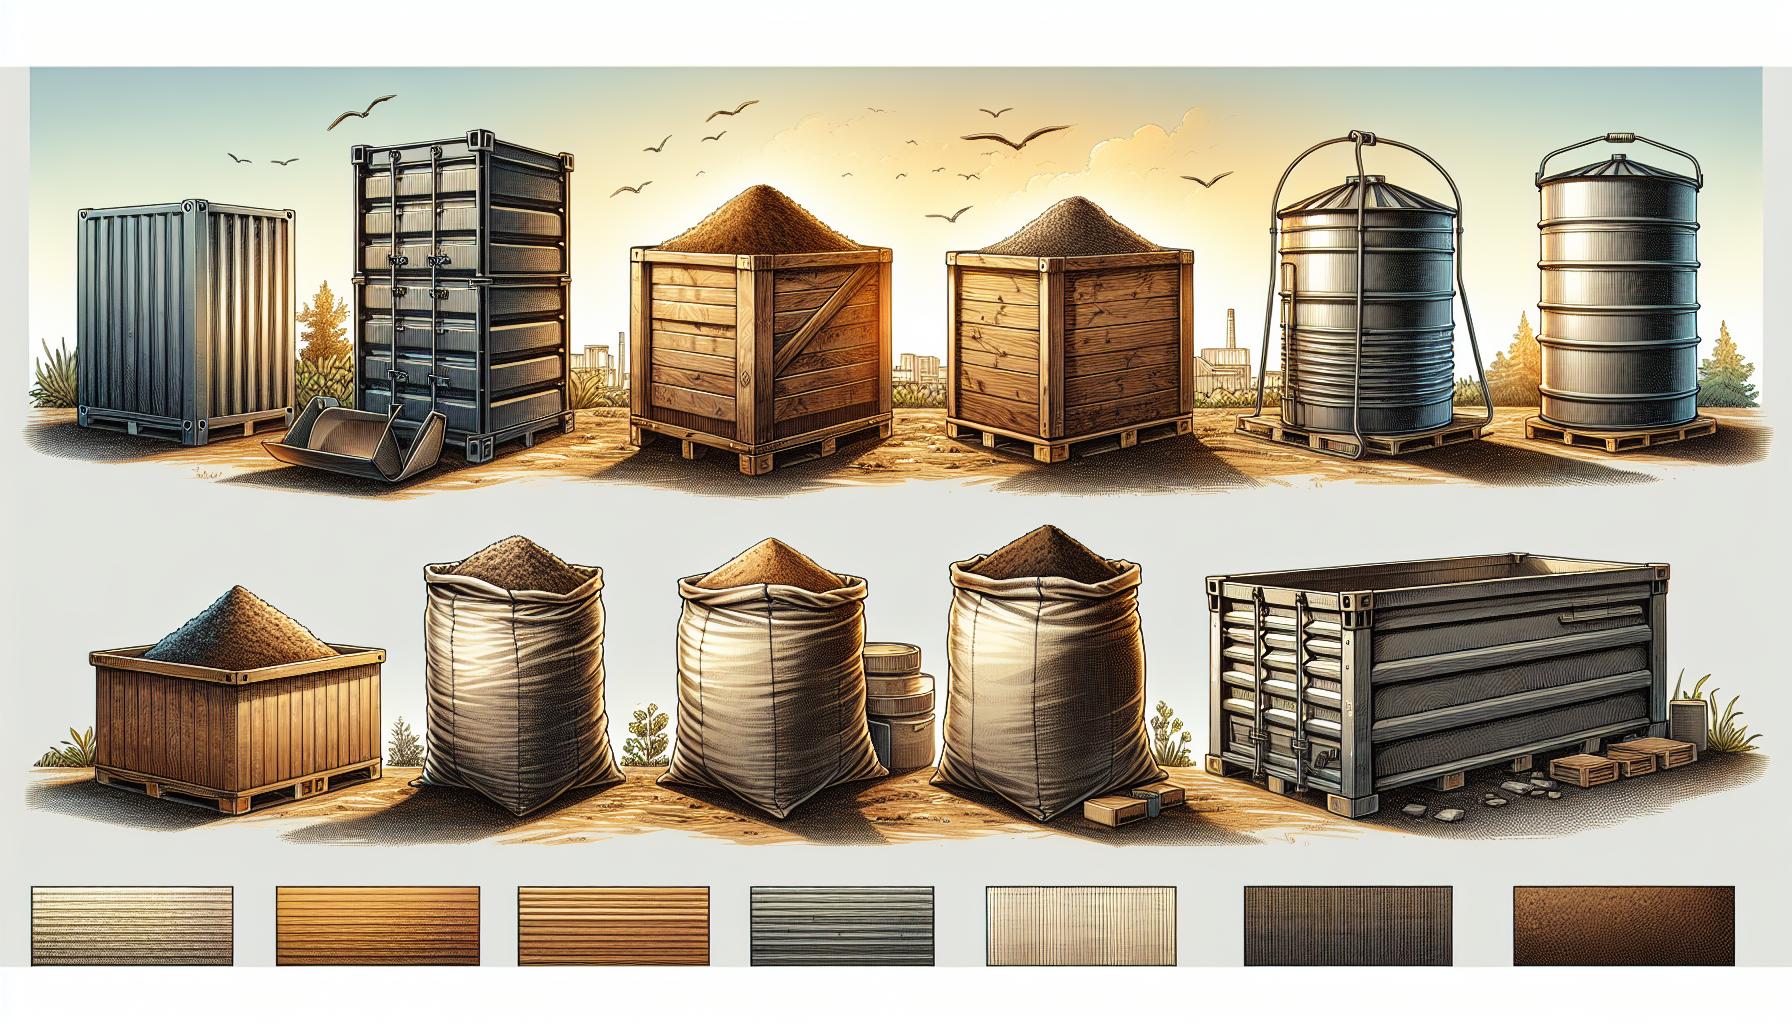
When you’re looking to store large volumes of soil, selecting the right storage container is critical for maintaining soil quality. Your storage container must shield the soil from the elements while allowing it to “breathe.”
Metal Bins
- Durable and resistant to rodent damage
- Often galvanised to prevent rust
Wooden Crates
- Provide natural insulation – Can be customised to fit different spaces
Polypropylene Bags
- Flexible and cost-effective
- Suitable for temporary storage
Concrete Bins
- Ideal for outdoor storage
- Permanent and sturdy
Selecting the perfect container also depends on the type of soil and its use after storage. Sandy soils, for instance, require different storage solutions than clay-heavy soils which may need containers that prevent compaction and maintain aeration.
Besides, you need to factor in accessibility. Containers with easy access help regular monitoring and turning of the soil, which is essential to avoid anaerobic conditions that might harm its fertility. Leading options include bins with removable lids or doors.
Incorporating proper aeration systems or drainage is another key aspect. Some containers come with built-in ventilation, while others may need you to create a system to ensure proper air flow, so preventing mold and bacteria growth.
Your budget plays a role in your choice as well. While long-term solutions like concrete bins may seem expensive initially, they could save money over time due to their durability. In contrast, polypropylene bags offer a more budget-friendly option up front, but might not be as cost-effective for long-term use.
Consider also the ease of transportation. If you anticipate needing to move your stored soil, containers such as bags or movable bins should be on your list of options. Finally, local environmental regulations may dictate certain requirements for soil storage. It’s essential to verify this beforehand to ensure that your chosen method is compliant. Assessing your needs along these lines lets you narrow down the container options to those that will best serve your specific soil storage situation. Remember, the right container not only preserves the health and fertility of the soil but also eases the management process for you.
Preparing the Storage Area
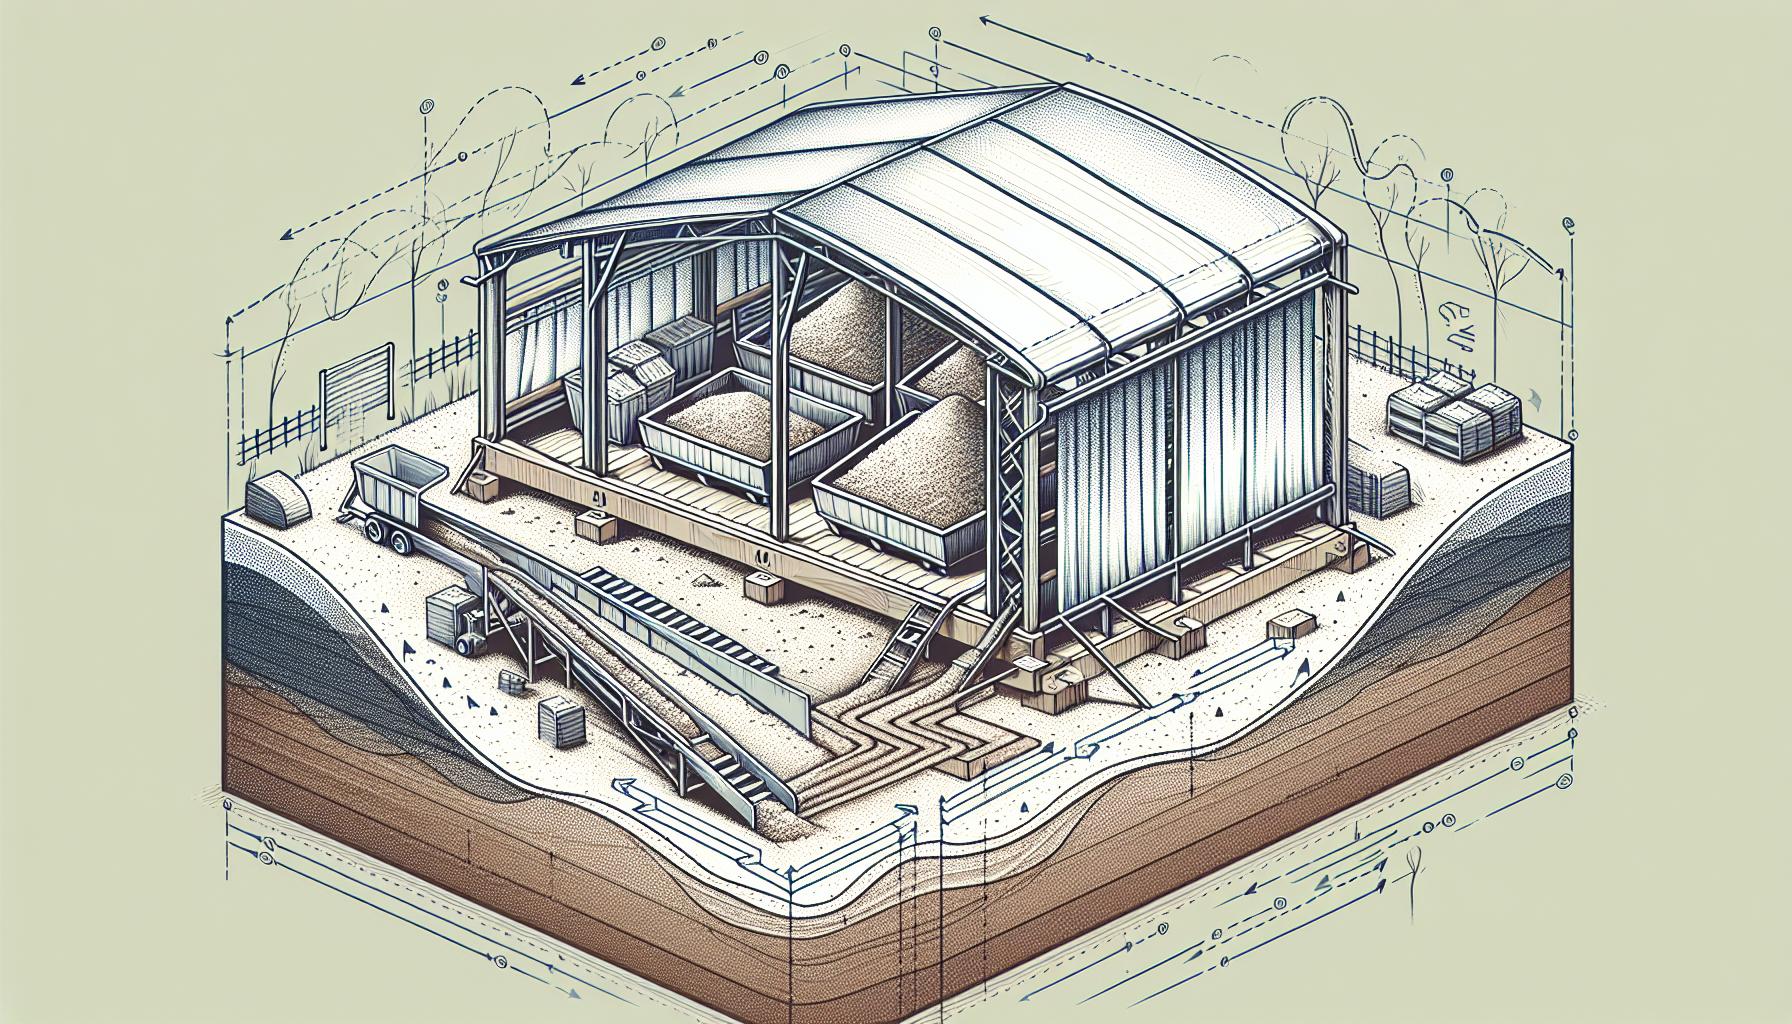
When tackling the task of soil storage, preparing the storage area properly is a critical step that ensures your soil remains in the best possible condition. Start by selecting a location that’s dry and sheltered from extreme weather conditions. This could be an indoor space like a shed or warehouse or a well-designed outdoor facility with protective coverings.
Ensure Proper Drainage: To prevent water accumulation that can lead to soil compaction and contamination, your chosen site must have excellent drainage. You might need to install a bespoke drainage system or improve the natural grading of the storage area to help runoff.
Controlled Environment: If storing soil indoors, regulate temperature and humidity to protect the soil’s biological integrity. Constant monitoring can prevent the growth of mold and bacteria that thrive in more humid conditions.
Prevent Contamination: Prioritize a storage area that’s distanced from potential pollutants. For example, keeping your soil storage away from industrial activities or agricultural runoff minimizes the risk of chemical contamination.
Accessibility: You’ve got to make sure the area is easily accessible for loading and unloading. Wide entrances and sturdy flooring that can support heavy machinery are essential for handling large volumes of soil efficiently.
Remember, the soil’s condition upon storage directly impacts its quality later on. Hence, invest time and effort in preparing your storage area, addressing everything from environmental controls to accessibility for the best results in soil maintenance and use.
Storing Soil Indoors
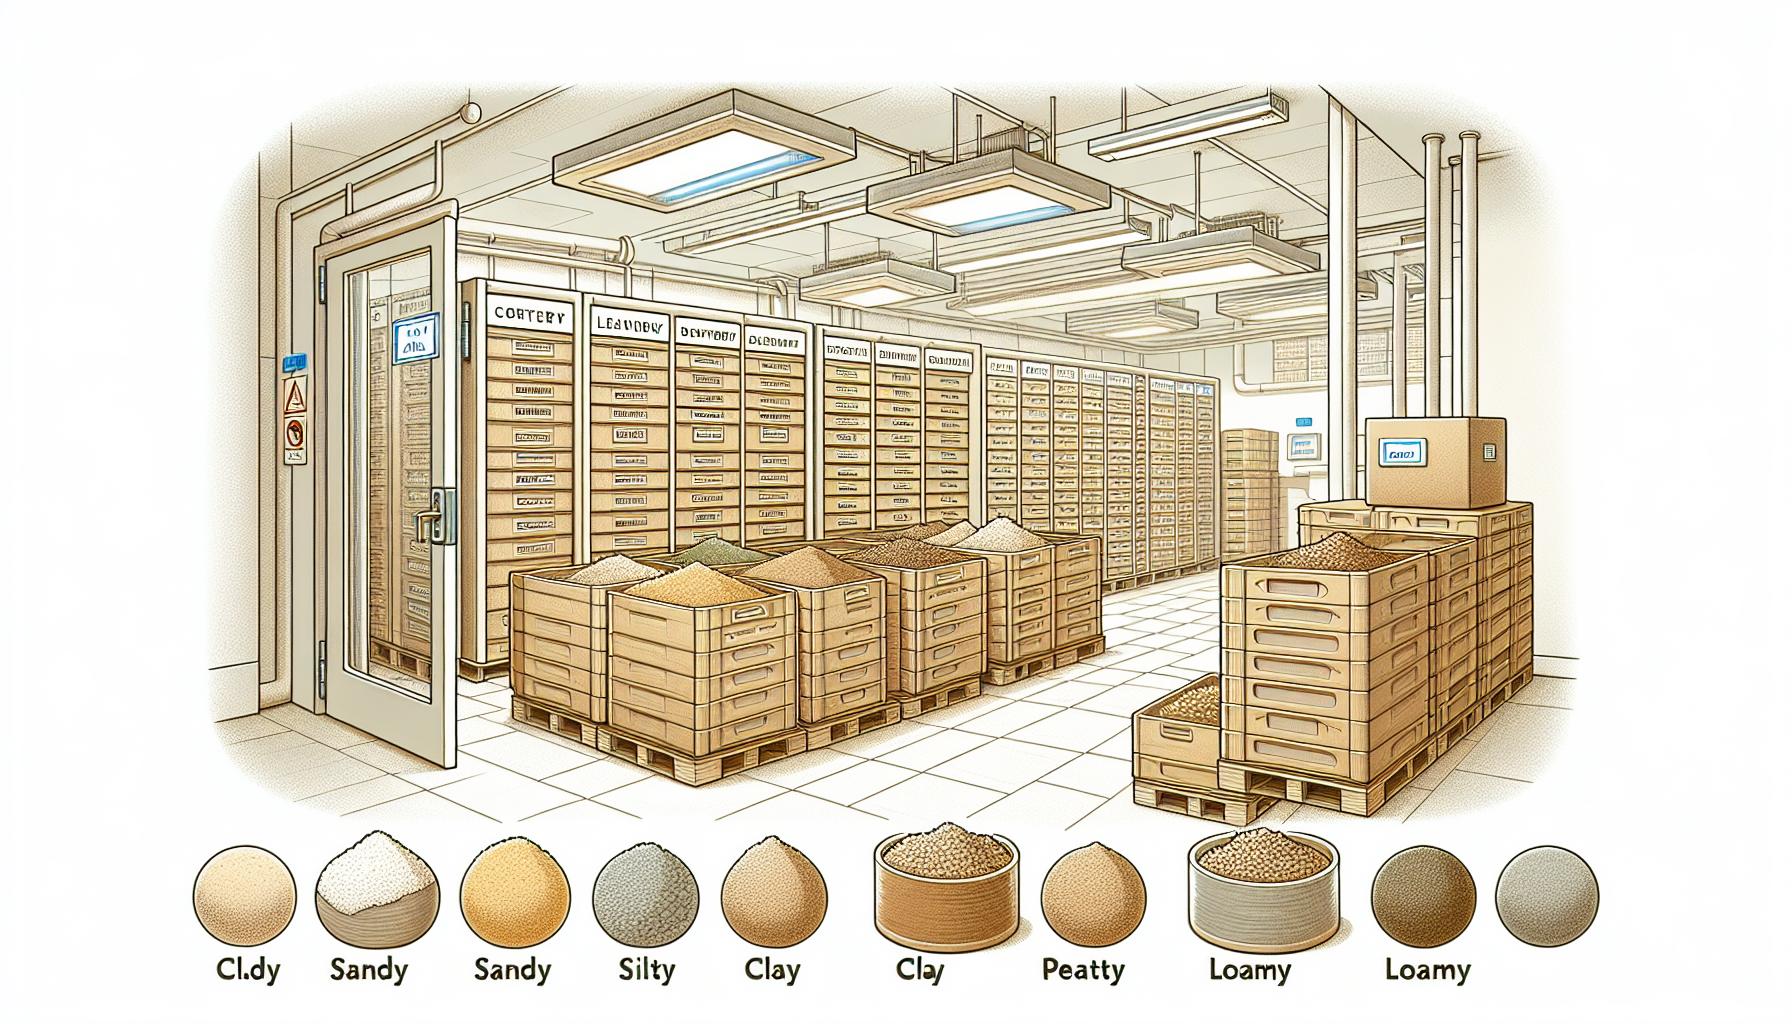
When the option arises to store large amounts of soil inside, you’ll notice a significant difference in the maintenance of soil quality. Indoor storage shields the soil from extreme weather conditions which can erode or degrade it. Firstly, consider the type of container you’ll use for storage. Heavy-duty polyethylene bags, sealed bins, or concrete-lined bays can be ideal for maintaining the soil’s condition. These containers reduce the risk of contamination and make it easier to manage soil quantities.
Using climate-controlled environments further preserves the soil’s characteristics. This entails controlling humidity and temperature to prevent the growth of unwanted mold or bacteria. Measure these parameters regularly and adjust as needed to mimic the soil’s natural outdoor conditions.
Besides, proper labelling and organization of soil types is crucial for indoor storage. This system ensures quick identification and prevents accidental mixing of soil with different properties, preserving the distinctiveness of each soil type.
Consider these points if you’re dealing with specialty soils:
- Nutrient-rich soils: Store away from light to prevent nutrient breakdown.
- pH-sensitive soils: Keep in buffered environments to avoid pH swings.
Remember, when integrating an indoor soil storage system, adapt the space to replicate outdoor conditions as closely as possible. Tailoring your approach to the specific soil type will support your long-term soil management and application success.
Storing Soil Outdoors
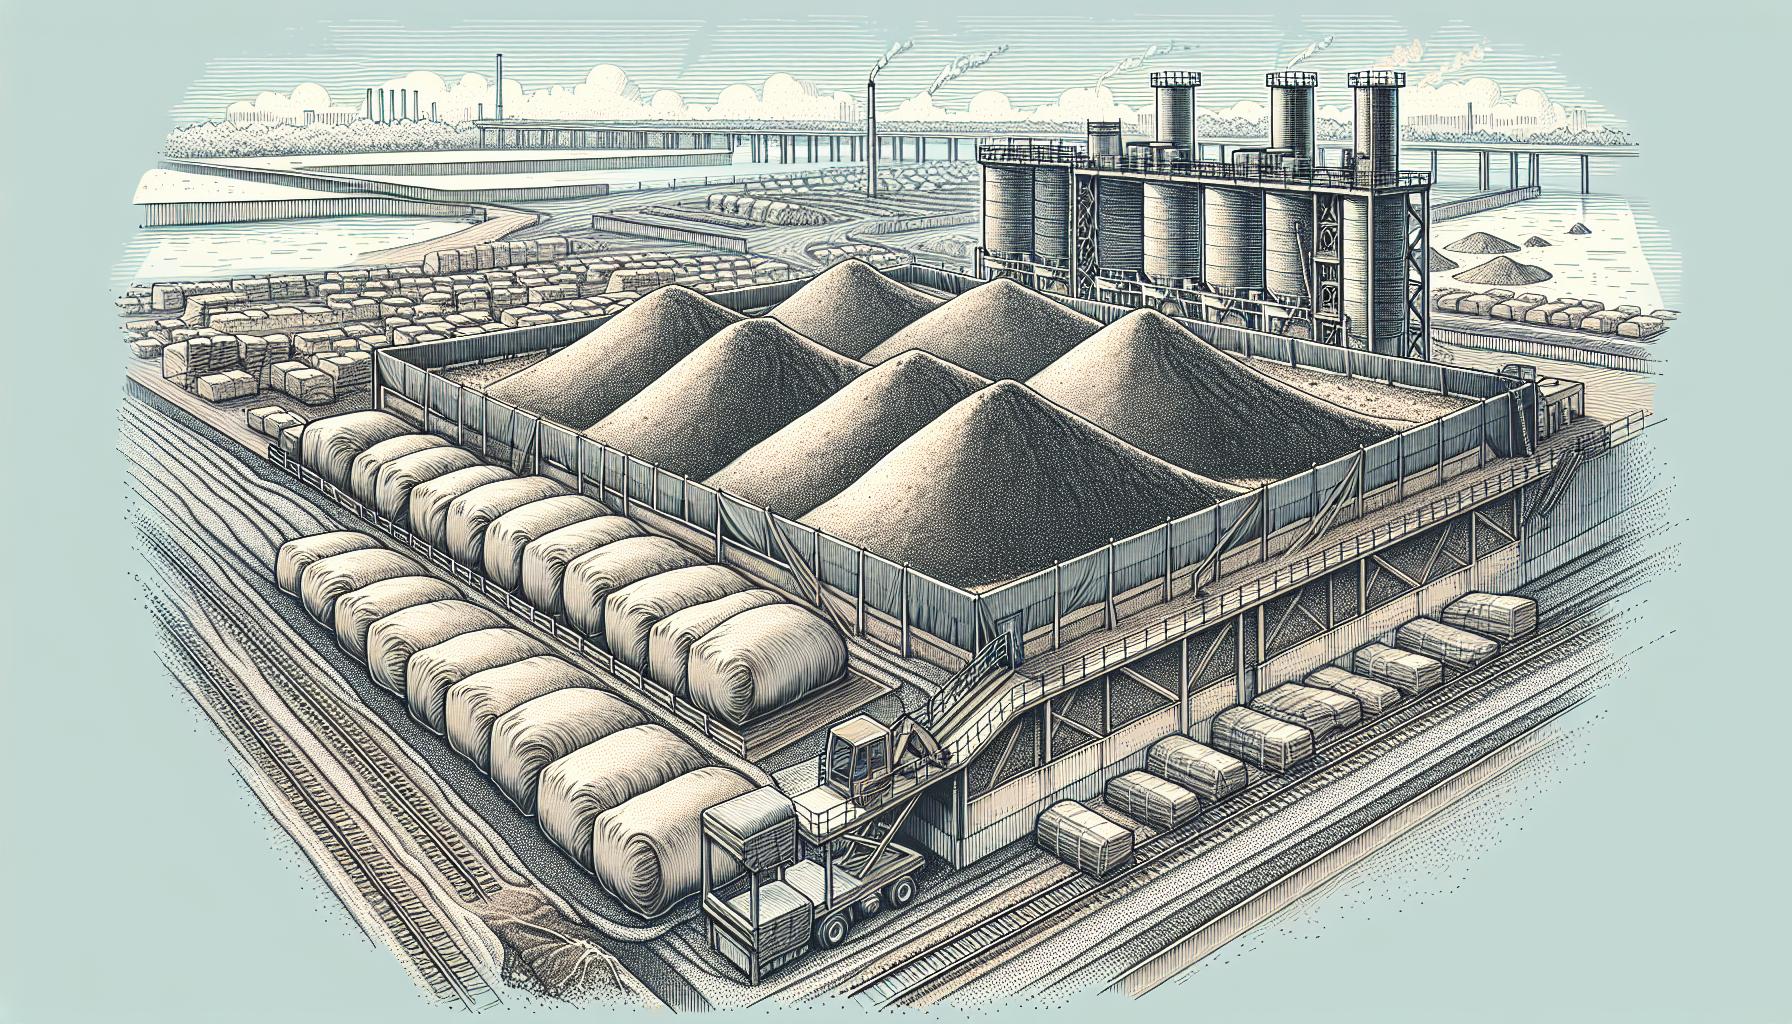
When you’re looking to store large amounts of soil, outdoor storage can be a viable option. It’s essential to ensure that the outdoor space you choose is well-suited for this purpose. First and foremost, you’ll need a level area that allows for easy access and management of the soil. Here are some tips:
- Select a spot: Choose an area that doesn’t collect water when it rains. This could be on a slight incline or a space where you can create adequate drainage.
- Protect from elements: Even outdoors, your soil needs protection from wind, rain, and sunlight. Consider using a robust, UV-resistant tarp or custom soil covers that allow air in but keep excess moisture out.
- Prevent contamination: Keep your soil away from areas where it might be exposed to chemicals, pesticides, or tree debris, which could alter its composition.
Implementing these practices can lead to successful long-term soil storage outdoors. Remember, when storing soil outside, regularly check for signs of waterlogging or drying out. The outdoor elements are ever-changing, so your storage strategies may need to adapt with the seasons to maintain the soil’s quality.
Industries that handle large volumes of soil, such as landscaping companies or nurseries, often use outdoor soil storage solutions effectively. For instance, create a dedicated area with partitioned sections using railroad ties or stackable concrete blocks, enabling Efficient Rotation and usage of different soil types as required. Proper signage can also ensure that each soil type is used where it’s most suitable, preventing cross-contamination and preserving the soil’s integrity for each specific application.
Protecting Stored Soil from Weeds and Pests
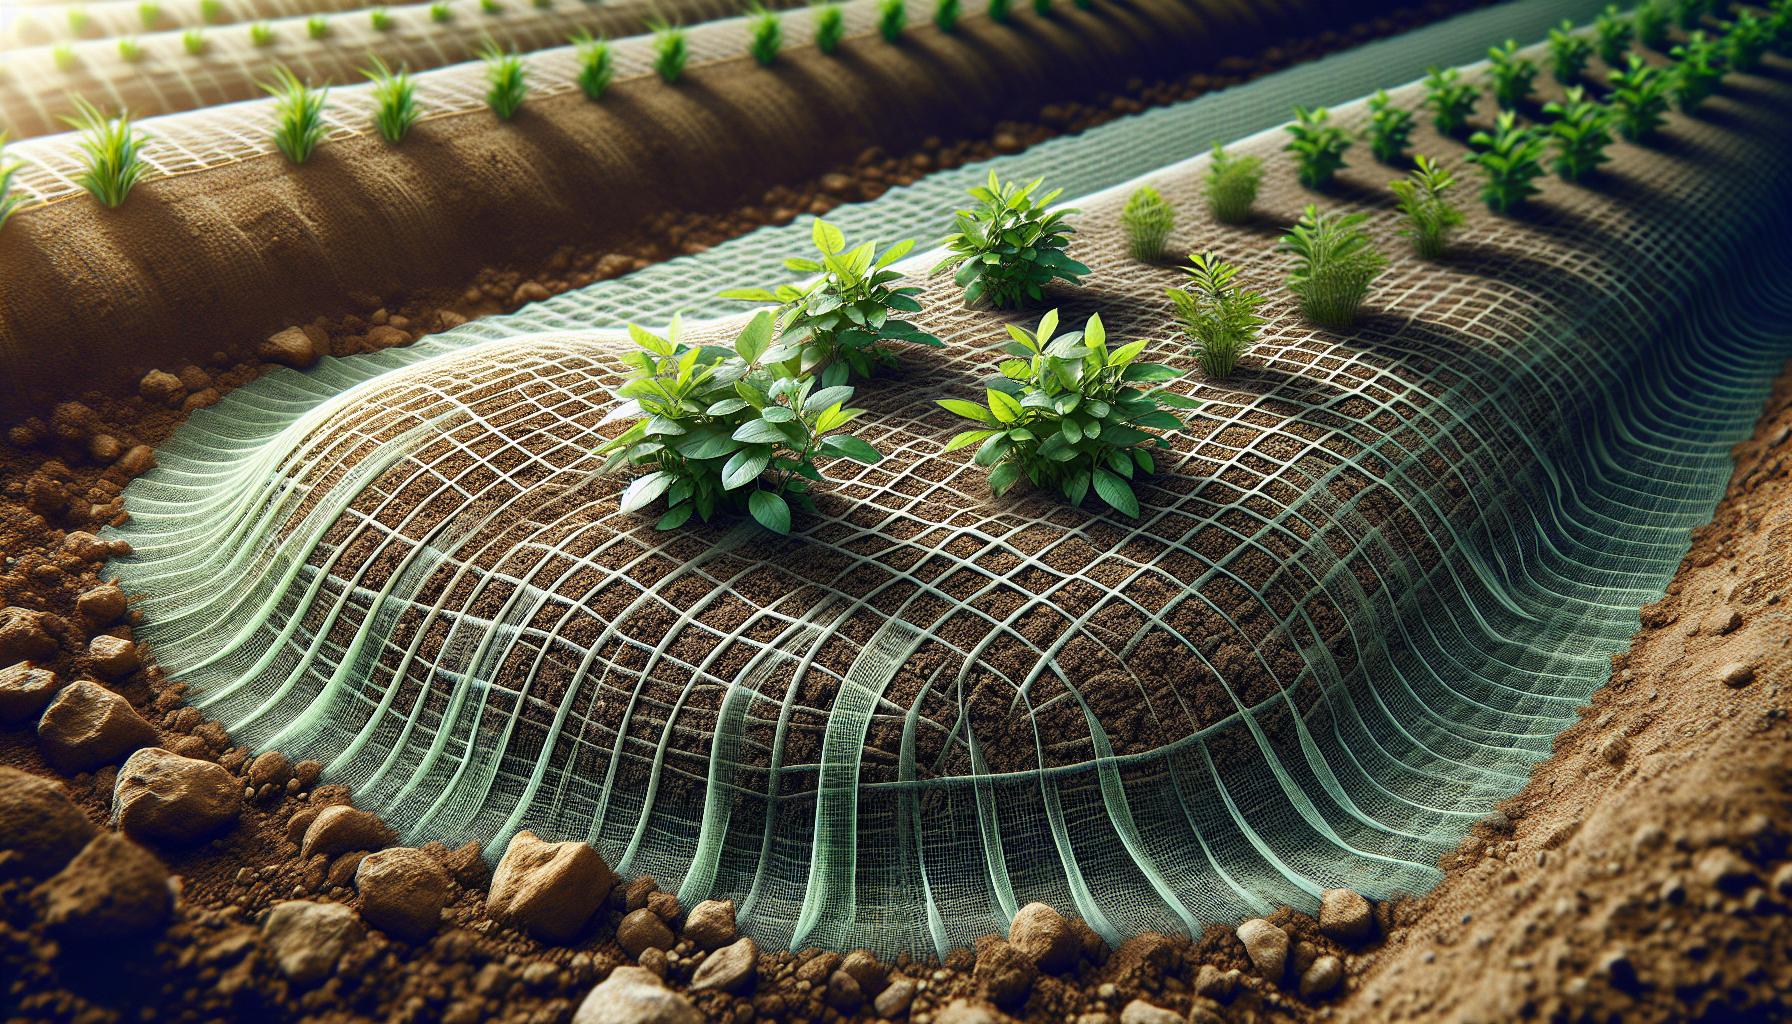
When storing large amounts of soil, protecting it from weeds and pests is crucial to maintain its quality. Unwanted weeds can rapidly colonise your soil, depleting nutrients and introducing seeds that may germinate in future projects. Similarly, pests such as insects or rodents can disturb the soil structure and potentially introduce diseases.
Identify and Isolate
Carry out a robust identification system for your stored soil. Check for and remove any existing weeds before storage, and ensure the storage area is as sealed and isolated as possible. This barrier will significantly reduce the chances of pests infiltrating the soil.
Use Protective Covers
Physical covers are your first line of defence against airborne weed seeds and pests. Use high-quality, breathable fabric that allows water and air to permeate but blocks potential contaminants. Secure the edges to prevent pests from entering beneath the cover.
Regular Inspections
Make it your routine to inspect the soil at regular intervals:
- Look for signs of weed growth and remove any invaders immediately.
- Check for telltale signs of pest activity, such as burrowing or gnaw marks.
Biological Control
Incorporate biological control methods such as introducing beneficial insects that prey on common pests. These natural predators can help regulate pest populations without the need for chemicals.
Proper Maintenance
Keep the area around your stored soil clear of debris and vegetation, which can harbour pests or weed seeds. Regular maintenance and cleanliness are straightforward but effective steps toward safeguarding your soil.
By taking these steps, you’ll ensure your stored soil remains free from weeds and pests, ready for when you need it. Implementing these practices will keep your soil in prime condition for your horticultural or construction needs.
Managing Moisture and Drainage
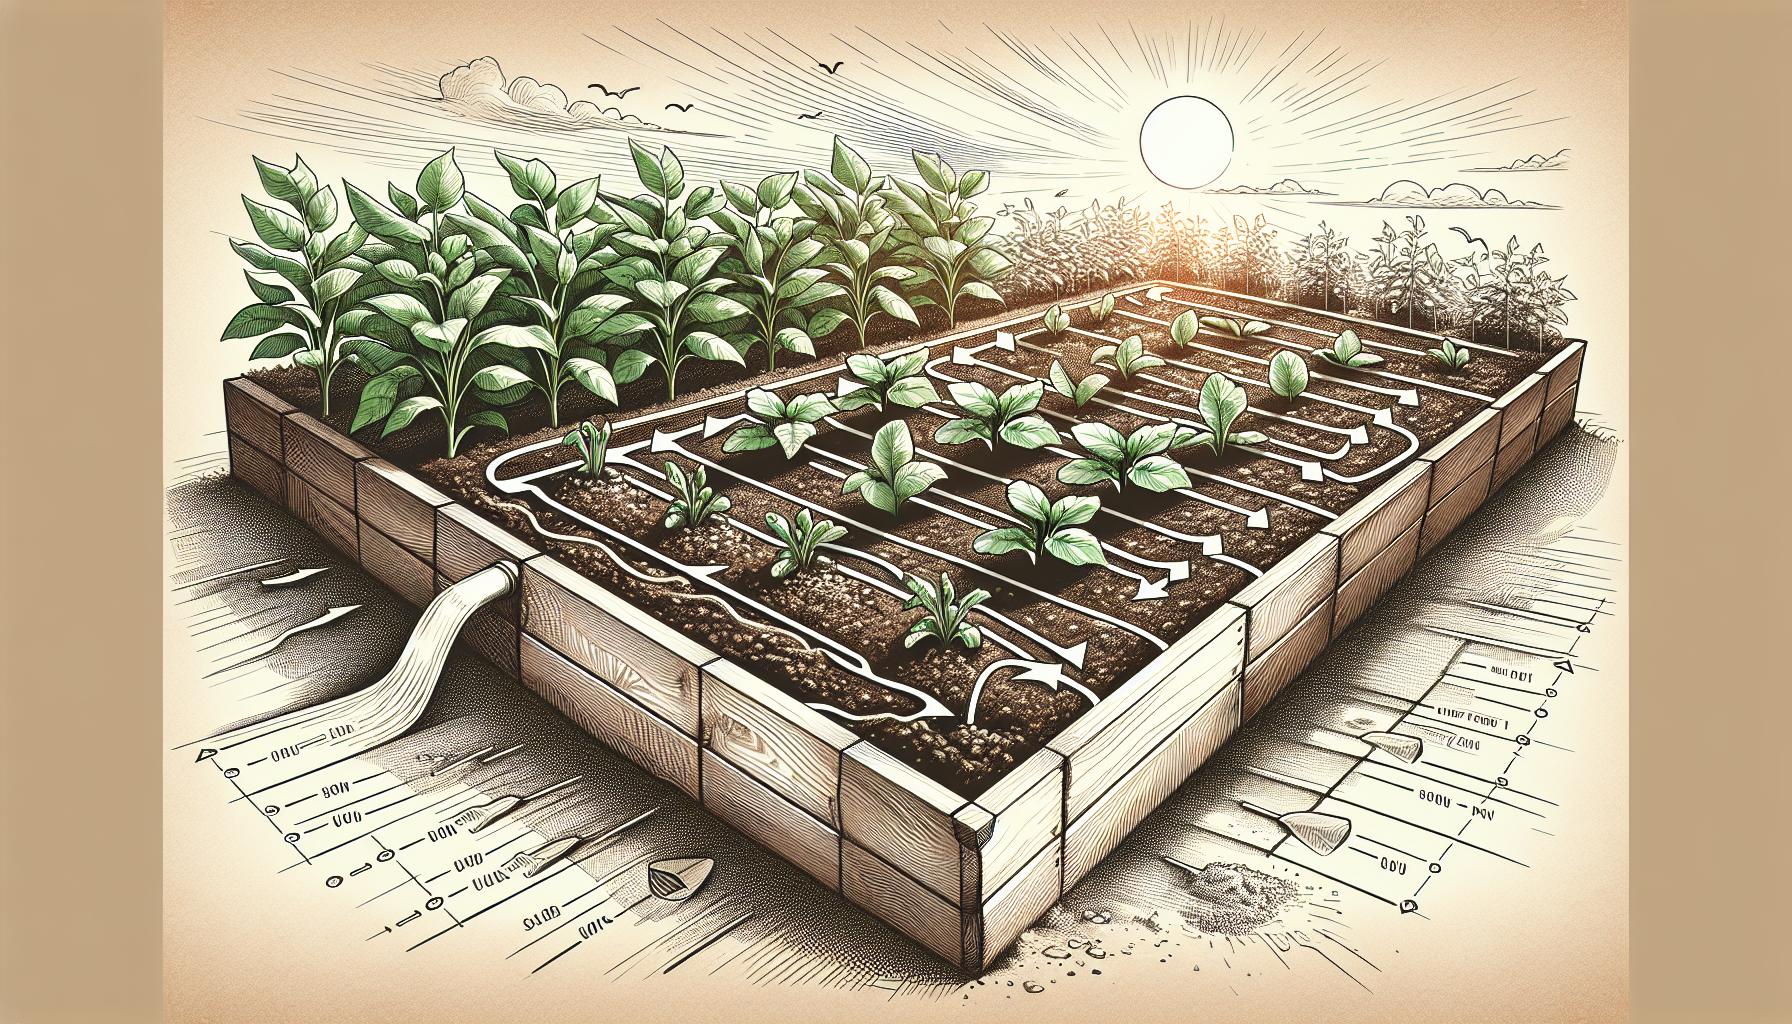
When storing large amounts of soil, maintaining the right moisture level is crucial. Too much moisture can lead to compaction and waterlogging, reducing the soil’s aeration and harming its structure. On the flip side, overly dry soil can lose its microorganism activity, which is vital for maintaining soil quality.
To manage moisture effectively, you’ll want to carry out a system combining proper drainage features with moisture-retention practices. Here are some strategic steps to consider:
Opt for Elevated Storage
By keeping soil off the ground on pallets or in raised bins, you ensure that excess water can drain away naturally. This prevents the lower layers from becoming waterlogged.
Use Permeable Covers
A permeable cover allows air to circulate, reducing humidity levels while protecting the soil from rainwater. This strikes a balance between keeping your soil damp and not waterlogged.
Regular Moisture Monitoring
Regularly check the moisture levels in your soil. Use a soil moisture meter or probe to obtain accurate readings. Adjust your storage practices based on these findings to maintain optimal moisture levels.
Incorporate Organic Matter
Mixing organic matter like compost into your soil can greatly improve its moisture retention capacity. It acts like a sponge, holding onto water and releasing it slowly over time.
Remember, the goal is to strike the perfect balance between moisture retention and adequate drainage. By taking these precautions, you’re working towards preserving the soil’s ideal state for whenever you need to put it to use.
Monitoring and Testing Stored Soil

Keeping a close eye on your stored soil’s condition ensures you’re ready for its eventual use. You’ll need to routinely test the soil for nutrient levels and pH balance to track its viability over time. Essential tests to perform include:
- Nitrogen content
- Phosphorus levels
- Potassium concentration
- Soil pH
Testing your stored soil provides valuable information about its health. For example, a nutrient-deficient soil won’t support healthy plant growth, while incorrect pH levels can make it difficult for plants to absorb nutrients.
Establishing a Routine Testing Schedule
Implementing a regular testing schedule is vital for the maintenance of soil quality. A monthly test is a practical interval for most storage situations, though this may vary based on your specific conditions. Always use reliable testing kits or seek professional testing services for accurate results.
Adjusting Soil Conditions as Required
Following analysis, you might find that your soil needs adjustment. If the pH level isn’t within the ideal range of 6.0 to 7.5 for most plants, you can amend it using lime for increased alkalinity or sulphur for increased acidity. Nutrient levels can be managed by adding organic matter or specific fertilizers to the soil.
Record Keeping for Soil Quality Management
Documenting each test’s results will help you track the evolution of your soil’s quality over time. This historical data becomes invaluable, allowing you to make informed decisions when amending and improving your stockpile of soil. Maintain logs that detail:
- Test dates
- Nutrient levels
- pH values
- Actions taken
Armed with these records, you’ll have a comprehensive view of your soil’s condition, making it simpler to maintain its health for long-term storage.
Tips for Long-Term Soil Storage
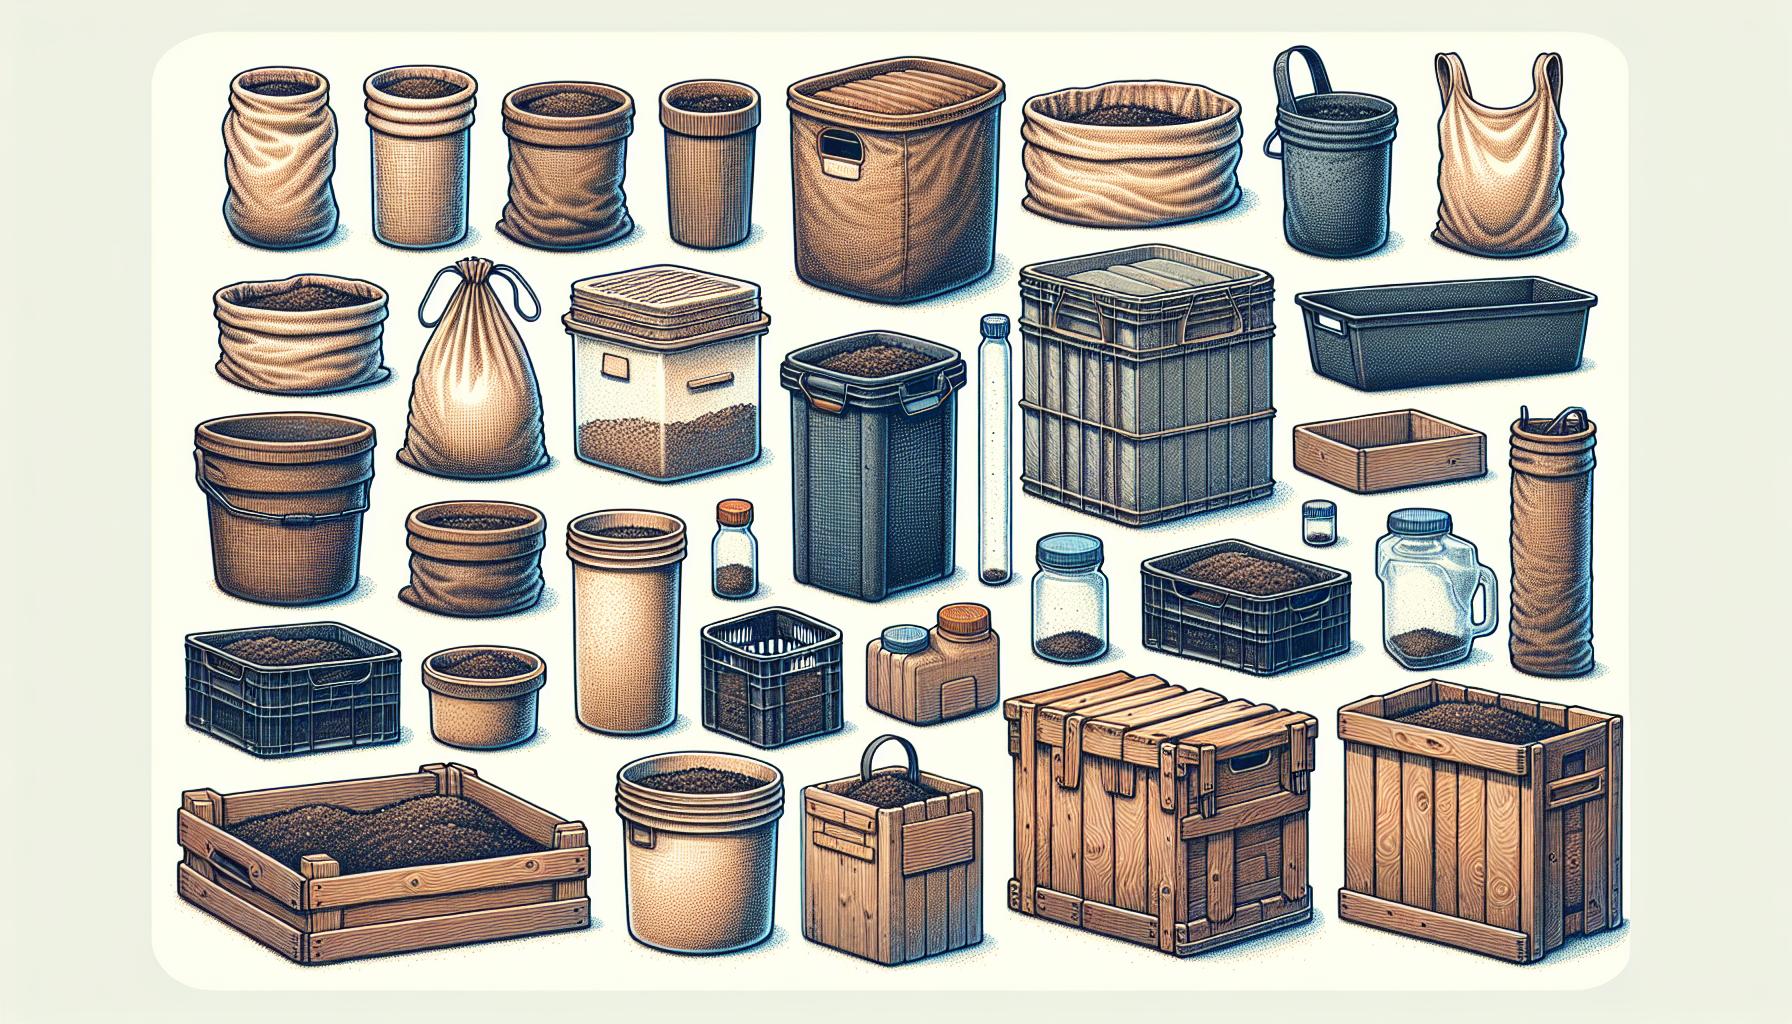
When it’s time to store soil for extended periods, you’ll want to ensure it remains fertile and structurally sound for when you next need it. There are key strategies you can employ to keep your soil in top condition.
Choose the Right Container
Select containers that provide proper protection against the elements and pests. Options include:
- Fabric pots: Allow for aeration and prevent waterlogging
- Plastic bins: Durable and easy to stack
- Wooden crates: Provide good insulation
Ensure containers have lids or covers to safeguard the soil from contaminants.
Control Temperature and Humidity
Soil thrives in specific conditions, and you’ll need to monitor the temperature and humidity levels closely. Aim for a consistent temperature between 4°C and 25°C to prevent microbial death or excessive evaporation. Keep humidity levels in check to avoid mold growth and nutrient leaching.
| Factor | Ideal Range |
|---|---|
| Temperature | 4°C – 25°C |
| Humidity | Controlled |
Prevent Compaction
Compacted soil loses its structure and nutrient distribution. To prevent this, don’t stack soil containers too high and allow for some space between them. Occasionally turn over the soil in the containers to maintain its loose structure and permit air circulation.
Use Desiccants if Necessary
In overly humid conditions, consider using desiccants like silica gel packets to absorb excess moisture. Place these inside the containers, making sure they don’t come into direct contact with the soil to maintain the right moisture balance.
Remember to check on your stored soil periodically to assess its condition and make any necessary adjustments. Properly stored soil can be a game-changer for your future projects, saving you time and resources in the long run.
Conclusion
Storing large amounts of soil effectively ensures you’re ready for your next gardening project with fertile, healthy earth at your fingertips. By following the guidance you’ve learned, you’ll maintain the soil’s quality and structure, safeguarding your future endeavours. Remember, a little attention to your stored soil now can save you a great deal of effort later. So keep an eye on your soil’s condition, make adjustments as needed, and rest assured that your preparation will yield bountiful results when planting season arrives. Your garden will thank you for it.
Colin Macmillan is a seasoned entrepreneur and the CEO of Riverwood Landscape, a leading landscaping company based in Canada. He has been at the helm of the company since leaving high school, demonstrating his strong leadership skills and business acumen.
Colin’s expertise lies in various aspects of landscaping, including lawn care, interlocking, sod installation, and commercial maintenance. His hands-on approach and dedication to the craft have been instrumental in building Riverwood Landscape into a reputable brand.
One of his most notable achievements is the creation of a successful landscape franchise that services multiple locations. This accomplishment underscores his strategic thinking and ability to scale operations effectively.
Colin has also had the privilege of working with Guelph Hospital for landscaping and maintenance, a testament to the trust and reliability that his company has earned over the years.
His professional mission is to offer the best services and experiences for customers, a goal that he tirelessly pursues. Colin’s commitment to excellence and customer satisfaction continues to drive the growth and success of Riverwood Landscape.


