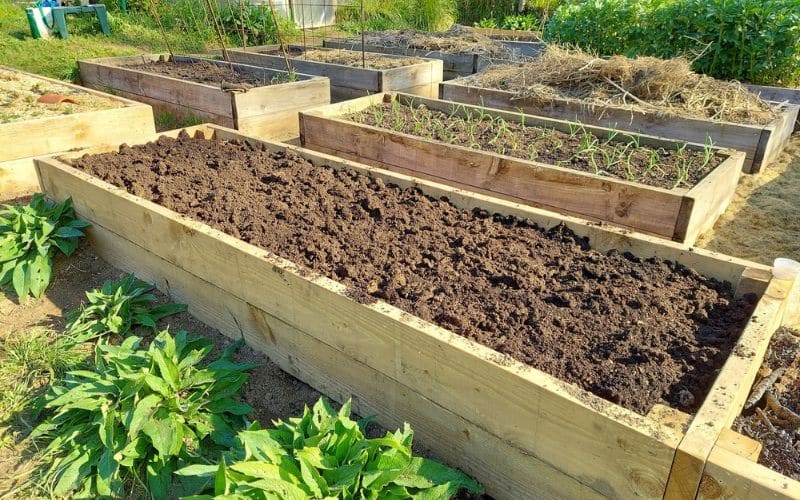
Embarking on the journey of creating a lush and productive raised garden bed? The secret to your success lies beneath the surface. Understanding the art of soil layering will transform your gardening game, ensuring your vegetables thrive in nutrient-rich, well-drained earth.
You’ll discover how to build up layers starting with cardboard and progressing through sticks, hay, and high-quality compost, crafting the perfect environment for your plants. Dive into the nuances of the ideal soil mix and learn how layering can benefit your garden’s ecosystem, regardless of your experience level. Keep reading to unlock the full potential of your raised garden bed.
Benefits of Using Raised Garden Beds
Improved Soil Quality
When you opt for a raised garden bed, you take control of your soil’s destiny. Controlled soil composition means you can tailor the blend to meet the exact needs of your plants. Start with a high-quality compost and mix it with other nutrient-rich additives like peat and manure to create the perfect growing medium. It’s worth noting that these beds reduce soil compaction, as you’re not walking on the planting area, allowing for healthier root growth. Additionally, the elevation of the beds prevents contamination from the existing ground and minimizes the risks of soil-borne diseases affecting your plants.
Better Drainage and Water Retention
With raised beds, you’re able to manage water levels effectively, ensuring your plants get just the right amount of moisture without waterlogging. By adding a gravel or stone layer at the bottom of the bed, you improve drainage. Water management is particularly enhanced when beds are installed over nonporous surfaces by incorporating drainage tiles or holes. This prevents water pooling, enabling your plants to thrive. Moreover, if you’re gardening in areas with heavy clay soil, raised beds can be an absolute game-changer due to their capacity for better water filtration.
Easier Weed Control
Among the many perks of raised garden beds, simplified weed management stands out. The introduction of a weed barrier at the bottom layer, be it commercial fabric or a natural option like cardboard, blocks unwanted growth from below. The option to fill your bed with a clean soil mix further reduces weed seed introduction. Raised beds are often higher than the life force of common weed seeds, thus reducing the chances of weed propagation. Your weeding chores become less frequent and, without a doubt, easier, thanks to the manageable height of the bed.
Remember, regular maintenance and the replenishment of organic matter are the keys to sustaining these benefits. Keep your soil healthy, and your garden will provide bountiful harvests season after season.
Soil Layers for Raised Garden Beds
Base Layer: Gravel or Rocks
Your raised garden bed needs a strong foundation, and that’s where the base layer comes in. Gravel or rocks are commonly used at the bottom of the bed to enhance drainage and prevent water from pooling, which could damage plant roots. This layer should be thin, just enough to create a drainage base without hindering the development of deep-rooted plants. The size of the gravel or rocks matters – smaller sizes like pea gravel can fill gaps between larger rocks, ensuring stability and optimal water flow.
Weed Barrier Layer
Directly above your gravel or rocks, you’ll place a weed barrier layer. This involves laying down cardboard or landscape fabric, which acts to smother any existing weeds underneath your raised bed. It’s important that any cardboard used is free from glossy print and adhesive materials. A weed barrier not only blocks sunlight from reaching the soil but also creates a biodegradable layer that will eventually enrich the soil as it breaks down. For pathways, utilizing a more durable weed barrier cloth can ensure longevity and reduce weed interference.
Organic Matter Layer
The organic matter layer follows the weed barrier and is crucial for the aeration and fertility of your soil. This layer can include sticks, logs, and untreated timber, as well as twigs and dried plant material like palm fronds, which will decompose over time and improve soil structure. Organic matter allows for better air circulation within the soil, promoting a healthy environment for your plants’ roots to thrive.
Compost Layer
Above the organic matter, add a layer of compost. Compost is the heart of your soil’s fertility, teeming with beneficial microorganisms and nutrients that plants need to grow healthily. It improves soil texture, helping to retain moisture and providing a steady release of essential nutrients. A rich layer of compost promotes a vibrant, disease-resistant garden ecosystem.
Topsoil Layer
The top layer of the bed is the topsoil layer, where your plants will primarily root and draw nutrients. A good mix for this layer typically includes equal parts topsoil, compost, and peat moss or coconut fiber. This balanced blend supports plant health by providing a mixture of nutrients, moisture retention, and breathability. It’s best to ensure that the topsoil is of high quality, free from contaminants, and sourced sustainably.
Mulch Layer
Lastly, you’ll top your garden bed with a mulch layer. Mulch is applied over the soil surface to maintain moisture levels, regulate soil temperature, and further reduce weed growth. Materials like hay, grass clippings, or commercially available mulch can be used. Mulching helps your garden retain water during dry spells and protects against erosion, making it a vital component for any raised garden bed.
How to Create the Soil Layers
Step 1: Prepare the Garden Bed
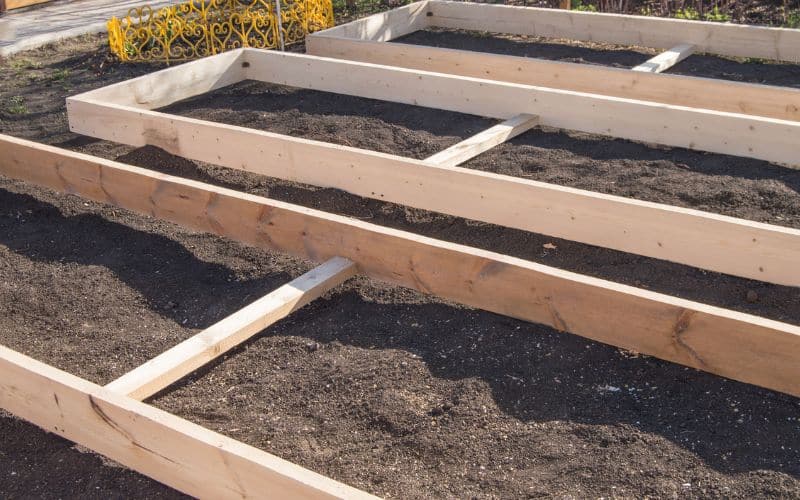
To start, you need to ensure your garden bed is ready for layering. Clear the area of any debris, rocks, or vegetation. Make the frame secure and check for any loose joints or structural issues. A stable, well-prepared garden bed is vital for the success of your plants.
Step 2: Add the Base Layer
The base layer serves as the foundation for drainage. Use Cardboard or a few inches of gravel, depending on your preference. The cardboard will decompose over time, adding to the soil’s richness, while gravel ensures immediate and effective drainage.
Step 3: Install the Weed Barrier
Once the base is down, put in a weed barrier using newspaper, cardboard, or a commercial weed mat. Be sure to Overlap the edges and cover every part of the bed to deter weed growth. This barrier is essential for minimizing future weed issues.
Step 4: Add the Organic Matter Layer
Organic matter like sticks, logs, and twigs helps aerate the soil. Aeration is crucial for root development and soil health. Add materials such as Hay and Grass Cuttings for additional structure and nutrients. This layer also conserves soil moisture.
Step 5: Layer with Compost
Apply a thick layer of compost to introduce a wealth of nutrients into the bed. The compost feeds your soil, which in turn feeds your plants. Homemade or store-bought, ensure your compost is Nutrient-rich—this is the engine room of your garden’s growth.
Step 6: Add the Topsoil Layer
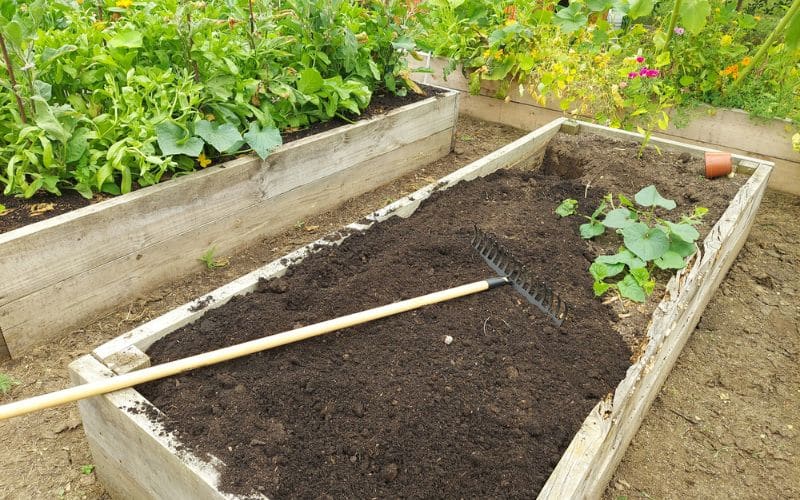
Cover the compost with a topsoil layer that’s rich and loose. Avoid generic soils; instead, use a mix that’s specific for raised garden beds. A Balanced Mix of soil, organic compost, and other materials provides the best environment for plants to thrive.
Step 7: Apply Mulch on Top
Finally, mulch the top layer to maintain soil moisture and temperature, and to suppress any weeds that may breach your weed barrier. Organic mulches, like straw or wood chips, also break down over time, adding even more nutrients back into the soil system.
Maintaining the Soil Layers
Regular Watering and Fertilising
To ensure your raised garden bed thrives, consistent watering is crucial. Your soil should feel like a well-wrung sponge; lightly damp but not saturated. Insert your finger into the soil about 3 inches deep once a week to gauge moisture levels. For hands-free watering, particularly during dry spells or when you’re away, a water timer can be an invaluable tool, automatically activating your sprinkler or soaker hose.
Balanced soil nutrition is equally important, so include slow-release organic fertiliser as part of your routine. Midseason fertilising is beneficial for long-maturing crops and succession planting. Whenever you swap out plants, apply a fresh dose of fertiliser to replenish the nutrients for the new arrivals.
Mulching to Preserve Moisture
Applying mulch is a key strategy for moisture retention. Organic mulch serves as a barrier to evaporation allowing your soil to remain hydrated for longer periods. This is particularly important as hugelkultur beds can suffer from dryness if not attended to properly. Layer the mulch thickly to protect against both moisture loss and the encroachment of weeds, ensuring your plants have ample space and resources to grow.
Adding Compost to Renew Nutrients
Your garden bed’s vitality can be sustained with the addition of compost. Annually layering organic compost rejuvenates the soil, introducing fresh nutrients that plants need to flourish. As you add compost, you’ll also be encouraging the proliferation of beneficial fungi and microbes which enhance soil structure and fertility. Don’t hesitate to mix in materials like dry leaves and vermiculite to maintain soil quality and improve aeration. As the compost breaks down, it feeds the soil, creating a self-sustaining cycle that keeps your garden bed productive.
Conclusion
You’ve got the blueprint for a flourishing raised garden bed – it’s all in the soil layers. Remember, the key to a productive garden is not just in the setup but in the ongoing care. Keep your watering consistent, your fertilizing routine regular, and don’t forget to mulch and top up with compost annually. With these simple steps, you’ll ensure your garden remains a haven for your plants to thrive. Embrace the process and watch as your garden rewards you with bountiful growth season after season.
Colin Macmillan is a seasoned entrepreneur and the CEO of Riverwood Landscape, a leading landscaping company based in Canada. He has been at the helm of the company since leaving high school, demonstrating his strong leadership skills and business acumen.
Colin’s expertise lies in various aspects of landscaping, including lawn care, interlocking, sod installation, and commercial maintenance. His hands-on approach and dedication to the craft have been instrumental in building Riverwood Landscape into a reputable brand.
One of his most notable achievements is the creation of a successful landscape franchise that services multiple locations. This accomplishment underscores his strategic thinking and ability to scale operations effectively.
Colin has also had the privilege of working with Guelph Hospital for landscaping and maintenance, a testament to the trust and reliability that his company has earned over the years.
His professional mission is to offer the best services and experiences for customers, a goal that he tirelessly pursues. Colin’s commitment to excellence and customer satisfaction continues to drive the growth and success of Riverwood Landscape.


