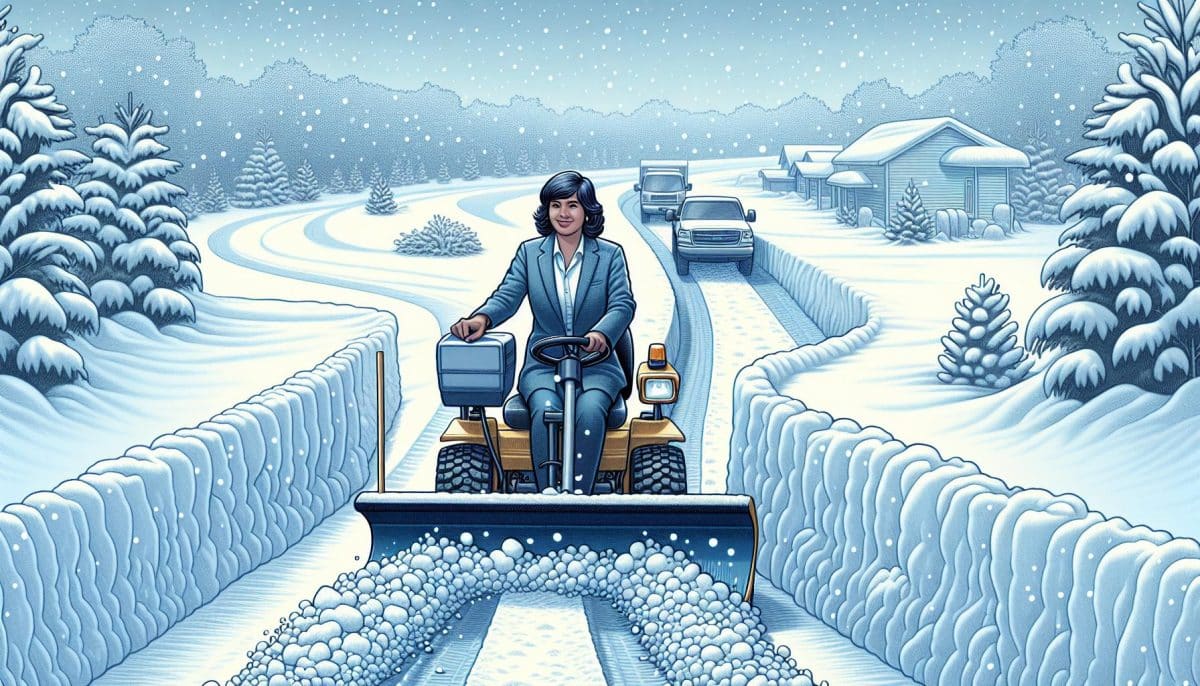
Exploring the winter months means keeping your driveway clear of snow and ice, but did you know there’s an art to snow plowing? It’s not just about moving snow; it’s about doing it right to avoid damage to your driveway—and your reputation if you’re in the business. Plowing your driveway is more than just a chore; it’s a skill that, when honed, can prolong the life of your driveway. You’re about to learn the best methods that combine experience and technique to ensure a clean, safe surface all winter long. Mistakes in plowing can lead to unnecessary repairs and headaches. Let’s jump into the essentials of proper snow plow techniques to keep your driveway in top shape and make your winter maintenance both effective and efficient.
Best Way to Snow Plow a Driveway
Understanding proper snow plowing techniques is crucial for the longevity of your driveway. Your approach to plowing significantly influences the risk of damage. Always start with pre-season checks; ensure your plow’s blade isn’t set too low, which can scrape and crack the surface.
Preparing Your Equipment
- Inspect your plow for any wear and tear.
- Adjust the blade height appropriately to avoid direct contact.
- Use markers to highlight boundaries and obstacles.
When you’re in the driver’s seat, operation finesse is key. Smooth, steady movements prevent the plowing blade from catching on the driveway surface.
Plowing Technique
- Plow in the direction of the driveway’s slope.
- Push snow to an area where it won’t be in the way and can melt without causing issues.
- Avoid unnecessary back blade plowing, which can be tough on your driveway’s surface.
Timing Is Everything
The timing of your plow can greatly influence effectiveness. Tackle new snowfalls promptly to prevent compacting, which can lead to ice formation. By keeping up with snowfall, you’ll reduce the physical strain on your equipment and driveway.
- Keep a steady pace to minimize the risk of sudden movements.
- Be observant for signs of potential damage.
- Consider using a rubber-edged plow blade for less abrasive contact.
Following these systematic strategies, you’ll manage to maintain your driveway’s integrity while keeping it clear during the harsh winter months. Remember, experience coupled with the right techniques forms the backbone of effective snow plowing.
1. Clearing snow with a snow plow
1.1 Choosing the Right Snow Plow for Your Driveway
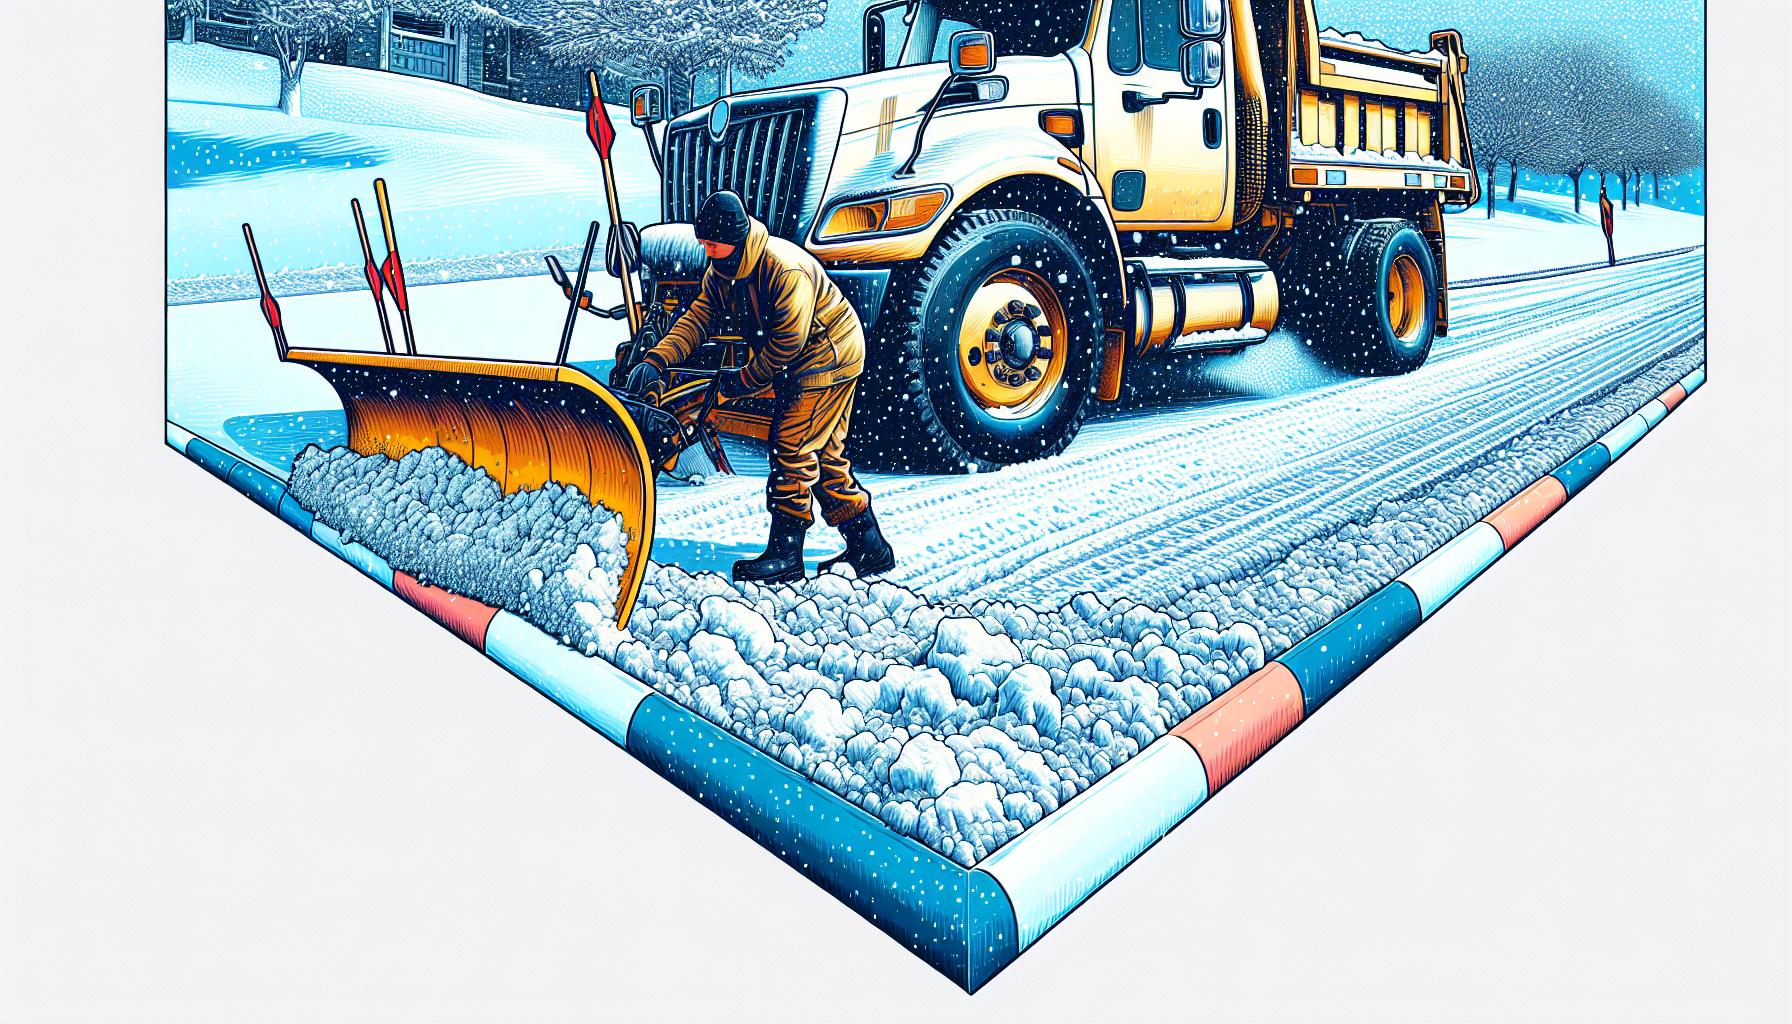
When you’re selecting a snow plow for your driveway, there are a few critical factors to consider. Firstly, measure the width and length of your driveway to ensure you get a plow that’s suitable for its size. Opt for a plow that clears at least half to two-thirds of the driveway in a single pass to increase efficiency. The material of the blade is another consideration; steel plows are heavy-duty, while poly blades are less abrasive on delicate surfaces. V-blade plows are excellent for larger areas, as they can easily push snow aside, while straight blades might be sufficient for smaller driveways.
1.2 Preparing the Snow Plow for Use
Preparation is key to effective snow removal. Before the first snowfall, it’s important to take pictures of your driveway and surroundings, and mark the edges with visible stakes. This way, you’ll avoid damaging the world or any hidden objects. Ensure that your plow’s blade height is correctly adjusted for your driveway’s surface; too low could cause damage, and too high won’t clear snow effectively. Also, check the hydraulic fluid and tire pressure, and ensure that all lights and signals are functioning properly. Remember to pack an emergency kit in case of breakdowns.
1.3 Safety Precautions When Operating a Snow Plow
Your safety while operating a snow plow is paramount. Start by wearing layers of clothing, a hat, and gloves to protect against the cold. Always turn your head to look directly where you’re going instead of solely relying on mirrors or cameras, as visibility is crucial. It’s also important to be aware of the plow’s blade position at all times to prevent it from digging into your driveway surface. When backing up, especially in conditions of limited visibility, ensure to back-drag snow towards the street to minimize risk and clear the end of the driveway effectively. Stay vigilant for any unusual sounds or movements which could indicate an issue with the plow.
2. Proper technique for snow plowing
2.1 Starting at the Edges of the Driveway
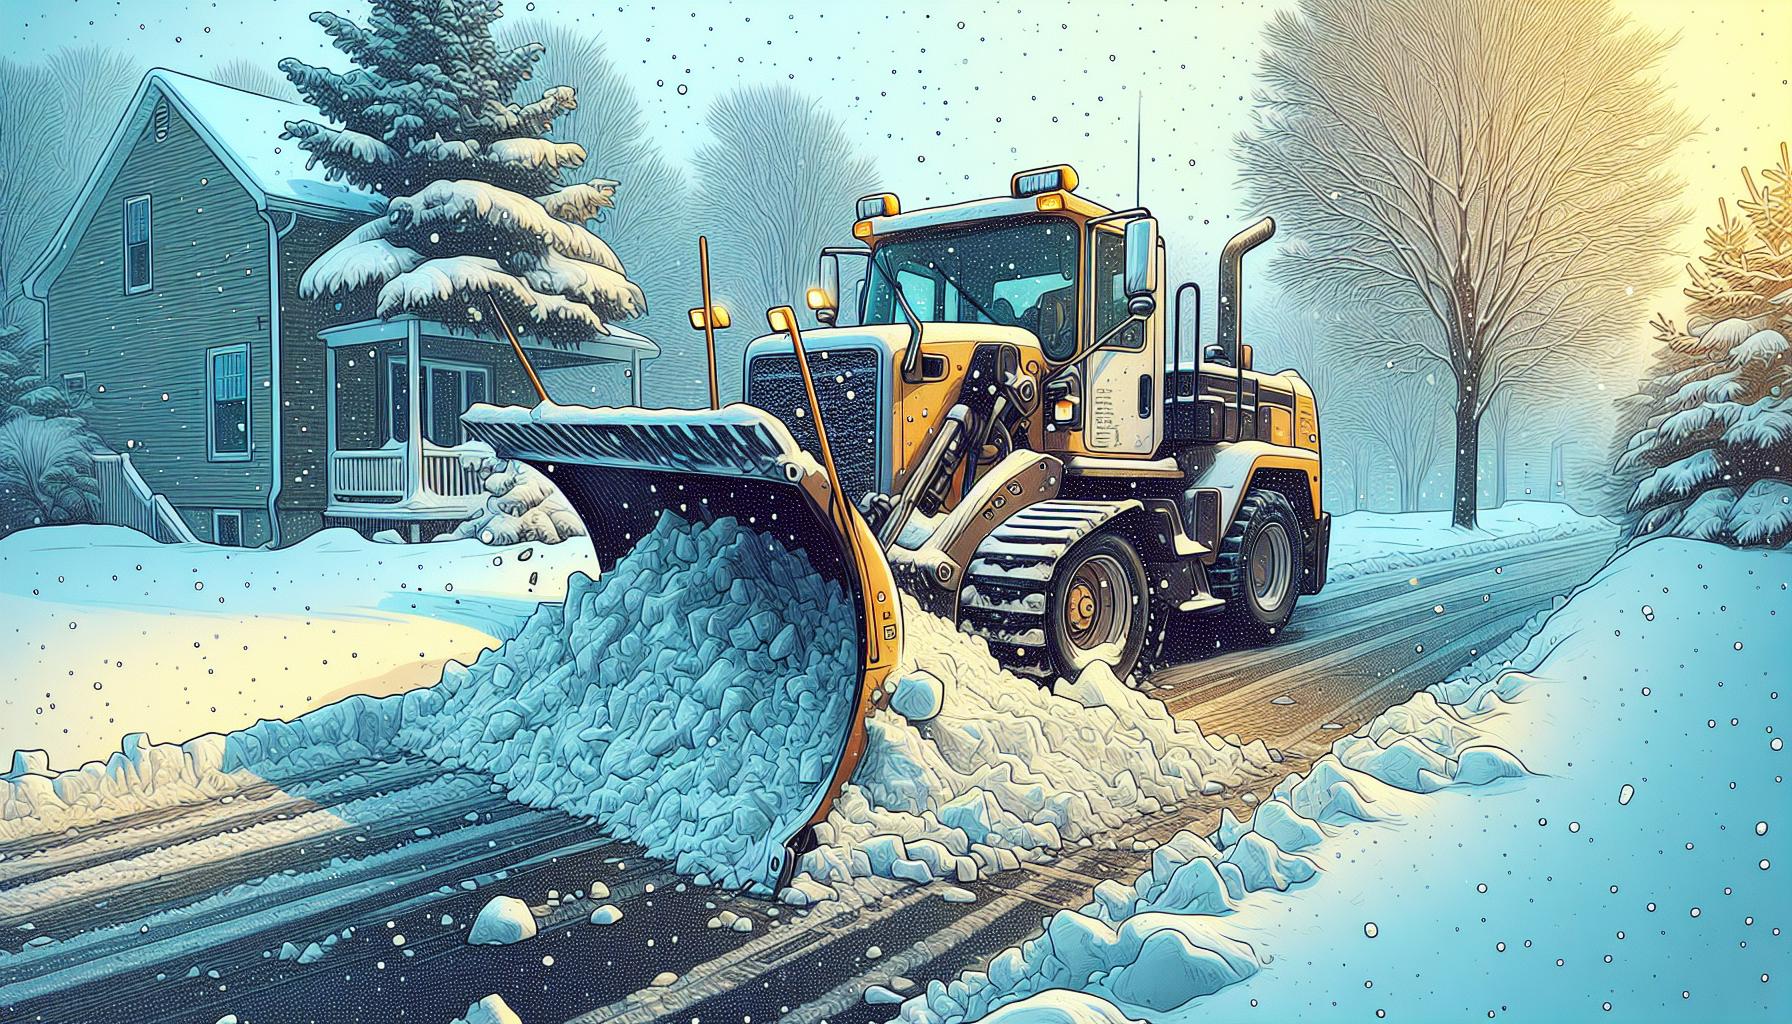
To begin, clear the edges of your driveway first. This technique creates a boundary that guides subsequent passes and ensures you’re not pushing snow onto a cleared section. When you start at the outer edges and work your way inward, you:
- Establish Reference Points: Clearly mark the boundaries of the driveway which help navigate as snow accumulates.
- Maximize Efficiency: By pushing snow towards the center initially, you prevent overspill into already plowed areas.
- Protect Landscaping: It prevents damage to adjacent lawn or garden areas by keeping the snow confined within the driveway’s edges. ### 2.2 Overlapping Passes for Thorough Snow Removal
Overlapping passes are crucial for comprehensive snow removal. Here’s why it works: - Ensures No Missed Spots: By overlapping each pass by a few inches, you avoid leaving strips of un-plowed snow.
- Improves Snow Distribution: Overlapping helps to evenly distribute the snow across the yard or designated snow pile area.
- Reduces Cleanup Time: With fewer missed spots, there’s less need to go back for clean up, saving you time.
When plowing, overlap each pass by about one-quarter of the plow’s width to ensure no snow is left behind.
- Adjust Blade Height: Keep the blade high enough to not scrape and damage the driveway surface. For gravel driveways, maintain a half-inch gap to avoid dislodging the gravel.
- Use Markers: Place reflective markers along the edges of your driveway before the snow falls so you can see the boundaries clearly.
- Backdragging Technique: Near buildings or sensitive areas, use the backdragging technique to pull snow away from the structures without risk of collision or scraping.
- Monitor Blade Position: Always keep an eye on the blade’s angle and position to make sure it follows the driveway’s contour and doesn’t catch on uneven surfaces. Regular maintenance checks of plow equipment also play a crucial role in avoiding damage. Make sure all parts are in good working condition to minimize the risk of the plow malfunctioning and causing harm to surfaces.
3. Dealing with different types of snow
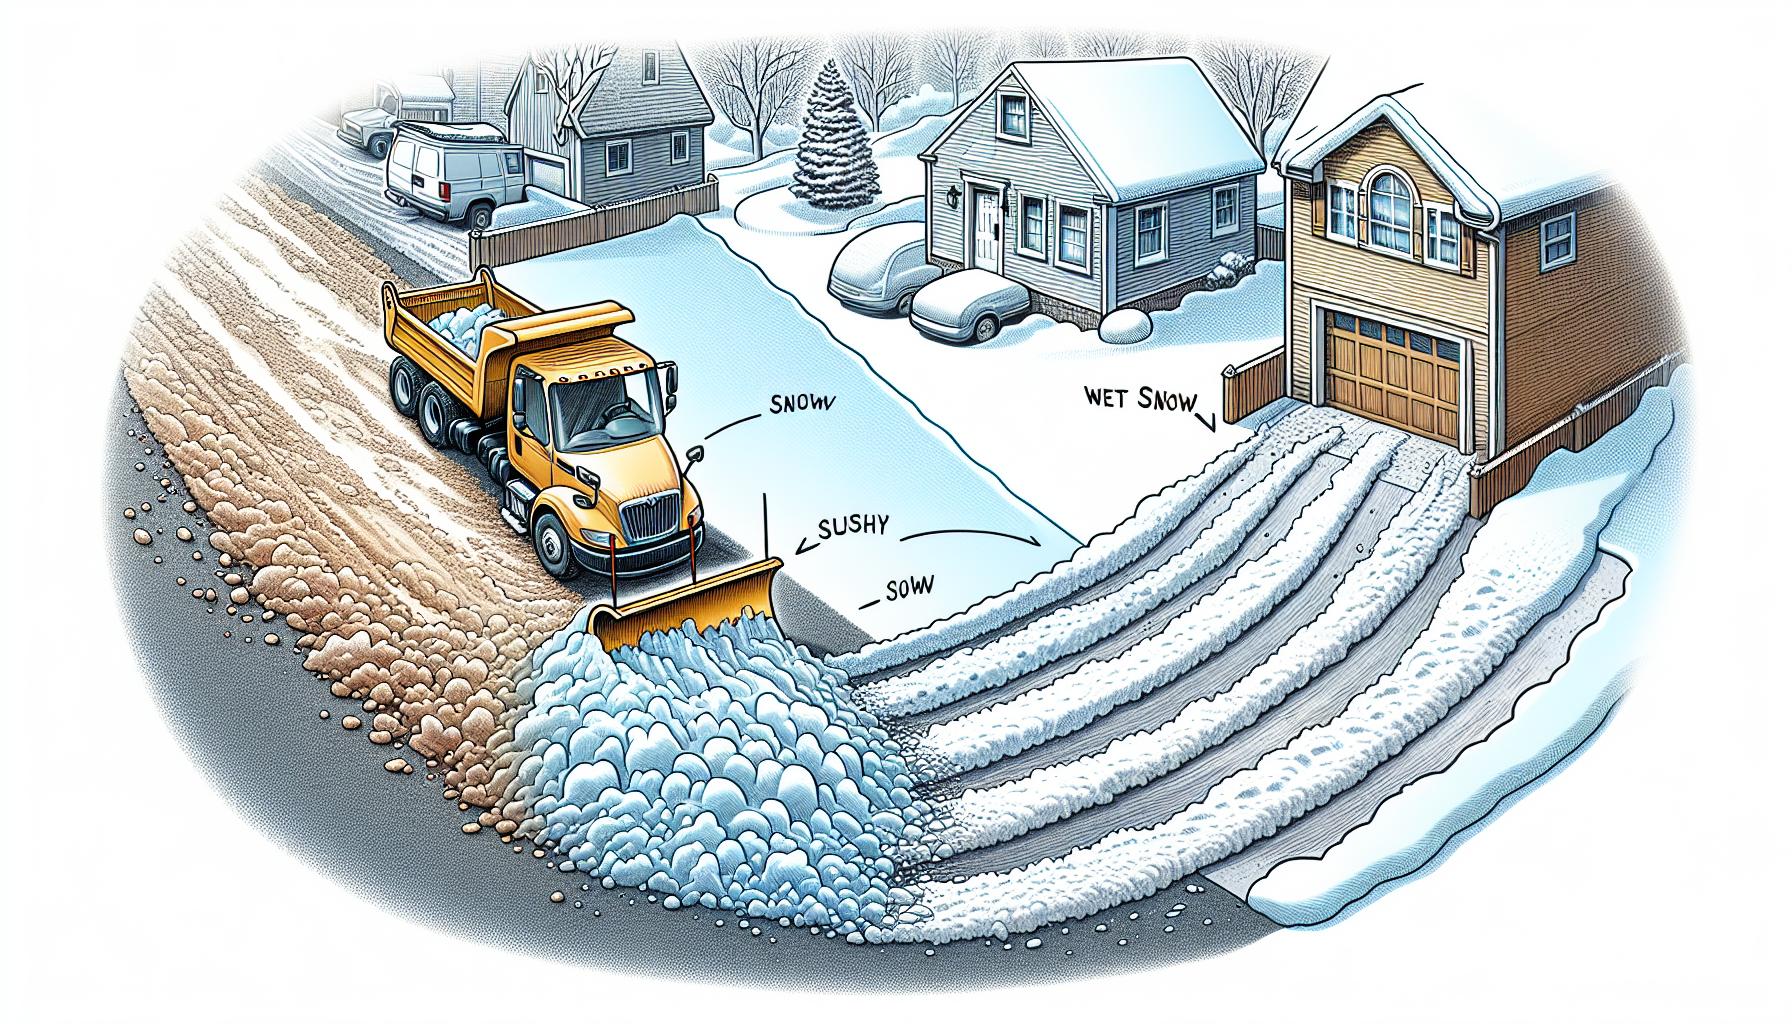
When you’re faced with the task of snow plowing, the type of snow on your driveway can greatly influence your strategy. Different consistencies require distinct approaches to ensure efficient and safe removal.
3.1 Technique for Light, Powdery Snow
Light and powdery snow, common in colder temperatures, can seem like a lesser challenge but still needs a careful approach. – Speed and Efficiency: You can move rapidly across the surface due to the low moisture content.
- Single Passes: Often, a single, steady pass is sufficient to clear this type of snow from the driveway.
- Minimal Resistance: Your plow will encounter less resistance, putting less strain on the equipment.
Remember, even though its ease, this snow type can compact quickly if not handled timely, leading to slippery surfaces.
3.2 Handling Heavy, Wet Snow
Heavy, wet snow is a different beast altogether. It’s dense, packs quickly, and is common when temperatures hover around freezing.
- Lower Plow Speed: To prevent clogging your plow, proceed at a slower pace.
- Increased Passes: Multiple, overlapping passes might be necessary to manage the weight and prevent build-up.
- Silicone Sprays: Use silicone-based lubricants to coat the chute and blade, preventing snow from sticking and building up.
This snow type is notorious for being backbreaking; hence, maintaining your equipment and utilizing techniques to reduce physical exertion is key.
3.3 Strategies for Icy and Compacted Snow
Icy and compacted snow presents the toughest plowing conditions, often resulting from partially melted and refrozen snow.
- Blade Adjustments: Keep your plow blade sharp and possibly consider a metal cutting edge to break through the ice.
- Pre-treatment: Apply salt or a de-icing agent beforehand to loosen the compaction.
- Gradual Layers: Remove ice in layers, starting from the top to gradually chip away at the buildup.
Patience and persistence are crucial, as is ensuring your own safety by avoiding aggressive maneuvers that could cause the plow to slip or jar.
4. Maintaining and storing your snow plow
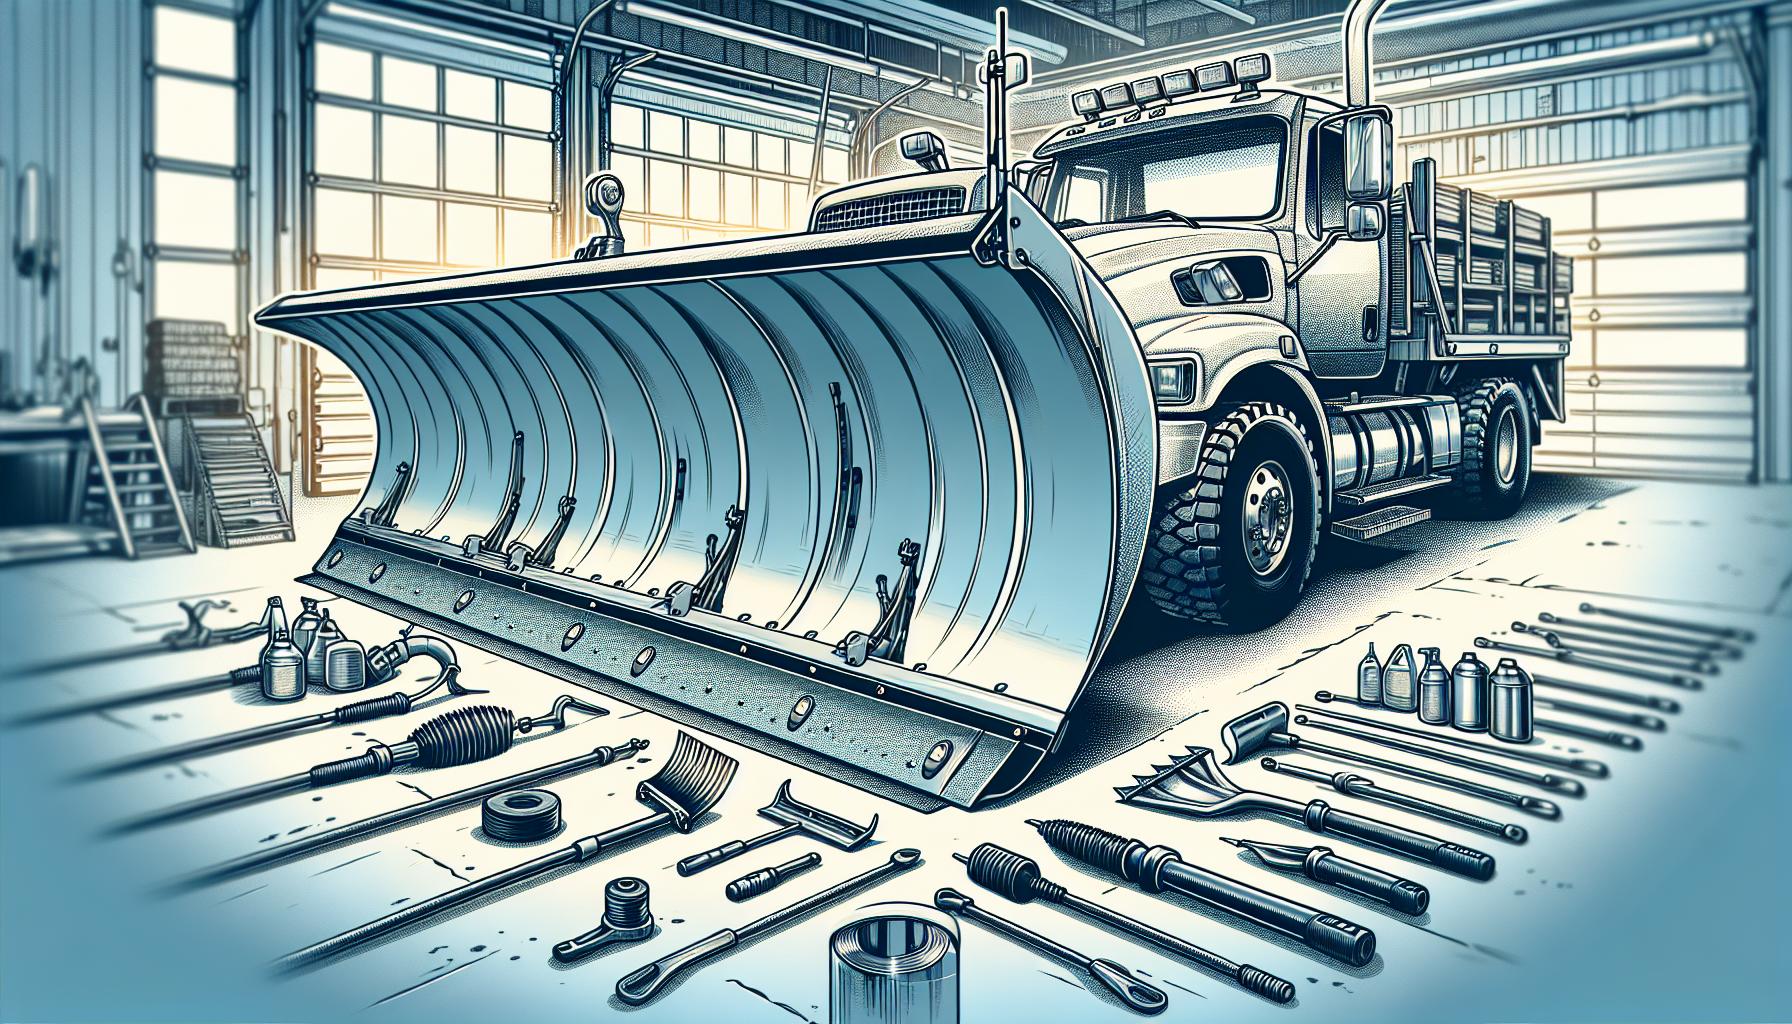
4.1 Cleaning and Lubricating the Snow Plow After Use
To extend the life of your snow plow, cleaning and lubrication are crucial. After each use, remove any snow and ice build-up from the blade and the plow’s framework. Using a pressure washer is effective for eliminating debris. Rust formation is a primary concern, and thorough drying before storing is your best defence.
Lubrication points, indicated in your owner’s manual, must be addressed. Metal linkage joints, gears, and cables benefit greatly from motor oil, which provides a protective film reducing wear. Plastic parts are different; they require dry PTFE lube to maintain smooth operation and prevent grime accumulation. Silicone sprays are indispensable; they create a slippery surface on the auger, second-stage impeller, and chute, preventing snow from sticking and causing blockages.
| Maintenance Task | Product Type | Frequency |
|---|---|---|
| Cleaning Off Debris | Pressure Washer / Broom | After Each Use |
| Lubricating Metal Linkage Joints | Motor Oil | As per Owner’s Manual |
| Lubricating Plastic Parts | Dry PTFE Lube | As per Owner’s Manual |
| Preventing Snow Build-up | Silicone Spray | Before Each Use |
Routine checks for cracks or damage and prompt repairs will prevent minor issues from becoming major setbacks. You’re also advised to sharpen the blade weekly for optimum performance. ### 4.2 Properly Storing the Snow Plow During the Off-Season Once snow plowing season ends, proper storage is vital to ensure your equipment is ready for the next winter. A cool and dry place, such as a garage or shed, shields your plow from the elements and minimises rust risk. Elevate the plow off the ground on blocks to prevent tire and hydraulic system damage. Cover the plow with a breathable tarp to fend off dust without trapping moisture. Disconnect the battery if your plow is self-powered, and maintain a full charge to avoid reduction in lifespan. Treat exposed metal with a coat of rust inhibitor, and lubricate all moving parts to prevent seizure during storage. Checking for worn parts and replacing them ensures your plow is pre-season ready.
Before the first snowfall, you’re reminded of the importance of pre-season checks outlined earlier, such as verifying your emergency kit’s contents and ensuring you have all necessary replacement parts on hand, like belts and shear pins. These steps are not just for your convenience but are critical in maintaining a reliable operation for the forthcoming snow season. By dedicating time to clean, lubricate, and store your snow plow correctly, you’re effectively pledging to an efficient, safe, and cost-effective snow removal process in the demanding winter months.
Conclusion
Armed with the right techniques and a bit of patience, you’re now ready to tackle the winter challenge of snow plowing your driveway. Remember, it’s all about the smooth, steady movements and being mindful of the type of snow you’re dealing with. Keep up with regular maintenance and your snow plow will be ready whenever the snow starts falling. With experience, you’ll find that keeping a clear and safe driveway through the winter months is not just necessary but entirely achievable. Stay warm, stay safe, and don’t let the snow slow you down this winter.
Colin Macmillan is a seasoned entrepreneur and the CEO of Riverwood Landscape, a leading landscaping company based in Canada. He has been at the helm of the company since leaving high school, demonstrating his strong leadership skills and business acumen.
Colin’s expertise lies in various aspects of landscaping, including lawn care, interlocking, sod installation, and commercial maintenance. His hands-on approach and dedication to the craft have been instrumental in building Riverwood Landscape into a reputable brand.
One of his most notable achievements is the creation of a successful landscape franchise that services multiple locations. This accomplishment underscores his strategic thinking and ability to scale operations effectively.
Colin has also had the privilege of working with Guelph Hospital for landscaping and maintenance, a testament to the trust and reliability that his company has earned over the years.
His professional mission is to offer the best services and experiences for customers, a goal that he tirelessly pursues. Colin’s commitment to excellence and customer satisfaction continues to drive the growth and success of Riverwood Landscape.


