Looking to propagate your Christmas cactus? It’s simpler than you might think! With just a few snips and the right care, you can grow a lush, blooming plant from a cutting. This guide will show you how to turn a piece of your existing cactus into a whole new addition to your plant family.
Selecting the right cutting
When you’re looking to propagate a Christmas cactus, the success of your new plant starts with choosing the right cutting. Select a healthy segment from a mature cactus, aiming for sections that are vibrant green, indicating good health.
- Look for segments that have at least two to three joined segments.
- Ensure the cutting is free from disease, pests, or damage.
Cuttings from the tips of the branches are ideal as they have the most potential for growth. A cutting taken from a flowering branch, while tempting, is less likely to take root as the plant’s energy is focused on blooming rather than rooting.
Take Your Cutting in the Morning
It’s best to take your cutting in the early morning when the plant is most turgid, which means it’s full of water and nutrients. This gives your cutting the best chance to survive and thrive.
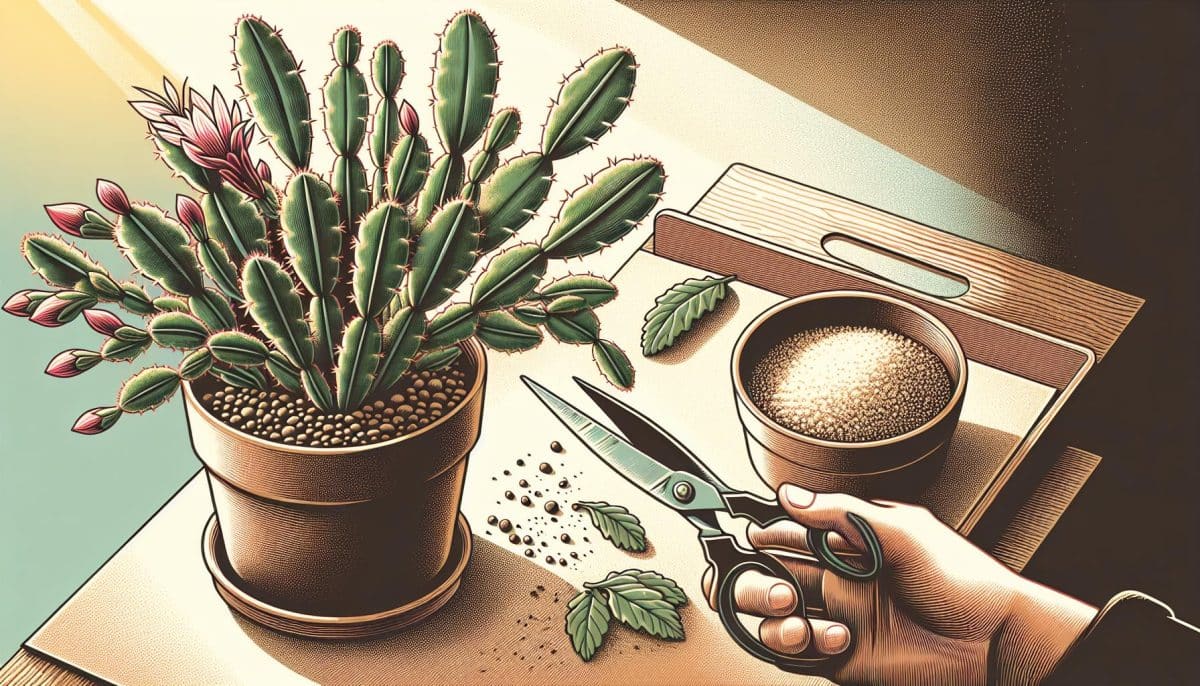
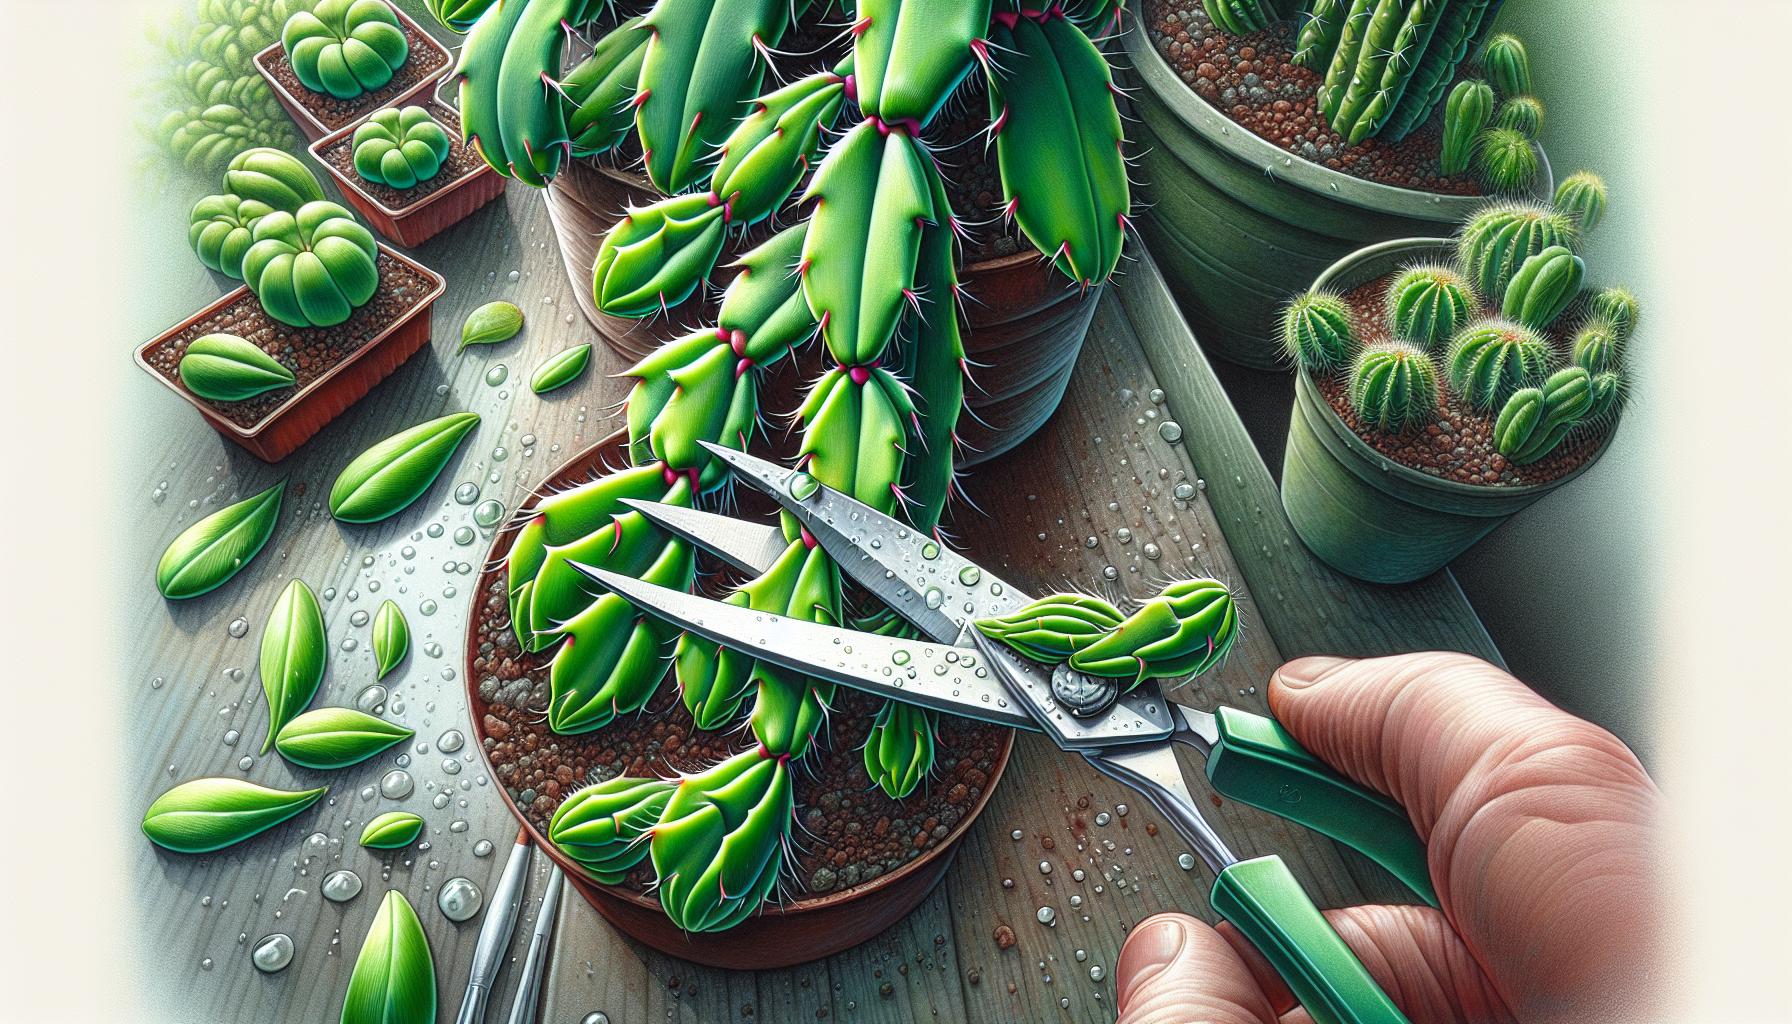
Simply make a clean snip using a pair of sharp, sterilized scissors or pruning shears. This prevents introducing any pathogens that could harm the cutting or the parent plant. Allow the cutting to dry for a few hours to form a callous over the cut area, which promotes good rooting and prevents rot.
Remember, patience is key. While it may be tempting to check for roots constantly, give your cutting time to acclimate and start the rooting process naturally. With the right conditions, you’ll soon see your Christmas cactus cutting develop into a healthy, full plant.
Preparing the cutting

Once you’ve selected the ideal segment for propagation, it’s critical to prepare your Christmas cactus cutting correctly. This ensures the best chance for growth and minimises potential setbacks.
Choose the Right Segment
Identify a healthy segment of the Christmas cactus, typically one that’s vibrant green and firm to the touch. Opt for segments that are around four to six inches in length.
Make a Clean Cut
Using your sterilized scissors or a sharp knife, make a clean, swift cut. Aim to cut about a quarter-inch below a joint, as this is where root growth is most likely to occur.
Let It Callous
After obtaining the cutting, it’s vital to let it dry and callous. This process takes anywhere from a few hours to a day. Doing so significantly reduces the risk of rot or disease when it’s planted.
Rooting Hormone (Optional)
While not always necessary, applying a rooting hormone can sometimes aid success. Dust the cut end of your cutting with the hormone to stimulate root development.
Set the Stage for Rooting
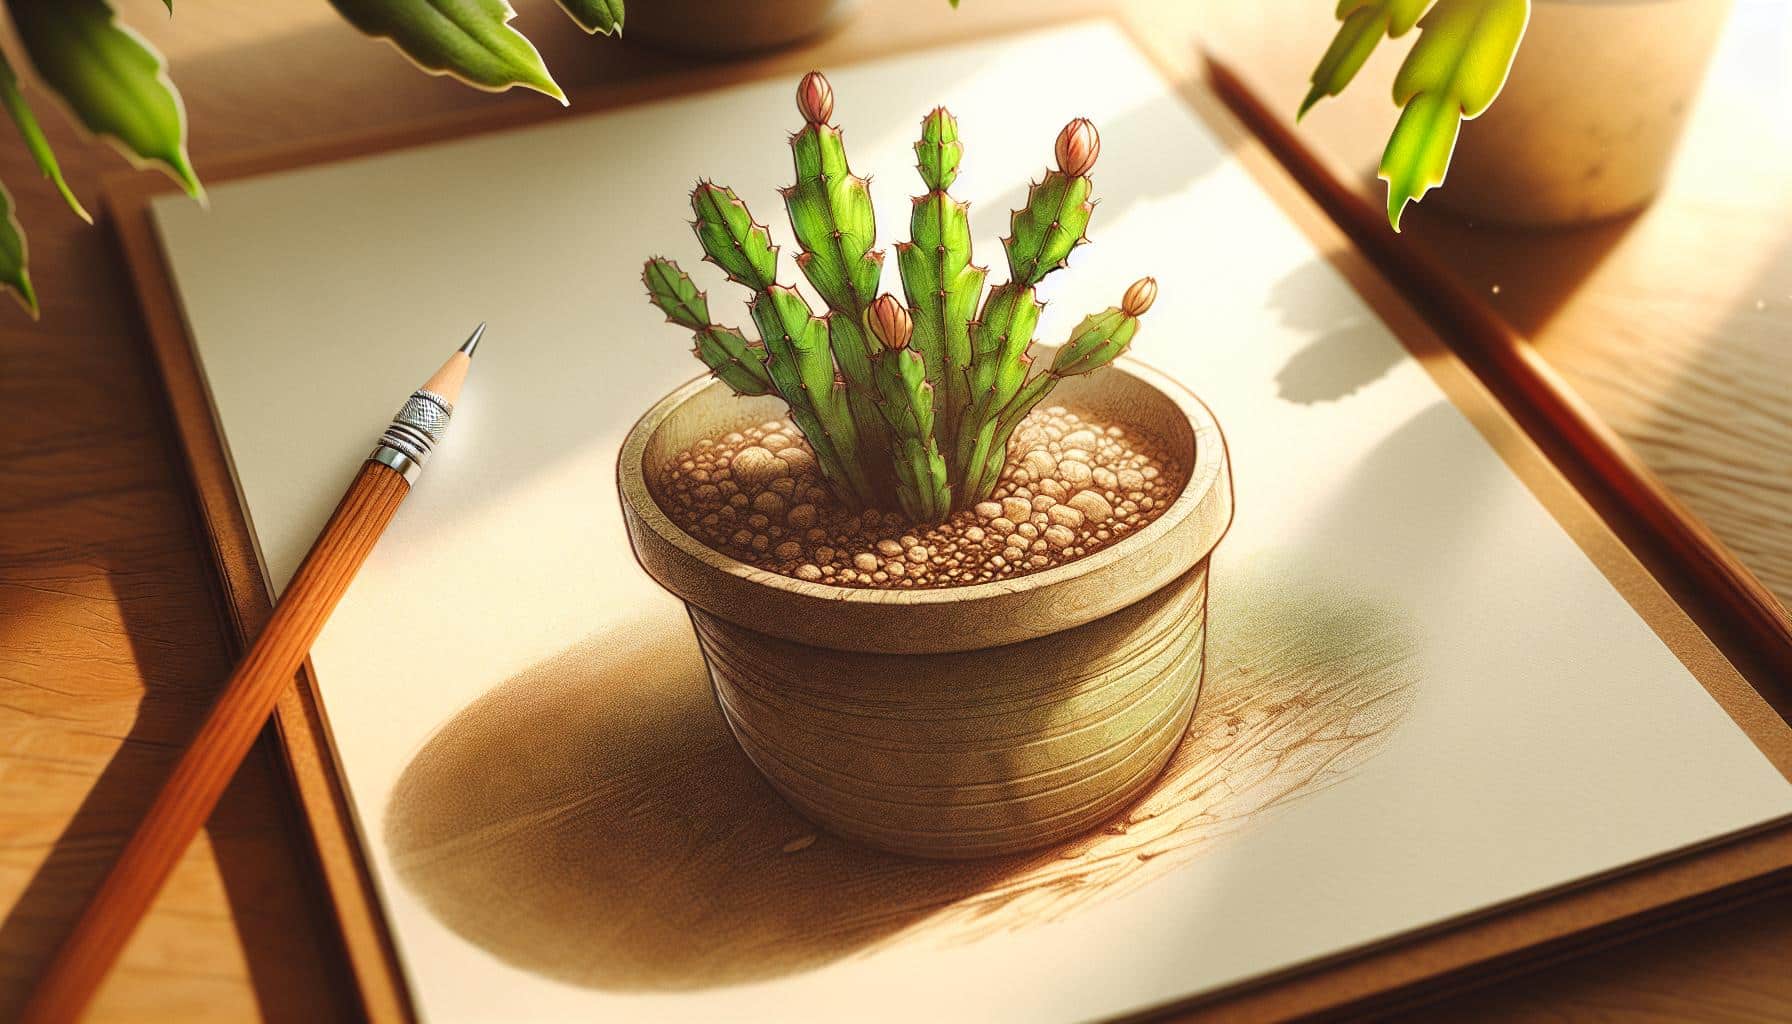
After the cutting has calloused, select a small pot with a high-quality potting mix formulated for cacti and succulents. Plant the cutting about an inch deep in the soil, ensuring that it is upright and stable.
Remember, during this stage, it’s important to provide the right environmental conditions. Keep your cutting in a warm space with indirect sunlight. Soil moisture should be uniformly maintained, but avoid overwatering. Give your cutting the right amount of time and consistent care to start showing signs of growth.
Planting the cutting

Once you’ve allowed your Christmas cactus cutting to callous, it’s time to move on to planting. This stage is crucial for the successful growth of your new plant. Select the Right Soil
Start with choosing a well-draining potting mix specifically designed for cacti and succulents. This mix usually contains components like peat, sand, and perlite which help prevent waterlogging – a common killer of cactus cuttings. Choose an Appropriate Container
Your container should have drainage holes to help excess water to escape. Overwatering can lead to root rot, so make sure your chosen pot isn’t overly large; a pot that’s just a few inches in diameter will be sufficient for a single cutting to thrive.
Planting Process
- Fill the pot with the potting mix, leaving about an inch of space at the top.
- Create a small hole in the center.
- Insert the calloused end of the cutting one to two inches into the hole.
- Gently pat the soil around the cutting for stability. Aftercare
Place your pot in an area that receives bright but indirect sunlight. The location should ideally maintain a consistent temperature, avoiding any spots that could experience drastic changes such as near heating vents or drafty windows.
Water your cutting sparingly at first. Until the roots establish, the cutting won’t require much water. A good rule of thumb is to water once the top inch of the soil feels dry to the touch. Remember, it’s better to under-water at this stage than to over-water.
As your cutting starts to establish itself, you’ll notice new growth indicating that the roots are taking hold. At this point, you can gradually start to water it more frequently, still making sure that the soil isn’t staying soggy. With the right care, your Christmas cactus will begin to flourish, ready to burst into vibrant blooms in the right season.
Providing the optimal growing conditions

Once your Christmas cactus cutting is planted, your job is to replicate the plant’s natural environment to encourage robust growth. Christmas cacti thrive in warm, humid conditions similar to their native Brazilian rainforests. Here’s what you need to do to create the ideal environment for your cutting to flourish:
Temperature and Humidity
The optimal temperature range for a Christmas cactus is between 15-21°C. Extreme temperatures can hinder growth, so avoid placing your cutting near drafts, radiators, or air conditioning units. Humidity plays a vital role as well; aim for a humidity level of about 60-70%. You can increase humidity by:
- Placing a water tray near the plant
- Using a humidifier
- Grouping plants together
Light Requirements
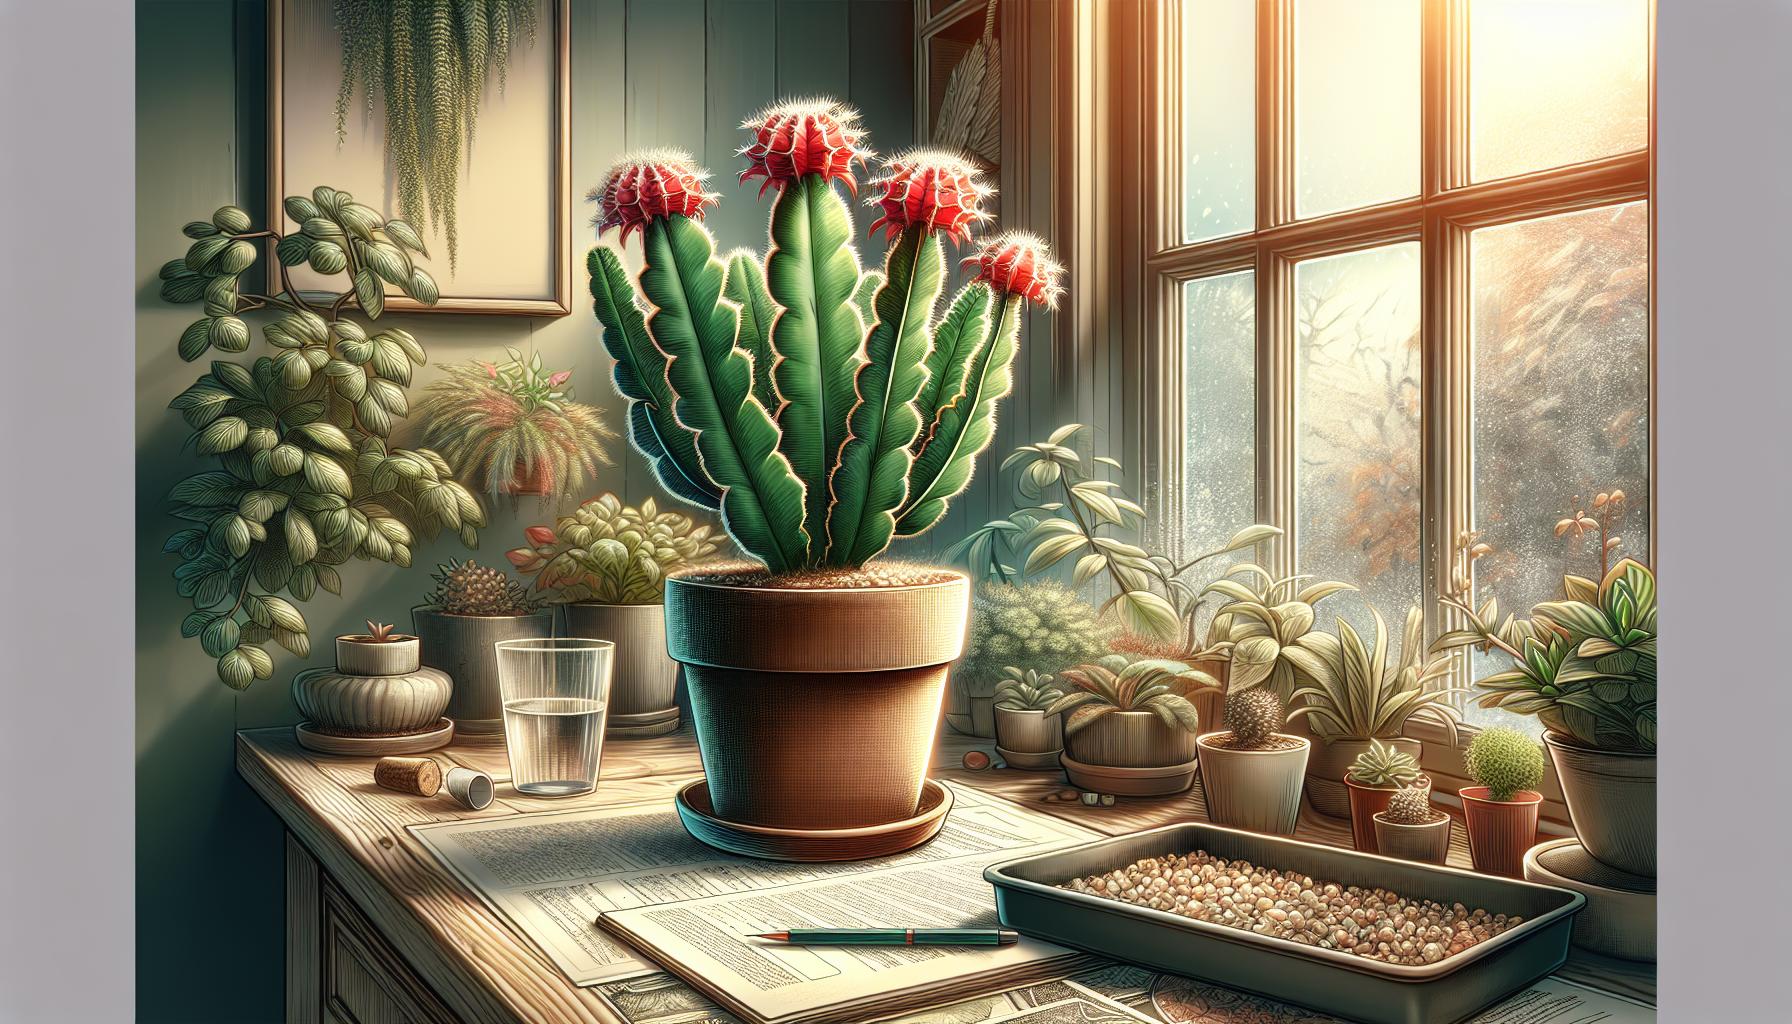
Indirect sunlight is best for Christmas cacti. Direct sunlight might scorch the leaves, so place your plant near an east or north-facing window. If such conditions aren’t possible, consider using grow lights. They’re an excellent alternative, providing the right spectrum of light without emitting too much heat.
Watering and Feeding
Overwatering can be fatal, so water only when the top layer of the soil feels dry to the touch. During the growing season, from April to September, it’s beneficial to use a diluted half-strength fertilizer every two weeks. Opt for a high-potassium fertilizer to stimulate blooming when the season arrives. Remember, consistent care is key to helping your Christmas cactus reach its full potential. Regular checks for soil moisture, temperature, and humidity will ensure that your cutting has the best chance to develop into a healthy, blooming plant.
Caring for the new plant

Once your Christmas cactus cutting is snugly potted, proper care is crucial for the young plant to thrive. Your focus now turns to mimicking the optimal conditions for growth.
Light and Temperature
The Christmas cactus prefers a bright but indirect light. Direct sunlight can scorch the tender leaves of a young plant, so a shaded area with scattered light is ideal. You’ll want to keep the temperatures around 18-24°C during the day and slightly cooler at night.
Watering Schedule
Over-watering is the nemesis of your Christmas cactus. To avoid this, water only when the top inch of the soil feels dry. Typically, a weekly watering suffices, but it may vary depending on the humidity and temperature.
- Check the soil moisture every week.
- Reduce frequency in cooler temperatures.
Humidity and Feeding
In their natural habitat, Christmas cacti enjoy high humidity. Aim for a humidity level of around 50-60%. A shallow tray with pebbles and water placed near the plant can aid in maintaining the desired humidity. As for feeding, a half-strength balanced houseplant fertilizer can be applied once a month during the growing season.
Growth Monitoring
Keep an eye on your plant’s growth. Your Christmas cactus cutting might take several weeks to show signs of new growth, but consistent care will set the stage for a robust development. Remember, growth patterns can vary greatly due to environmental factors, so patience is essential.
Conclusion
Now that you’ve mastered the art of propagating your Christmas cactus from cuttings, you’re well on your way to nurturing a vibrant, blooming addition to your plant collection. Remember, providing consistent care and mimicking the plant’s natural habitat are key to your success. With a little patience and attention to the growing conditions, you’ll soon witness the rewarding sight of your cutting flourishing into a full-grown Christmas cactus. Happy planting, and may your green thumb bring forth a bounty of festive blooms!
Colin Macmillan is a seasoned entrepreneur and the CEO of Riverwood Landscape, a leading landscaping company based in Canada. He has been at the helm of the company since leaving high school, demonstrating his strong leadership skills and business acumen.
Colin’s expertise lies in various aspects of landscaping, including lawn care, interlocking, sod installation, and commercial maintenance. His hands-on approach and dedication to the craft have been instrumental in building Riverwood Landscape into a reputable brand.
One of his most notable achievements is the creation of a successful landscape franchise that services multiple locations. This accomplishment underscores his strategic thinking and ability to scale operations effectively.
Colin has also had the privilege of working with Guelph Hospital for landscaping and maintenance, a testament to the trust and reliability that his company has earned over the years.
His professional mission is to offer the best services and experiences for customers, a goal that he tirelessly pursues. Colin’s commitment to excellence and customer satisfaction continues to drive the growth and success of Riverwood Landscape.


