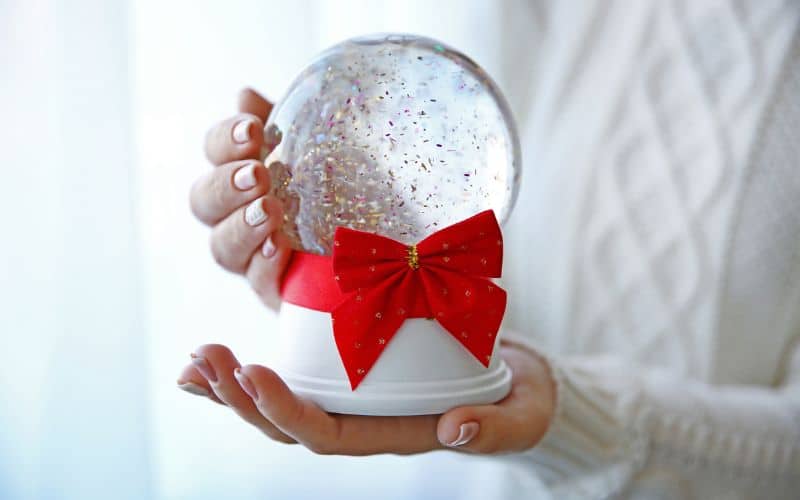
Snow globes, enchanting and whimsical, have a unique way of captivating the imagination. In this guide, we’re going to show you how to make your own outdoor snow globe. With a touch of creativity and a dash of winter magic, you’ll be able to craft a charming scene that’ll stand out in your garden or patio.
Working with waterless snow globes gives you a plethora of interior scene options. You won’t have to worry about pieces being waterproof, which means you can get really inventive with your design. From festive mini trees wrapped in colourful twine to quirky tropical elements, the possibilities are endless.
Whether you’re looking to create a unique gift or simply want to add a bit of sparkle to your outdoor space, making your own snow globe is a fun and rewarding project. So let’s dive in, and let the snowfall in your globe transfix everyone who sees it.
Materials Needed
Transforming your outdoor space into a winter wonderland starts with the right materials. Here’s everything you’ll need to craft your homemade snow globe.
Glass Jar
Your glass jar is essentially the exterior shell of your snow globe. It’s the medium through which your beautiful wintry scene will be viewed. An empty mason jar is perfect for this. Whether it’s an empty jar from a local craft store or one left over from your store-bought jam, any will do. However, a jar with a wide mouth gives you more space to position the elements of your festive vignette.
Waterproof Glue
Your little Wonderland shouldn’t leak, now, should it? Waterproof glue ensures your scenes stay water-tight. Whether it’s gluing your miniature pieces to the lid of the jar or securing the two pieces of the lid together, a good waterproof glue will do the job. Apply it liberally, but allow ample time for the glue to dry to ensure a perfect seal.
Distilled Water
Add magic to your globe with distilled water. It helps encase your glitter-sprinkled scenery, helping create that sparkling snowfall effect. It’s essential to leave some room at the top of your jar as the water level rises once you insert your figurines. The precise amount of water can be experimented with before you fill up your final jar.
Glycerin
Ever wondered how the “snow” in snow globes falls so gently and evenly? The secret is glycerin. Found in any pharmacy’s beauty aisle, a drop or two of glycerin makes your glitter fall more slowly, creating that mesmerizing gentle snowfall. It’s important not to go overboard with the glycerin- you wouldn’t want a snowstorm in your globe, would you?
Miniature Figurines
The heart of your snow globe lies in its wintry scene. Whether it’s adorable winter figurines, laminated photos, or festive mini trees, the choice is yours. Plastic or ceramic figurines are ideal as they last the longest. If you’re striving for a nostalgic look, synthetic evergreen tips available at many floral-supply stores are a fantastic option.
Glitter or Fake Snow
What’s a snow globe without a snowy spectacle? Glitter provides the dazzling snowflakes for your snow globe. You can even choose the colour of your snow- traditional white or go bold with gold or silver. Add as much glitter as you want for your ideal snowfall. Alternatively, use fake snow which also gives a stunning effect.
Epoxy Resin
This particular item might not be in your craft room but it is easily sourced. Essentially, epoxy is used to seal and bond the elements of your snow globe together. It offers an additional layer of waterproofing, ensuring that your enchanting winter scene stays intact and free from any moisture damage.
With these materials at your disposal, you’re well on your way to creating a magical wintertime spectacle right at the heart of your outdoor space. The process of making your snow globe is not only enjoyable but also rewarding. So why wait when you can get started today?

Step by Step Instructions
Step 1: Clean the Jar
First, find a suitable jar. Any empty container with a lid will do – from baby food pots to pickle jars and mason jars. The jar plays a crucial role as it determines the scale of the figurines you will use. They must fit inside the lid. Thus, it’s advantageous to have more lid space by opting for a wide-mouthed jar. Now, carefully clean the jar. Remove any labels, wash the container and the miniature pieces you plan to use. Test the jar for waterproofness by filling it with water, attach the lid, and invert it. If it leaks, don’t be discouraged. You can find some sealing tips further below.
Remember: Always make sure your jar and its lid are completely dry before moving to the next step.
Step 2: Glue Figurines to the Jar Lid
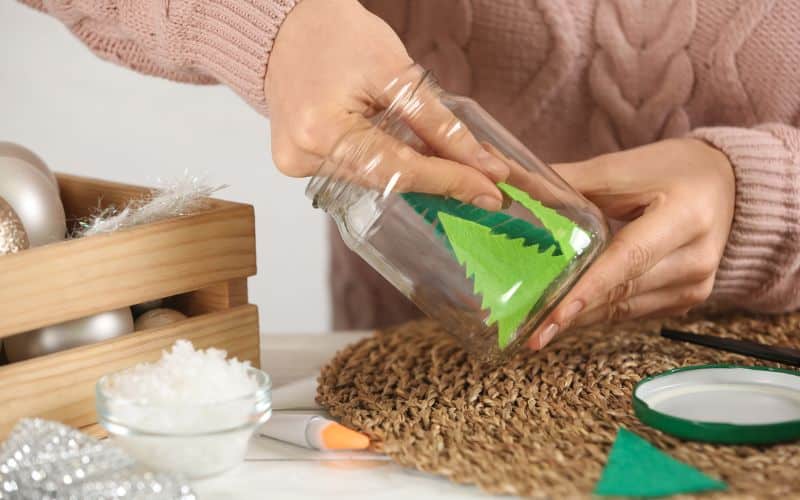
You get to unleash your creativity by creating your scene on the underside of the jar lid. Use waterproof glue for this task. Make it more impactful by sanding down the inside of the jar lid, this ensures better adhesion of the glue. As the glue sets, fortify your figurines by adding supports like little rocks to hold things in place. However, be mindful about not overcrowding the edges as it might impede with the screwing of the lid onto the jar.
Note: Waterproof glue is essential as it ensures that your snow globe remains intact even in the harshest winter weather.
Step 3: Fill the Jar with Distilled Water and Glycerin
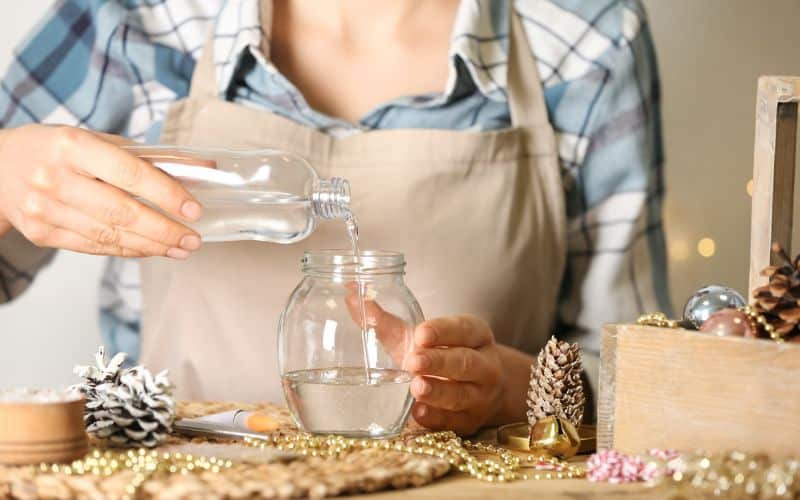
Once your figurines are set, pour distilled water into your jar, leaving a little space up top. This space compensates for the water displaced once the figurines are added. To this, add a drop or two of glycerin. The glycerin slows the fall of your glitter or faux snow, lending it a seamless, dreamy snowfall effect.
Step 4: Add Glitter or Fake Snow
It’s time to add some magic! Dump in enough glitter or fake snow into the jar. A good rule of thumb is to pour a bit more than you think you need, particularly if you’re using greenery as some of the glitter tends to stick to it.
Step 5: Seal the Jar Lid
Now that your miniature winter wonderland is set up inside the jar, carefully place the scene side of your lid on the globe, covering the snow. Turn it over and screw on the lid tightly. If you’re using a mason jar, ensure you add the rim and tighten it well. If needed, adjust the water level in the jar by reopening it and adding small quantities of distilled water.
Top Tip: Before applying any sealing material like sugru, ensure the outside of the jar is dry to enable a firm hold.
Step 6: Apply Epoxy Resin to Jar Lid
The epoxy resin fortifies your snow globe, shielding against any leaks. You can roll out two equal pieces from a mini-pack of sugru, each half the diameter of the jar. Press these pieces to create a firm seal between the lid and the jar.
Step 7: Shake and Enjoy
That’s it! You’ve made your own DIY outdoor snow globe! After making sure everything is thoroughly dry, turn it upside down and give it a few shakes to see the magical snowfall effect. If everything stays in place, your snow globe is ready to bring joy and festive spirit to any outdoor setting.
Anyone in your family can try their hand at this DIY project. It could even become a cherished tradition. To make it even cuter, you can add a looped string to the top of the globe to turn it into an iconic seasonal ornament.
Tips and Tricks for Making Perfect Outdoor Snow Globes
Making outdoor snow globes is a thrilling activity, providing endless hours of fun and creativity. To keep the excitement alive and ensure the best results, there are certain tricks and tips to take onboard. Let’s put the spotlight on these invaluable nuggets.
Use a Waterproof Glue to Ensure the Figurines Stay in Place
It’s fundamental to use a durable adhesive that can withstand water, as the figurines have to stand the test of time and repeated shaking. The best bet here is waterproof glue which won’t let you down by ensuring that the pieces are firmly and securely attached. It’s always wise to allow the pieces to dry completely for several hours before proceeding, preventing any unanticipated mishaps.
Several enthusiasts found great success by using hot glue or Sugru. Sugru seals well underwater, although it’s always handy to leave it to cure overnight.
Adjust the Amount of Glycerin to Achieve the Desired Snowfall Effect
Glycerin plays a pivotal role in creating that mesmerising, magical snow-like effect within the globe. It slows down the intrinsic velocity of your ‘snow’, creating a gentle blizzard that slowly settles, and also acts as a preservative to help keep your figurines intact.
The quantity of glycerin you blend with your water and glitter directly impacts the snowfall effect of your globe. Starting with one to two drops per cup of water, you can tweak the amount until the snow falls just the way you like. However, remember that too much glycerin could make your snowfall sluggish or overly slow.
Experiment with Different Colours of Glitter or Fake Snow
The aesthetic appeal of your globe world is largely dependent on your creativity. Experiment with coloured glitter or artificial snow to provide an innovative twist on the classic snowy scene. From silver to gold and beyond, these glimmering combinations can make your globe sing with colour and unique style.
You might also consider small holiday trinkets from a craft store as an alternative to traditional figurines. You can veer off the beaten path and design your dream world within a jar. Just ensure that any additions are of a size that can comfortably fit within your chosen jar and are not too close to the edge, to allow for easy closure of the lid.
By the way, did you know that if you’re planning a lot for a holiday party, you could consider going waterless with your snow globes? A waterless globe saves you the worry about pieces being waterproof, while also reducing the chance of any messy mishaps. Additionally, it provides more options for interior scenes, leading to truly charming results.

How to Make an Outdoor Snow Globe: Safety Precautions
Ensuring your safety is essential when creating your standout outdoor snow globe. As exciting as the process might be, some steps demand extra attention. Let’s review and focus on two major safety elements: handling the glass jar and working with epoxy resin.
Use Caution when Handling the Glass Jar to Avoid Injury
Handle your jar with utmost care! It’s the main component of your snow globe and breaking it not only ruins your project but poses a potential risk of injury. So next time you’re squishing your figurines into the jar, remember to ease them in gently. Avoid cramming them in. When screwing the tight-fitting lid, don’t force it. Remember, the knack is in securing a tight enough seal without filling the entire base, so there’s room to screw the lid properly.
Ensure the Epoxy Resin is Applied in a Well-ventilated Area
While crafting your snow globe, you’ll be using epoxy resin to secure your items to the lid. This adhesive can produce fumes that are unsuitable for enclosed spaces. Make sure your workspace has sufficient ventilation. Leave windows or doors open or work outside if it’s possible.
Strict adherence to these precautions ensures not just a great outcome but also a safer way to achieve it. Rest assured, your efforts and safety measures will result in a spectacular, unique winter spectacle right at your home.
Conclusion
You’ve now got all the know-how to create stunning outdoor snow globes. Remember, the key to a perfect snow globe lies in the details – from using waterproof glue to secure your figurines, to adding glycerin for that magical snowfall effect. Don’t be afraid to play around with different colours of glitter or fake snow to give your globe a personal touch. If you’re looking for a low-maintenance option, waterless snow globes are a fantastic alternative. But no matter what type you choose, safety should always come first. Handle the glass jar with care and ensure you’re applying epoxy resin in a well-ventilated area. With these tips, you’re well on your way to crafting beautiful, long-lasting snow globes that’ll brighten up your outdoor space. Happy crafting!


