Introduction
Addressing Muddy Ground Challenges
You’ve been there. Staring at that patch of muddy, waterlogged ground in your garden or driveway. It’s an eyesore, and more importantly, a pain to traverse—particularly when heavy rain or snowmelt turns it into a quagmire. You may ask, “Isn’t there a way to stabilise the ground while allowing proper drainage?” Fortunately, the answer’s a resounding “yes”. All thanks to gravel ground grids.
The Advantages of Using Ground Grid Systems
From the outside, ground grid systems might look like a giant LEGO project. But they hold transformative capabilities. Take the Dupont Ground Grid for example. This isn’t just about aesthetics or pioneering an abstract landscaping trend. They’re practical, environmentally friendly, and game-changing. They stabilise the soil while managing water effectively—something that can’t be said of concrete. Perfect for all kinds of landscaping applications. Ground grid systems embody the future of functional and sustainable landscaping.
Site Preparation for Ground Grid Installation

Taking on the chore of installing a gravel ground grid? This chapter will guide you meticulously through the initial steps of preparation, making sure you’re on solid ground before initiating the project.
Evaluating Site Conditions and Material Selection
Your first mission is to carry out a comprehensive site evaluation. This essential step enables you to arm yourself with a clear idea of what you’ll be working with. How’s the soil? Life would be easy if it was uniformly sandy loam throughout the world, but alas, that’s not the case. So it’s incumbent upon you to perform a thorough investigation of your soils before moving forward.
You’ll also need to look at the existing drainage patterns. Do you have specific areas where water floods or drains too swiftly? Scour through the world to find these crucial points which might later impact your ground grid installation.
The next hurdle to clear is about your material choice. It directly impacts the functionality and aesthetics of your paved gravel surface. Selection here is determined by two primary factors: the size and type of the gravel. Both these aspects play pivotal roles in the stability and permeability of the installed ground grid.
Preparing the Installation Site
With your evaluation complete and materials on hand, you’re now in the starting blocks for the actual site prep. Space needs to be cleared, not just of surface debris but intrusive obstacles like tree roots.
Commands to your spirit level and shovel are imminent, as it’s time to level the ground. You need to ensure that the final surface lies slightly beneath the surrounding ground level. The acquisition of this subtle gradient will aid the navigation of drainage post grid installation. Following this, there’s a need for firmly compact your base to bread a robust and reliable bed for the ground grid.
Consider your site’s prep part like preparing a canvas – smooth, clean, and primed. A well-prepared ground serves as a solid base, maintaining your ground grid’s stability over time while allowing it to deliver superior performance and longevity.
Installing the Ground Grid

Once your canvas has been impeccably prepared and primed, it’s time to start painting, or in this case, installing your ground grid. The installation of the grid is the key determinant in how effective this art will be.
Deploying the Ground Grid
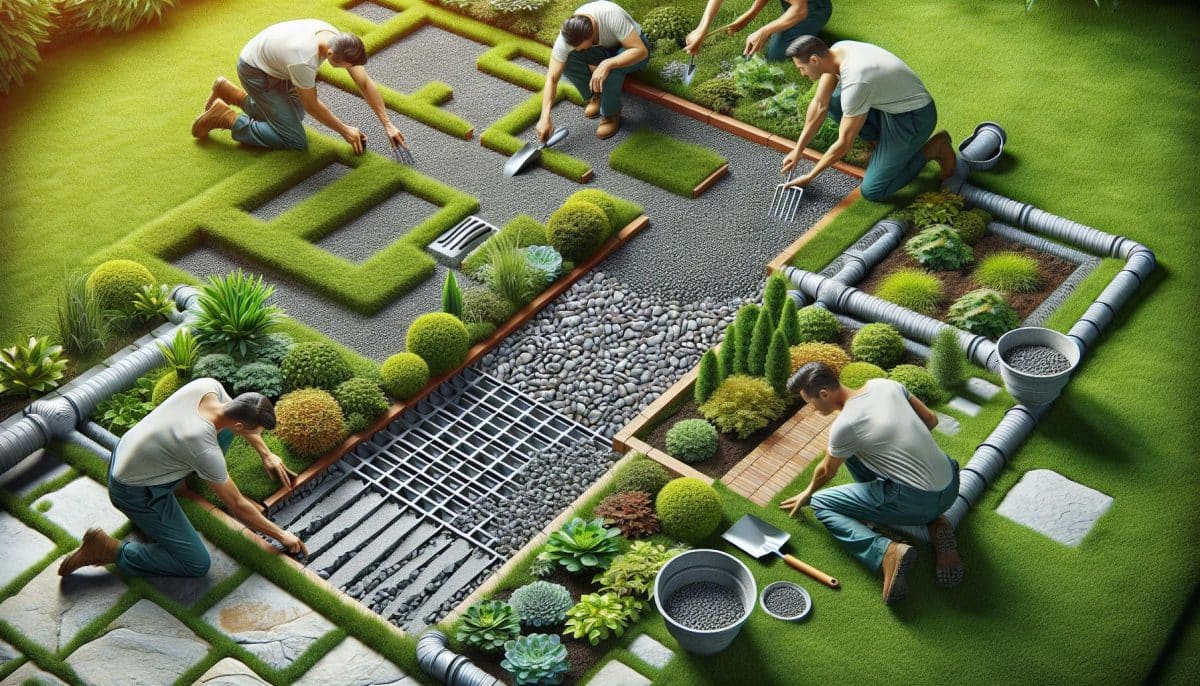
Roll out your ground grid – as you would a plush, luxurious carpet – over the site that’s been prepared with the dexterity of a skilled artist. Go slow, be patient; channel the spirit of a careful artist painting his masterpiece. Think of the ground grid as a tailored suit. It needs to fit the area perfectly. So, you will need to cut the grid where necessary, but remember, precision is essential.
Keep in mind that a suit that fits well not only looks good but feels good. Similarly, your grid should be securely anchored to prevent any discomfort later, such as shifting. All this is crucial if you desire your drone-view masterpiece – the grid – to effectively stabilise the ground.
Filling the Grid with Gravel
Bravo! The grid is finally in place. Now it’s time to bring it to life with colour – much like the shapes sketched on a canvas, begging to be filled with hues. In your case, those colours would be your chosen gravel.
A grid filled with gravel stands proudly, much like a packed hall on a concert night. Every seat (or cell, in your case) should be heavily occupied. This very act of garnishing your grid with gravel plays a pivotal role in strengthening your masterpiece’s backbone.
Filled to the brim, it makes your ground grid blush with pride, ensuring gravel doesn’t shift away like a shy, reluctant first date. It mimics the feel of solid ground beneath, supporting both foot soldiers and vehicular traffic. And just like that, in a symphony of precise steps, your masterpiece, the perfectly installed ground grid, is ready. But the process just doesn’t stop here. Let’s march ahead to explore the next steps in this exciting journey.
Additional Landscaping Considerations

Once your ground grid is locked, loaded and working correctly, there are still a handful of aspects you’ll have to attend to. These secondary considerations ensure that your newly installed grid integrates seamlessly with its surroundings and more importantly, it operates seamlessly.
Ensuring Proper Drainage
While preparing the groundwork for a grid installation, it’s critical that you pay close attention to your site’s drainage systems. Imagine it-would you only place the cherry on top of a cake that hasn’t risen properly? Of course not. So why ignore the proper drainage system while installing a gravel grid?
The layout of your ground grid system must include considerations for effective drainage. Incorporate plans for French drains, catch basins, and other solutions to prevent the nightmare of waterlogging which could potentially undermine the entire installation. Besides, not dealing with water drainage could result in more pressing issues like flooding, soil erosion, etc.
Think of it this way-you don’t want your gravel grid acting like a pool, do you?
Landscaping and Aesthetic Enhancements
Let’s dig into the fun part. Once you’ve accounted for the grunt work and you’re assured your grid system is rock solid, it’s time to put on your creative hat. This is your chance to make your grid installation aesthetically pleasing and capture the admiration of those passing by.
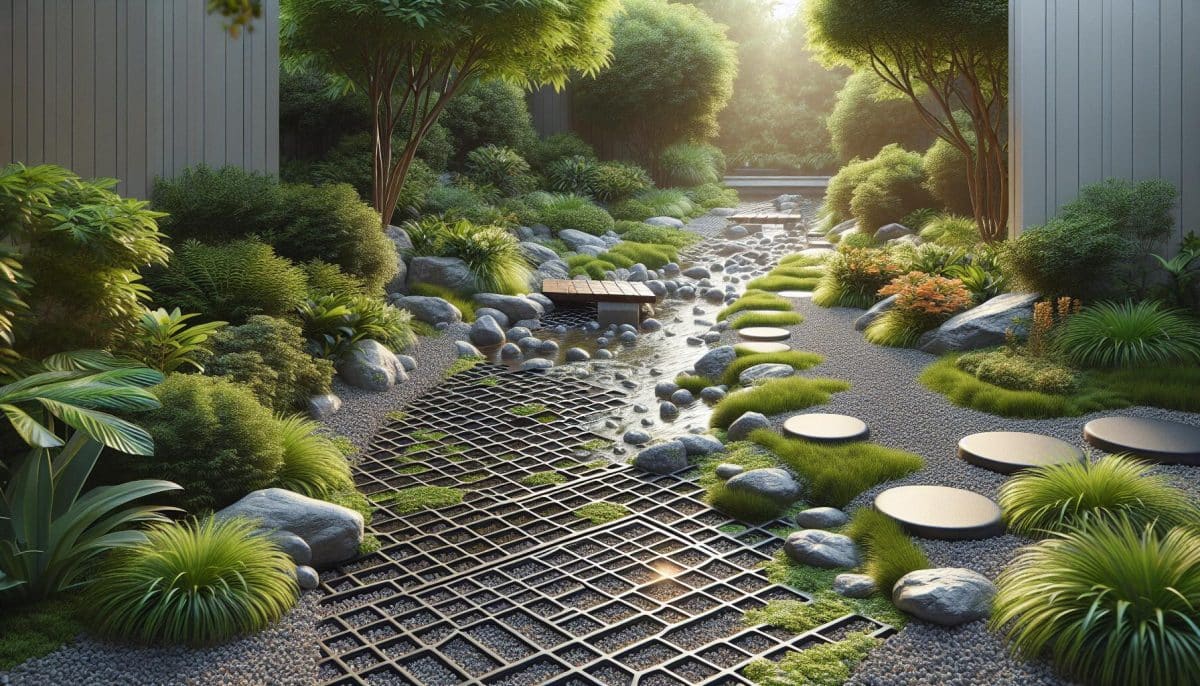
Just because its primary role is functional doesn’t mean it can’t look good, right? From introducing patches of lush grass to placing stepping stones strategically, anything goes. You could even choose to stay on the wild side of things and allow ground cover plants to add an organic touch to your hardworking gravel grid. Whatever tickles your fancy.
Remember, implementing the grid is the canvas, while aesthetics are your brush strokes. Let your creativity run wild as you sprinkle some magic and bring to life a beautiful masterpiece in your world. With every detail taken care of, your new gravel grid system will not only be the talk of the town for its stellar functionality but also its eye-catching appearance.
Conclusion
So, you’ve made it! You’ve learned about the importance of proper drainage for your gravel ground grid, and how tools like French drains and catch basins can help. You’ve also discovered that your grid isn’t just a functional feature, but a canvas for your creativity. With a mix of grass patches, stepping stones, and ground cover plants, you can transform your grid into a stunning part of your world. It’s about combining functionality with aesthetics to create a space that’s not only practical but also pleasing to the eye. Now, it’s time to roll up your sleeves, let your creativity flow, and create that perfect gravel ground grid.
Colin Macmillan is a seasoned entrepreneur and the CEO of Riverwood Landscape, a leading landscaping company based in Canada. He has been at the helm of the company since leaving high school, demonstrating his strong leadership skills and business acumen.
Colin’s expertise lies in various aspects of landscaping, including lawn care, interlocking, sod installation, and commercial maintenance. His hands-on approach and dedication to the craft have been instrumental in building Riverwood Landscape into a reputable brand.
One of his most notable achievements is the creation of a successful landscape franchise that services multiple locations. This accomplishment underscores his strategic thinking and ability to scale operations effectively.
Colin has also had the privilege of working with Guelph Hospital for landscaping and maintenance, a testament to the trust and reliability that his company has earned over the years.
His professional mission is to offer the best services and experiences for customers, a goal that he tirelessly pursues. Colin’s commitment to excellence and customer satisfaction continues to drive the growth and success of Riverwood Landscape.


