Introduction
Overview of the Problem
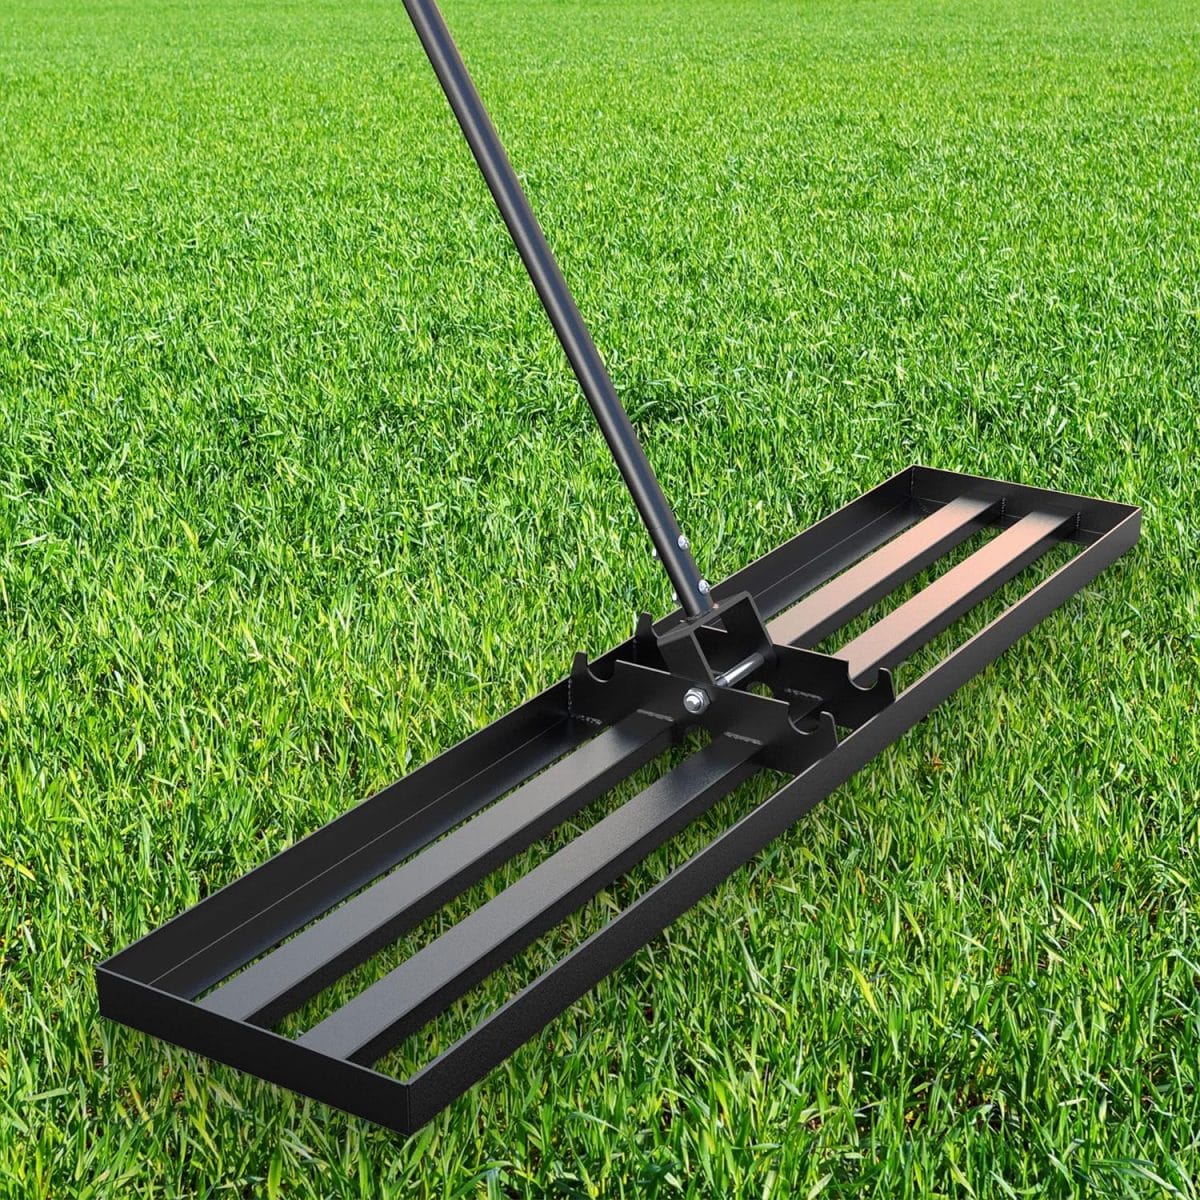
It’s that time of year again. Post winter, you find yourself gazing out over an unsightly lumpy, bumpy expanse of what used to be your uniform, beautiful lawn. Uneven turf distracts from your garden’s beauty and may even pose a tripping hazard. Commercial options to solve this wake of winter’s destructive passage can be expensive and beyond reach for many. The answer? A DIY lawn leveling rake.
Motivation for DIY Project
Are you passionate about getting your hands dirty and reclaiming your lawn’s level glory without very costly? The high cost of commercial lawn leveling rakes may have spurred you into action. The value is not just in the saved pennies; it’s about crafting a solution customised to your specific lawn needs. Understanding this need, we investigate into an affordable DIY solution: creating your own lawn levelling rake. Let’s unpack how you can up your lawn game with a bit of creativity and elbow grease.
The Concept of a Lawn Leveling Rake
Definition and Purpose
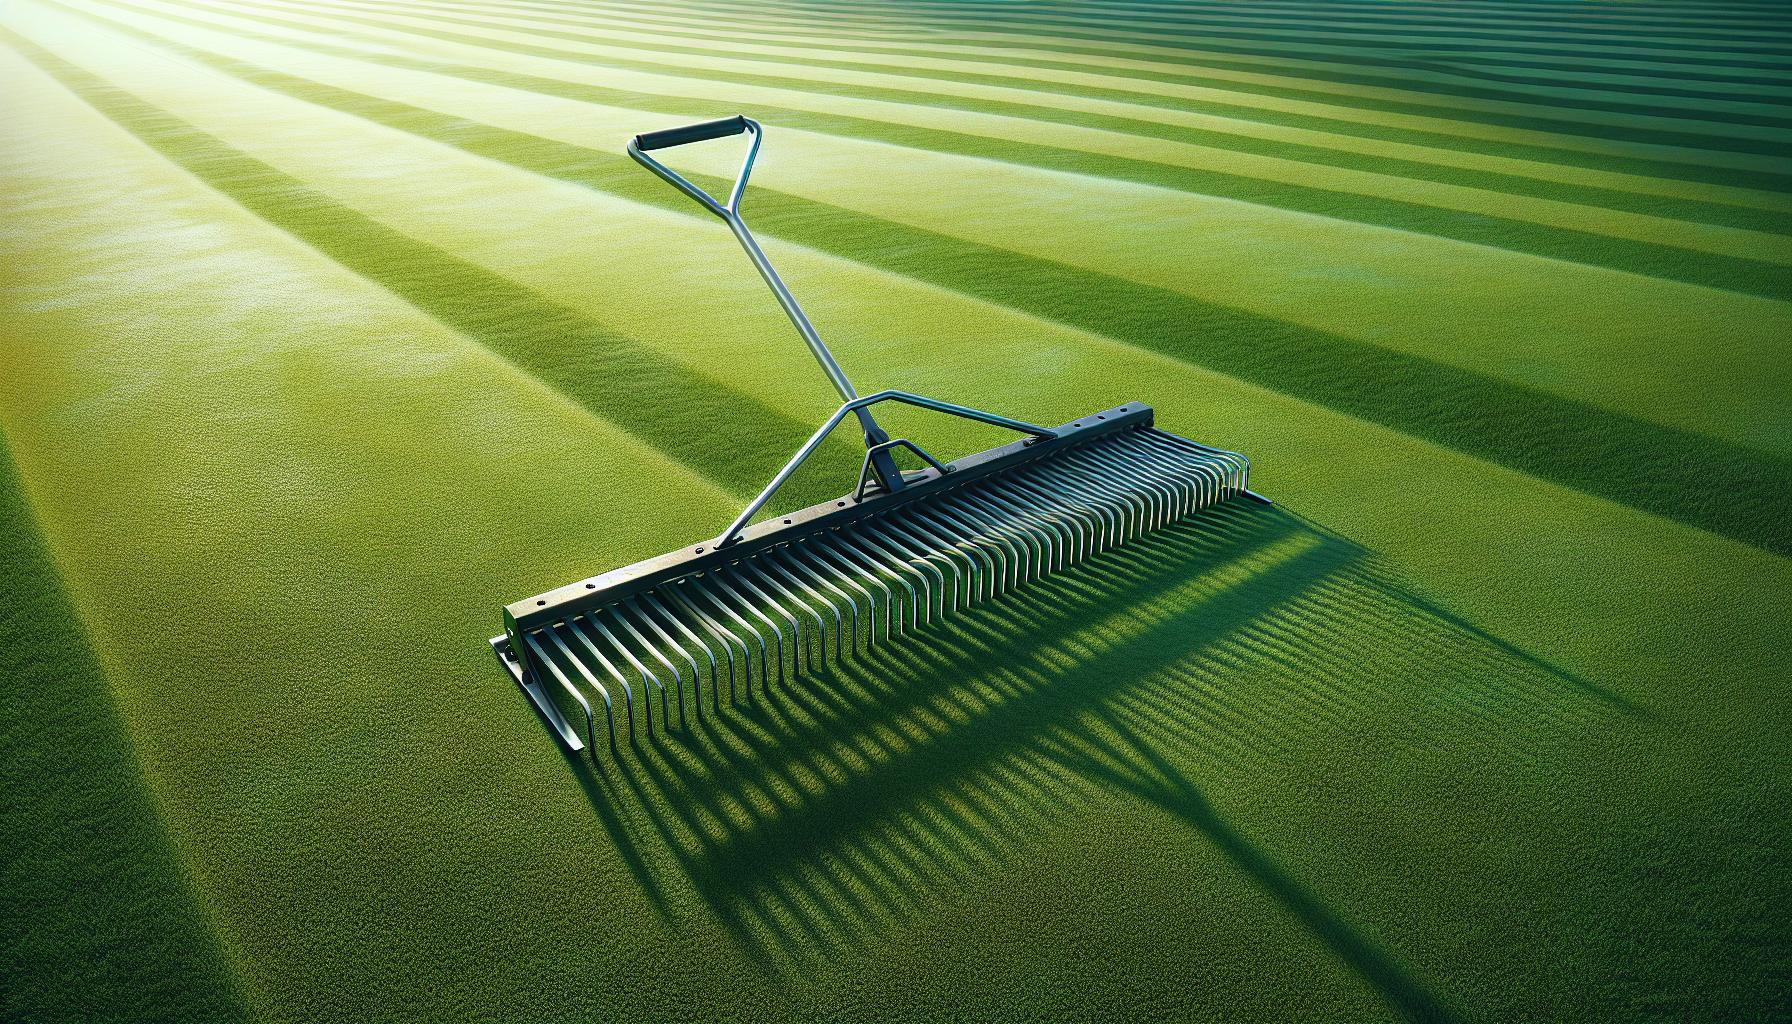
Lawn levelling rakes are much than just your average garden tools. Similar to the rakes used on golf courses, these powerhouses are specifically engineered to bring the law of the levels right into your backyard. What does this mean for you? It means that every bump and undulation in that gorgeous green expanse that is your lawn can be easily ironed out to perfection.
Benefits
Not all rakes are created equal, and certainly, not all of them promise a lush, perfectly level lawn. That’s where the lawn levelling rake jumps in. Built sturdier and heftier than their generic counterparts, these rakes are purposefully designed to offer maximum efficiency in lawn levelling. The beauty of a well-leveled lawn isn’t just in the aesthetics. It pipelines the way for better drainage, improving the overall health of your turf. The heavy-duty design of a lawn levelling rake caters to this need, transforming the robust task of lawn levelling to a more effortless and enjoyable chore.
Materials Needed for DIY Lawn Leveling Rake
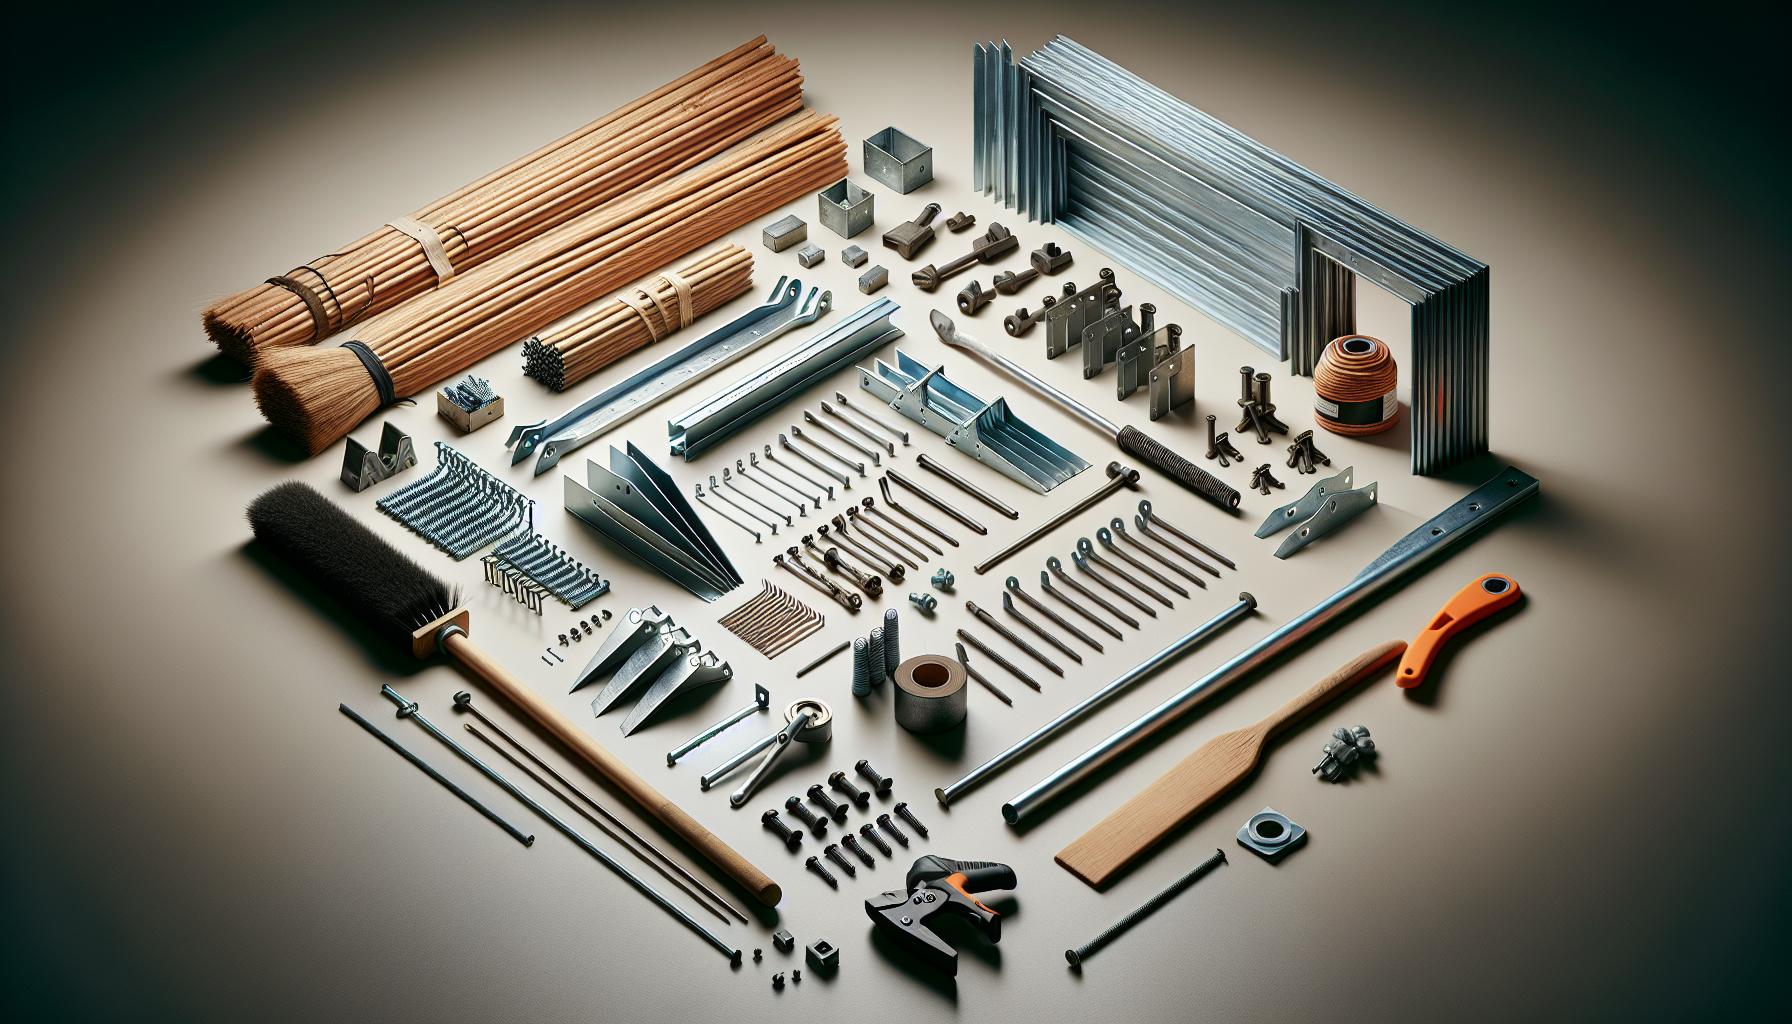
To construct your own DIY lawn leveling rake, you’d require a set of materials, primarily used to establish the frame and swivel handle. Looking for maximum output on a minimum budget? Making your own rake can shave off a great deal from your budget while adding that personal touch to your garden tools.
Primary Materials
First off, you’d need three 8-foot sections of ¾ by ¾ inch steel angle iron. This will form the mainframe for your lawn leveling rake. Angle irons provide the right strength and ruggedness needed for landscaping tasks. They have traditionally been used in construction, furniture, and even in tools for their combination of durability and ease to work with. The idea is to have a sturdy mainframe that can push and pull volumes of soil or gravel without bending.
Next, you need a dependable broom handle. It has to be robust enough to not just support the weight of the rake but also control the movement easily. Make sure to choose one that provides a firm grip and has a good length for easy operation.
Finally, your swivel handle requires brackets and bolts. They don’t just hold the parts together but also ensure smooth movement of the rake across different terrains in your garden.
Tools Required
Completing this DIY project will require the use of some essential tools. These are the backbone of your construction process and choosing the right ones will help reduce your efforts drastically.
You’ll need cutting tools – for accurately shaping the steel angle iron and welding tools – to join these parts together to create the rake’s frame. Since welding can be somewhat tricky for beginners, it would be advantageous to have some basic knowledge or guidance in welding for this task.
Step-by-Step Construction Guide

Delving deeper into specifics, we’ll now guide you through the step-by-step construction of your DIY lawn levelling rake. The two pivotal elements we’ll focus on are the frame assembly and the swivel handle mechanism.
Frame Assembly
As a starting point, you’re going to craft the frame for your lawn levelling rake using steel angle iron. The material’s strength, coupled with its rustic resilience, make it an apt choice for this DIY venture. You’ll need to trim the steel angle parts and align them meticulously to form a sturdy, well-proportioned skeleton. Precision in cutting angles is paramount here as this ensures the rake’s overall composure and stability.
It’s time to assemble the frame. You’ll need to drill M8 holes instead of M5 ones on the aluminium angles. During your DIY experiments, you’ll realise that countersunk bolts snugly fit the M8 holes rather smoothly while they might feel a bit clumsy in 5mm holes. When drilled, ensure the bolts are wholly flush against the frame. Look out for this detail as it affects the overall fit and finesse.
It’s time for assembly! The bolts need to be inserted from the bottom and tightened well using a suitable tool like an impact driver.
Swivel Handle Mechanism
Next, we are going to work on the handle- the part of the rake that’ll be your contact point when out levelling your lawn.
Again, the handle will be made using the robust steel angle iron. Rather than a static, fixed handle, we are aiming for a Swivel Handle Mechanism. This allows for rotation, making manoeuvring the rake an absolute breeze.
The handle attachment will also require brackets and bolts. Arrange for some strong brackets and bolts for this purpose ensuring they fit well with the rest of the assembly without any welding needed.
Remember, a sturdy, well-built handle is fundamental as it significantly impacts user comfort and overall control while performing the levelling manoeuvre.
Make sure to adhere to this guide and you’ll be the proud owner of a tailor-made, cost-effective lawn levelling rake. Aesthetics meet functionality, doesn’t it?
Design Features and Practical Benefits
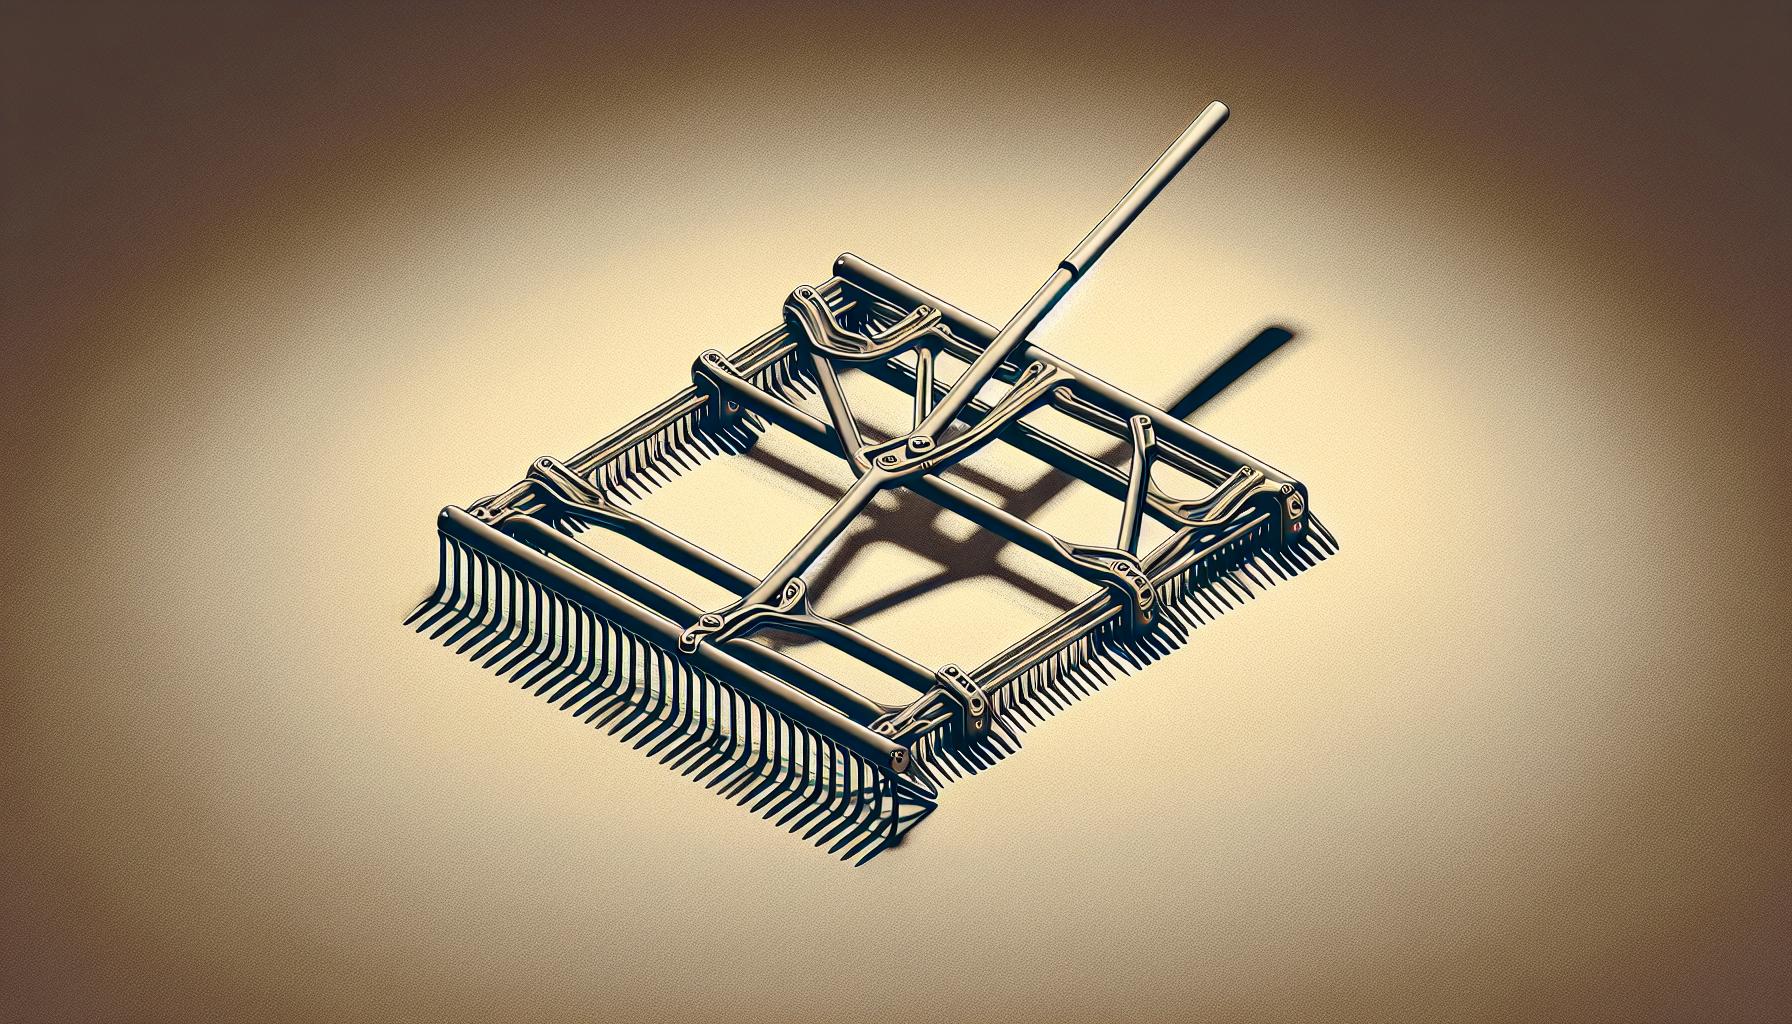
In the vast world of DIY projects, the right design features matched with practical benefits can set your work apart. Your DIY lawn levelling rake is more than just a tool; it’s a testament to your craftsmanship, skills and your understanding of specific practical needs about lawn care.
Construction and Effectiveness
The heavy-duty construction of your rake, specifically its use of angle iron, provides exceptional durability and effectiveness. Imagine effortlessly levelling soil, the rugged angle iron slicing through clumps and bumps as you pull. It’s not just a rake; it’s your handheld lawn leveller, contributing enormously to the effortless maintenance of your greenspace.
Design Specifics
Twisting the story further, your rake isn’t simply a levelling device, it ingeniously triples as a ‘grater’ for your lawn. Three cross beams act like blades against the grassy surface, producing a level finish that’s the envy of any garden lover. Balancing weight and manageability, the sturdy handle supports your rake, ensuring your comfort and control in every swooping motion. It’s clear that every shrewd design decision contributes to a superior, practical, and user-friendly tool. Tailor-built for your comfort, control, and lawn management efficiency.
Modifications and Improvements
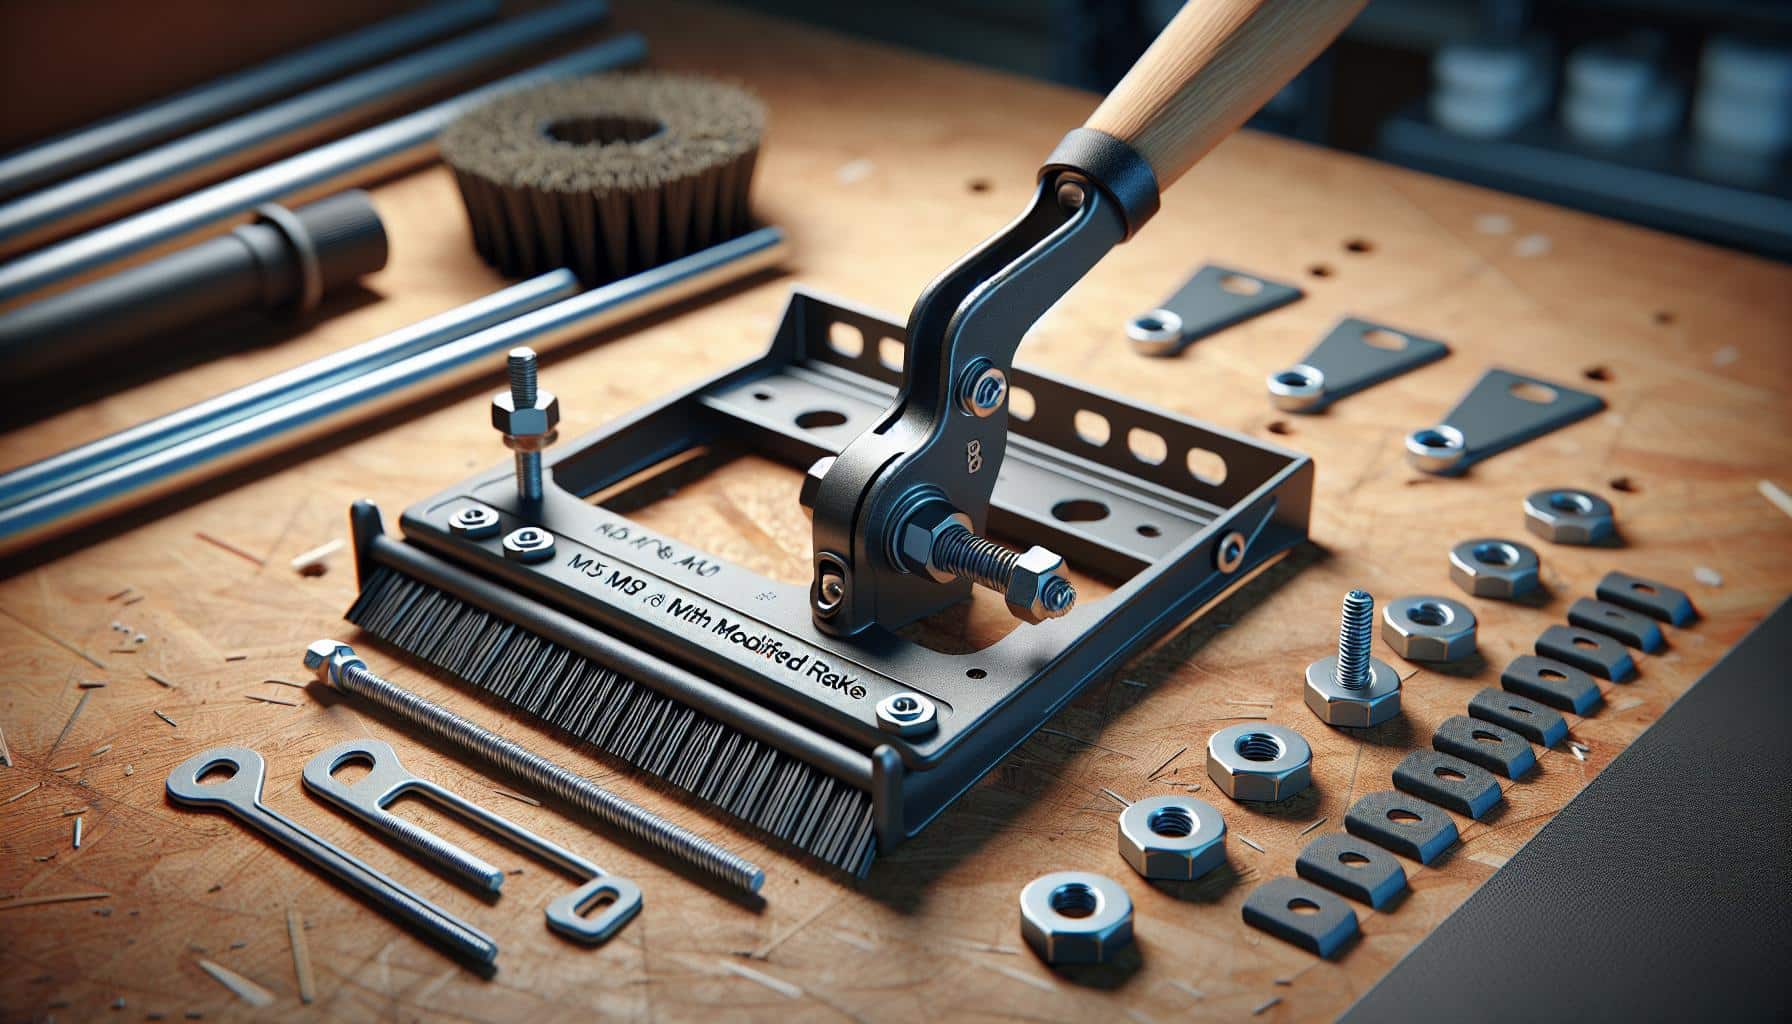
The process of creating your DIY lawn levelling rake provides an opportunity for implementing modifications and potential improvements. Reflecting on your crafting journey not simply offers the chance to identify strengths and weaknesses, but also to contemplate improvements.
Your initial build may include a handle assembly using M5 nuts and M5 flat head bolts, combined with M5 flat washers and lock washers providing a firm hold. But, to ensure an even sturdier assembly, you might want to consider using stronger components like M8 flat head bolts and M8 nuts interspersed with M8 flat washers and lock washers.
The quality of the handlebar warrants attention. A Kraft Broom Adapter and Bracket can serve as an efficient and reliable coupling interface, enabling effortless fitting of the handle to the rake body.
Revamping your lawn levelling rake is not merely about improvements in functionality, but also about exploring variations to customise the rake to personal requirements. With pre-cut, lightweight aluminium material, the size of the rake can conveniently be manipulated from a standard 24 x 12 rake, to a wider 48 x 12 version without an exponential increase in expense.
Remember, the ultimate aim is to maintain focus on the durability and user-friendly aspects. So use those M8 and M5 drill bits with precision, keep that impact driver at the ready, and let your creativity take flight.
Testing and Expected Outcomes

After your DIY lawn levelling rake assembly, spring is the optimal period to test its performance. One substantial test for the rake’s effectiveness involves its ability to spread and level loam soil efficiently. Here’s the big question: why loam soil?
Loam soil, known for its balanced blend of sand, silt, and clay, is considered excellent for gardening and lawn care. It also has high amounts of nutrients and organic material, providing a great environment for grass to sprout and flourish. With spring being a time of renewal and growth, your rake’s performance during this period serves as an exceptional indicator of its overall efficiency.
Let’s talk about the anticipated outcomes from this testing phase. You’re not really aiming for flatness. Surprisingly, a perfectly flat lawn isn’t the objective here. Instead, what you want is a lawn that’s uniformly level with a gently flowing surface. Your lawn levelling rake should help to smooth out small bumps and divots without negatively affecting the overall topography of your lawn. That’s its core purpose.
While it’s important to highlight that lawn levelling rakes aren’t designed for large area levelling, they are perfect for routine lawn maintenance. For such purposes, you may need to resort to more considerable measures like renting a power tiller or opting for professional services.
Conclusion
So, you’ve now got the know-how to assemble your DIY lawn levelling rake. Remember, it’s all about creating a uniformly level surface, not a perfectly flat lawn. Your rake is perfect for regular maintenance, helping to spread and level loam soil, especially in spring. For more extensive work though, consider a power tiller. With your new tool in hand, you’re ready to give your lawn the care it deserves. Happy raking!
Colin Macmillan is a seasoned entrepreneur and the CEO of Riverwood Landscape, a leading landscaping company based in Canada. He has been at the helm of the company since leaving high school, demonstrating his strong leadership skills and business acumen.
Colin’s expertise lies in various aspects of landscaping, including lawn care, interlocking, sod installation, and commercial maintenance. His hands-on approach and dedication to the craft have been instrumental in building Riverwood Landscape into a reputable brand.
One of his most notable achievements is the creation of a successful landscape franchise that services multiple locations. This accomplishment underscores his strategic thinking and ability to scale operations effectively.
Colin has also had the privilege of working with Guelph Hospital for landscaping and maintenance, a testament to the trust and reliability that his company has earned over the years.
His professional mission is to offer the best services and experiences for customers, a goal that he tirelessly pursues. Colin’s commitment to excellence and customer satisfaction continues to drive the growth and success of Riverwood Landscape.


