Growing a lime tree from seed is a rewarding experience that begins with a simple seed and ends with the aromatic pleasure of fresh limes right from your garden. You’ll need patience and care, but the payoff is a lush, fruit-bearing tree. Whether you’re a gardening enthusiast or trying your green thumb for the first time, this guide will walk you through the steps to cultivate your very own lime tree from the ground up.
Choosing the right lime seeds
When embarking on the journey of growing a lime tree from seed, selecting the right seeds is crucial for your success. Opt for seeds from fresh limes, as they boast higher germination rates compared to those that have been dried or processed. Check out the local farmers’ market or organic store; they’re often stocked with fresh limes that haven’t been exposed to growth inhibitors, which can affect the seed’s viability.
Avoid seeds from limes that appear shriveled or discolored, as these are telltale signs of poor health and may result in weakened or non-germinating seeds. The best seeds are plump, have a glossy sheen, and feel firm to the touch.
When you’ve got your fresh limes, extract the seeds and give them a gentle rinse under cool water to remove any clinging fruit residue. Pat them dry with a soft cloth; moisture on the seed surface can lead to mold growth if they’re stored before planting.
Testing Seed Viability
Before you commit to planting the seeds, you can perform a simple water test to check their viability. Place the seeds in a glass of water.
- If they sink, they’re likely viable and ready for planting.
- If they float, they might be less viable, and it’s best to select others.
Remember, your lime tree’s journey starts with the quality of the seed. Take the time to choose wisely, and you’ll be setting the stage for a fruitful harvest in the years to come.
Preparing the seeds for planting

Once you’ve selected viable seeds from fresh limes, preparation is key to ensure they’re ready for planting.
Clean the Seeds
Start by removing seeds from the pulp and rinsing them carefully under cold water. You’ll want to do this to prevent any mold growth which can inhibit germination.
Soak the Seeds
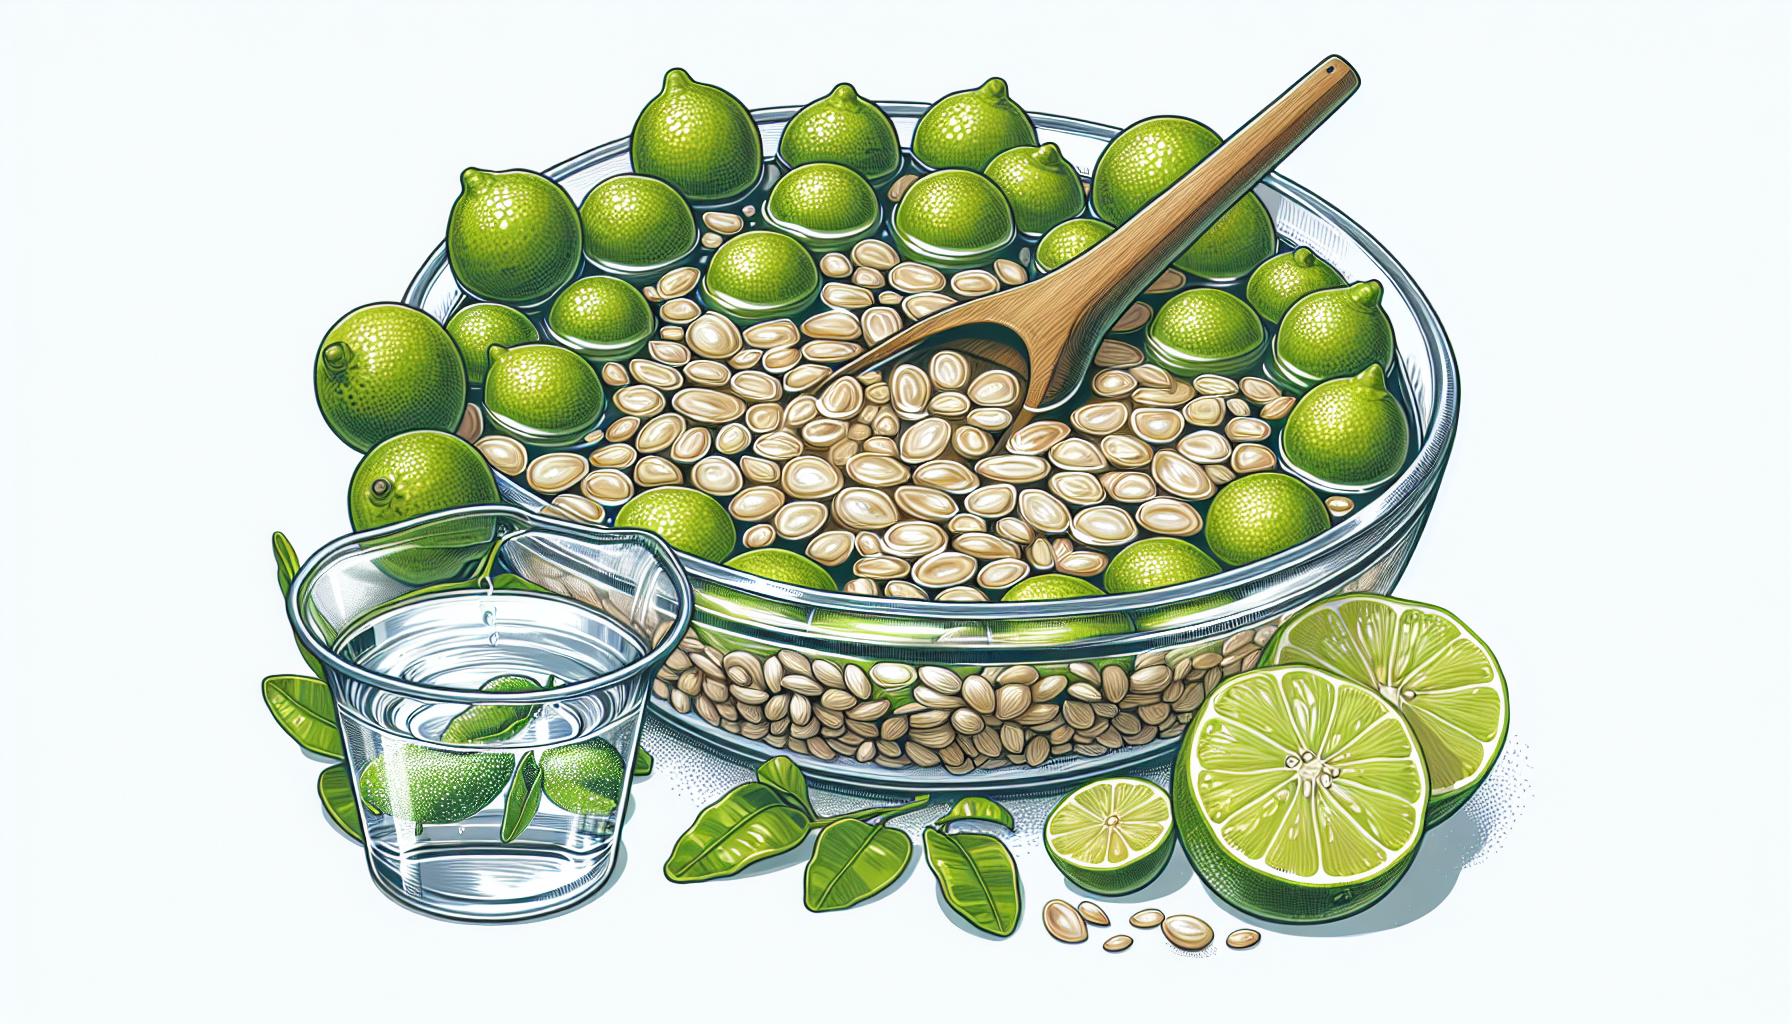
Soaking the seeds is a critical step in the preparation process. Submerge them in lukewarm water for 24 hours. This helps to soften the tough outer shell and can significantly speed up germination.
Scarification
For tougher seeds, consider scarifying them to aid with water absorption. Gently file the outer coating or nip off a tiny piece of the shell; be careful not to damage the inner seed.
Wrap in a Moist Cloth
Post-soaking, wrap the seeds in a moist paper towel or cloth. Place them in a warm spot, like the top of a refrigerator, to maintain a consistent temperature. This mimics the warm, wet conditions needed to sprout.
Planting Time
After a few days, once the seeds begin to sprout, they’re ready for soil. Select a pot with adequate drainage and use a well-draining soil mix specifically designed for citrus plants.
By following these steps, your lime seeds will be optimally prepared for the journey ahead, giving them the best chance to flourish into healthy lime trees. Keep them warm and moist, and before long, you’ll be ready to move on to the next phase of growth.
Planting the lime seeds

Once your lime seeds have begun to sprout, you’re ready to plant. Choose a pot at least 12 inches in diameter with adequate drainage holes to avoid water logging the soil which can damage the roots. Fill the pot with a citrus-specific potting mix or make your own mix by combining equal parts peat, perlite, and sterilised garden soil to ensure rich nutrients and good drainage.
Step-by-Step Planting Guide
- Fill the pot until it’s about three-quarters full.
- Gently place your sprouted seed on top of the mix about half an inch deep.
- Cover the seed with additional potting mix and pat down gently to eliminate air pockets.
- Water the soil lightly ensuring it is moist but not soggy.
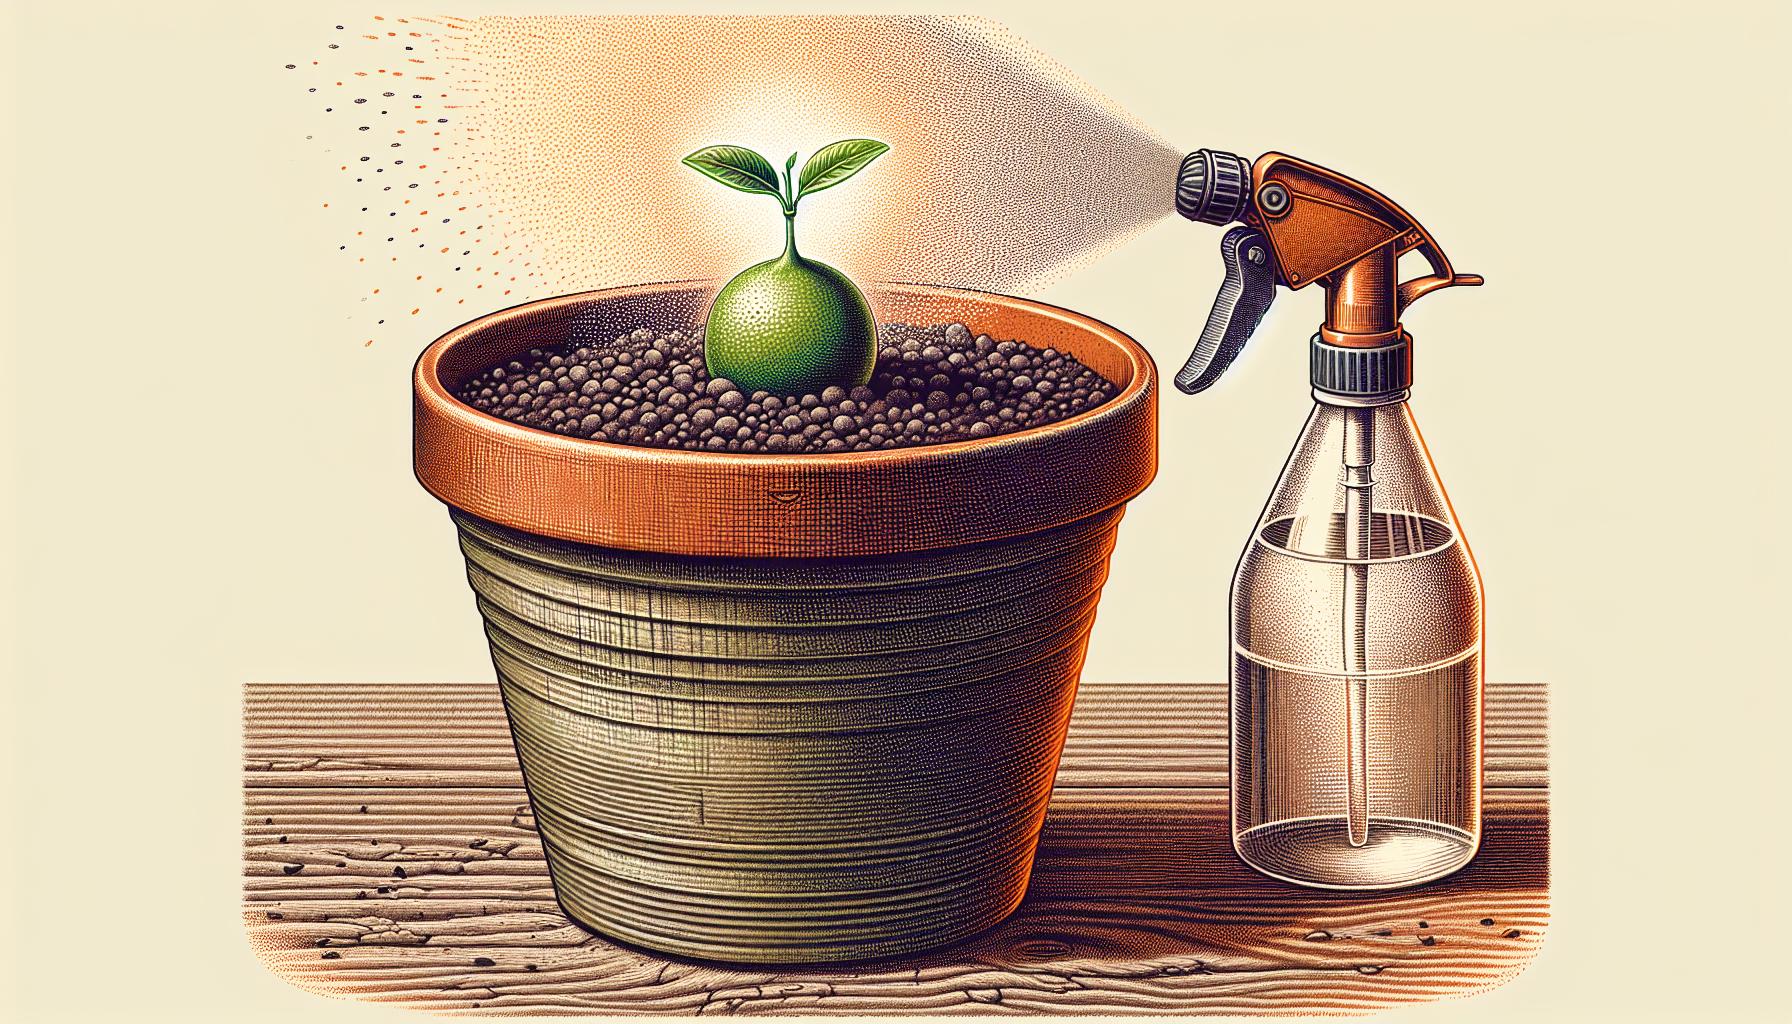
Consistent moisture is key after planting. Keep the soil consistently damp but be cautious to not over-water. Employing a spray bottle might be helpful to mist the soil without overdoing it.
Optimal Growth Conditions
Create the best environment for growth by ensuring six to eight hours of sunlight daily. If natural light is limited, consider using grow lights to supplement. Maintain a temperature between 18-29°C (65-85°F) which mimics the seeds’ native tropical conditions.
Caring for the Seedling
Once the seedling emerges, reduce the frequency of watering but ensure that the soil remains slightly moist at all times. Introducing a balanced liquid fertilizer monthly can promote stronger growth. As the plant matures, be vigilant about its condition, adjusting water and light as required to keep your lime tree thriving.
Providing the right conditions for germination

Once you’ve prepared your pot and soil, creating the ideal conditions for the lime seed to germinate is crucial. Germination is the process where a new plant begins to grow from a seed, and it requires specific conditions to be successful. Remember, consistency is key.
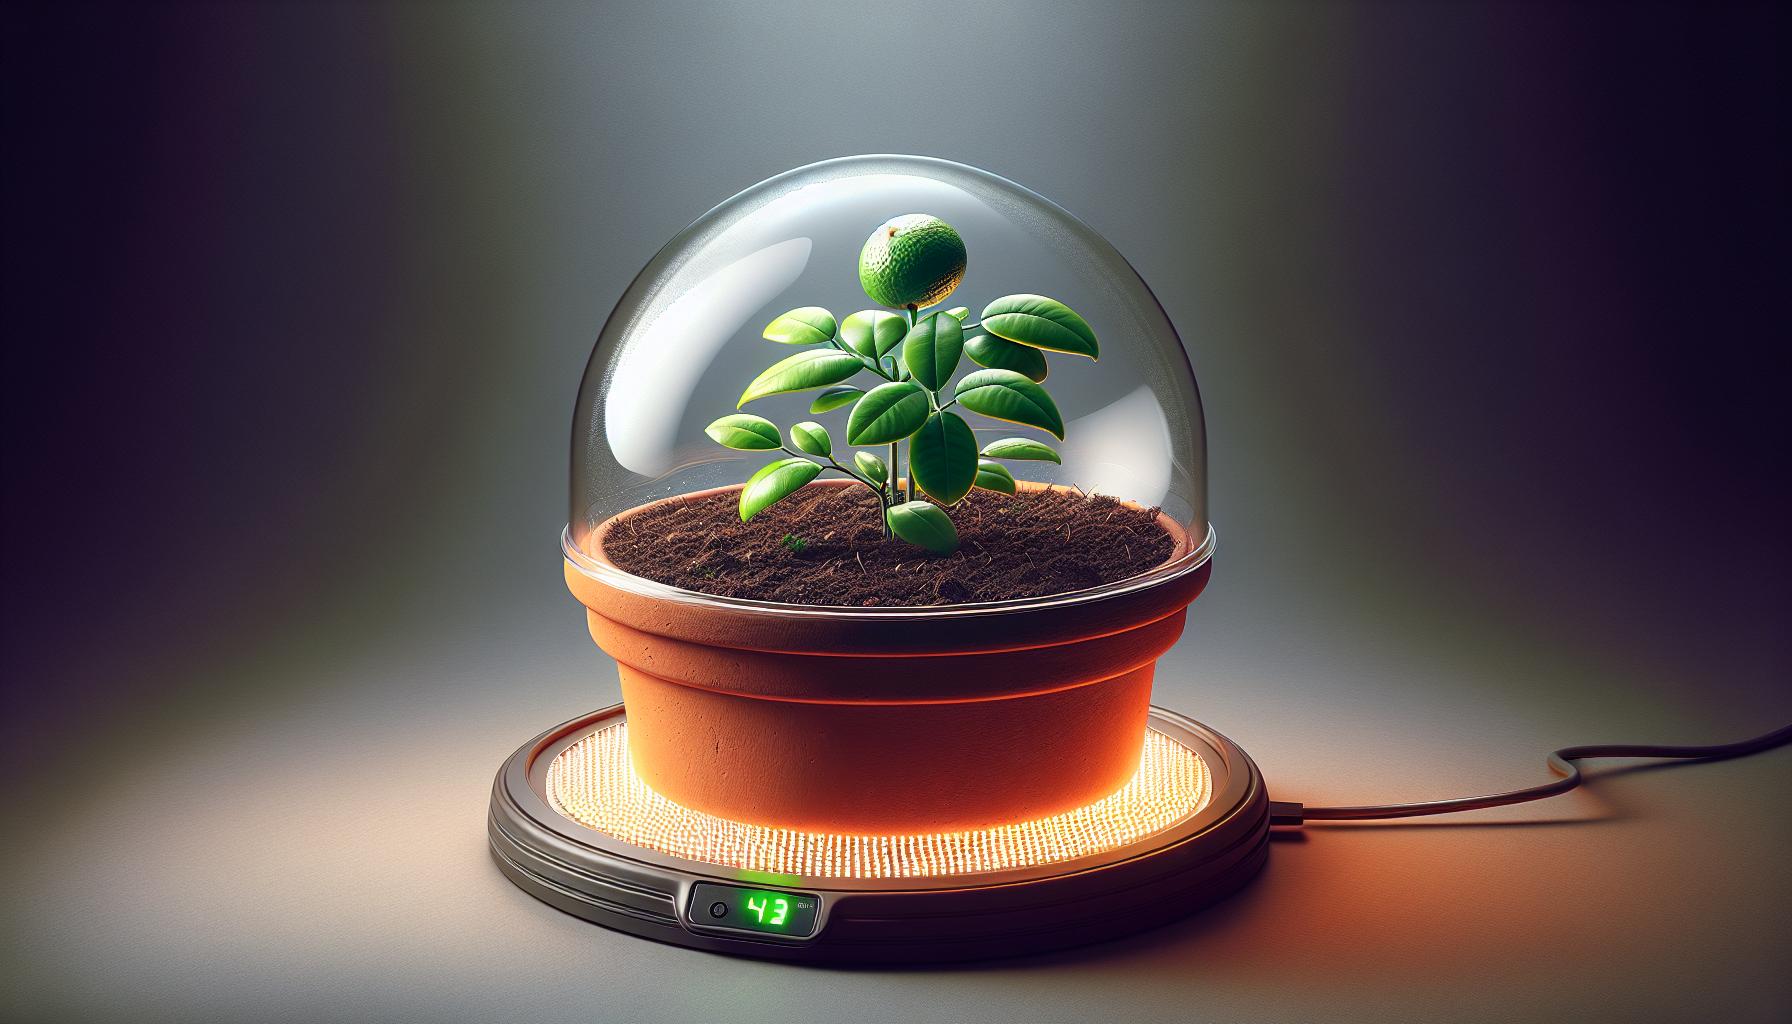
First, ensure consistent warmth. Lime seeds germinate best when temperatures are in the range of 21-27°C (70-80°F). You can achieve this by placing your pot in a warm room or using a heat mat designed for plant propagation.
Next, humidity plays a pivotal role in germination. Cover your pot with a plastic bag or a propagation dome to keep the moisture in. This mimics a greenhouse environment, increasing the humidity around the seed, which is beneficial for its development.
Light is less crucial at this stage, but once your seed has sprouted, you’ll need to provide ample light for your seedling. A sunny windowsill or grow light will cater to the light needs of your young lime tree.
Also, be attentive to soil moisture; the potting mix should be kept consistently damp but not waterlogged. Over-watering can lead to fungal diseases or rot which can severely affect the germination process. Use a spray bottle to water gently, ensuring the soil stays moist without becoming soggy.
Keep a check on these conditions daily. Adjustments may be needed as your seed starts to grow.
- Ensure warm temperatures between 21-27°C (70-80°F)
- Maintain high humidity with a cover over the pot
- Provide light after sprouting
- Monitor soil moisture for optimum dampness
By providing these conditions, you’re setting up your lime seed for a solid start in life. Keep an eye out for the first signs of sprouting, which typically occur within a couple of weeks, although some seeds may take longer. Vibrant green shoots breaking through the soil will be your signal that the conditions have been right and your efforts fruitful. Monitor growth progress and adjust conditions as the young plant develops. Careful attention to these details will help ensure a healthy germination phase for your lime tree’s journey from seed to sapling.
Caring for your lime sapling

Once your lime seed has germinated and the sapling begins to take form, it’s crucial to shift your focus from germination to nurturing the young plant. Consistent care is key to ensure your lime tree thrives.
Provide Adequate Light
Lime trees thrive in full sun, so it’s essential to give your sapling access to plentiful light. Whether indoors or out, aim for at least 8 hours of direct sunlight each day. If natural light is limited, consider using a grow light to supplement.
Watering Your Lime Sapling
- Ensure the soil is moist but well-drained to prevent root rot.
- Water when the top inch of soil feels dry to the touch. Proper watering is critical for the growth of your sapling. Over-watering can be as harmful as under-watering, so maintain a balance. ### Nutrient Intake
Fertilize your lime tree with a citrus-specific fertilizer or a balanced 18-18-18 mix to supply essential nutrients. Follow the instructions for the frequency and amount, as young trees are sensitive to overfeeding. ### Pests and Diseases
Keep an eye out for common pests like aphids, mites, and citrus leafminer. Natural remedies like neem oil can be effective. For diseases such as root rot or leaf spot, proper air circulation and avoiding wet leaves can prevent outbreaks.
Repotting
Your lime tree sapling will eventually outgrow its first pot. Prepare to repot it:
- Choose a container a few inches larger in diameter than the current one.
- Ensure it has sufficient drainage holes.
- Use a well-draining potting mix suitable for citrus trees.
By giving your lime tree the right start, you’re setting the stage for it to mature into a robust, fruit-bearing tree. Remember to regularly check the plant’s progress and adapt your care routine as the lime sapling continues to grow.
Transplanting your lime tree

As your lime sapling grows, it’ll soon outgrow its initial pot. Transplanting is a crucial step to ensure continued growth and development. It’s time to move your lime tree to a larger container or a suitable spot in your garden. ### When to Transplant
Transplanting should be done when the sapling’s root system has filled the current pot. Typically, this occurs within a few months. Check by gently lifting the sapling; roots peeking through drainage holes signal it’s transplant time.
Choosing the Right Pot
If potting on:
- Opt for a container 2-3 inches larger in diameter.
- Ensure it has adequate drainage holes to prevent root rot.
- Terracotta or ceramic pots are preferred for their breathability.
Soil and Site Preparation
When planting outside:
- Select a sunny, sheltered location.
- Soil should be well-draining and fertile.
- Test pH levels — 6.0-7.0 is ideal for lime trees.
Transplanting Process
- Water the sapling thoroughly a day before transplanting to reduce shock.
- Prepare the new pot with a layer of stones and fresh potting mix.
- Gently remove the sapling, keeping the root ball intact.
- Position the sapling at the same depth it was growing previously.
- Backfill with soil, pressing down firmly to eliminate air pockets.
- Water the tree to settle the soil around the roots.
- Provide indirect sunlight for a few days post-transplant.
- Resume your regular watering schedule once the plant shows signs of new growth.
- Monitor for signs of distress, adjusting care as necessary.
Continuing with due diligence following these transplanting procedures will encourage your lime tree to thrive and eventually become a source of fresh, tangy limes for your enjoyment. Keep an eye on growth patterns and be ready to transplant again as your lime tree matures.
Conclusion
Growing your lime tree from seed is a rewarding journey that requires patience and care. By following the guidance provided, you’re well-equipped to nurture your seedling into a flourishing tree. Remember to keep an eye on your lime tree’s growth and respond to its needs as it matures. With the right care, you’ll soon be enjoying the fruits of your labour, both literally and figuratively. So, roll up your sleeves and get ready for the zesty additions to your homegrown produce collection!
Colin Macmillan is a seasoned entrepreneur and the CEO of Riverwood Landscape, a leading landscaping company based in Canada. He has been at the helm of the company since leaving high school, demonstrating his strong leadership skills and business acumen.
Colin’s expertise lies in various aspects of landscaping, including lawn care, interlocking, sod installation, and commercial maintenance. His hands-on approach and dedication to the craft have been instrumental in building Riverwood Landscape into a reputable brand.
One of his most notable achievements is the creation of a successful landscape franchise that services multiple locations. This accomplishment underscores his strategic thinking and ability to scale operations effectively.
Colin has also had the privilege of working with Guelph Hospital for landscaping and maintenance, a testament to the trust and reliability that his company has earned over the years.
His professional mission is to offer the best services and experiences for customers, a goal that he tirelessly pursues. Colin’s commitment to excellence and customer satisfaction continues to drive the growth and success of Riverwood Landscape.


