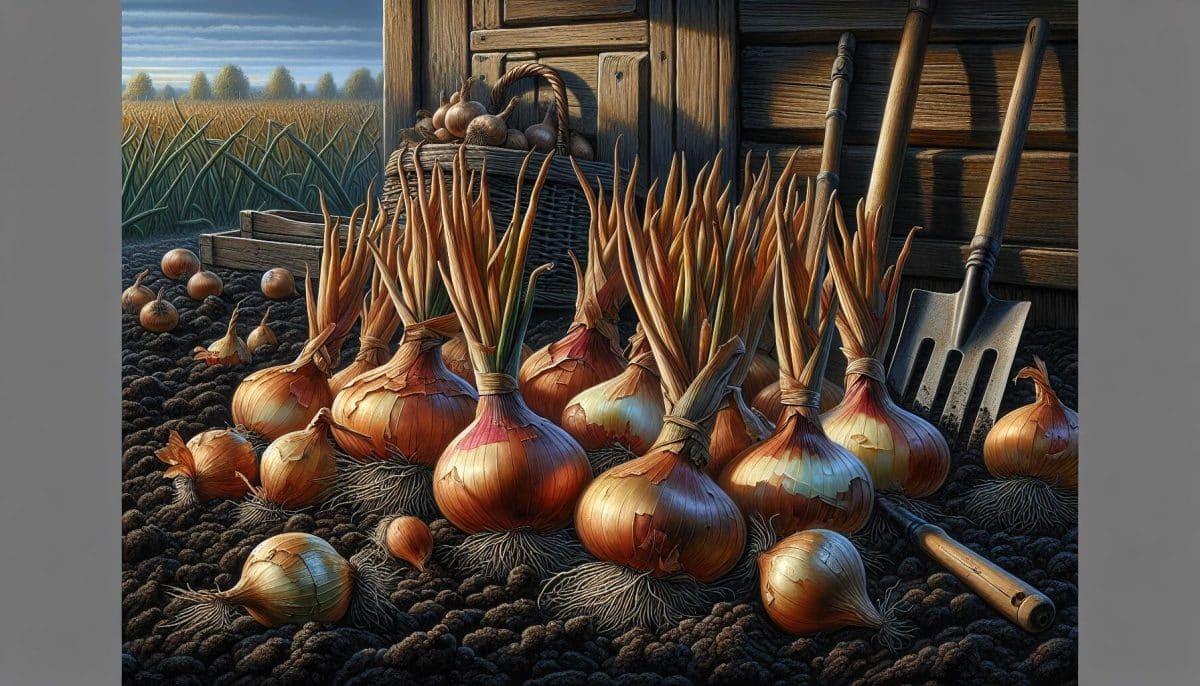
Ever thought about growing your own onions from scraps? It’s a simple and sustainable way to keep a fresh supply at your fingertips. With just a few onion bottoms and some basic care, you’ll be on your way to harvesting your own bulbs.
Benefits of Growing Onions from Scraps
Growing onions from scraps offers a wealth of advantages that cater to both your well-being and the environment. Embracing this sustainable practice can transform your unused onion bottoms into a continual source of fresh produce. Here are some of the key benefits:
- Reduced Waste: Utilising onion scraps that would otherwise be discarded diminishes household waste, contributing to a more eco-friendly lifestyle. By recycling these leftovers, you actively participate in a circular economy.
- Cost Savings: When you propagate onions from scraps, you save money that would be spent on purchasing fresh onions from the store. The process is simple and requires minimal investment.
- Accessibility: Having a supply of onions growing in your own space means you’ve always got the ingredient on hand for your culinary endeavours. You’re never more than a few steps away from fresh, home-grown flavour.
- Chemical-Free: By controlling the growing conditions, you can ensure that your onions are free from harmful pesticides and chemicals commonly used in commercial farming.
- Educational Value: This process is an excellent opportunity for you and your family to learn about plant growth and sustainable living practices.
Remember, patience is key as onions take several months to mature. But, the wait is made worthwhile by the array of benefits derived from growing onions right from your kitchen scraps. With each layer of onion peeled back, not only do you uncover more about sustainable gardening but also reap the tangible rewards of your efforts.
Choosing the Right Onion Bottoms
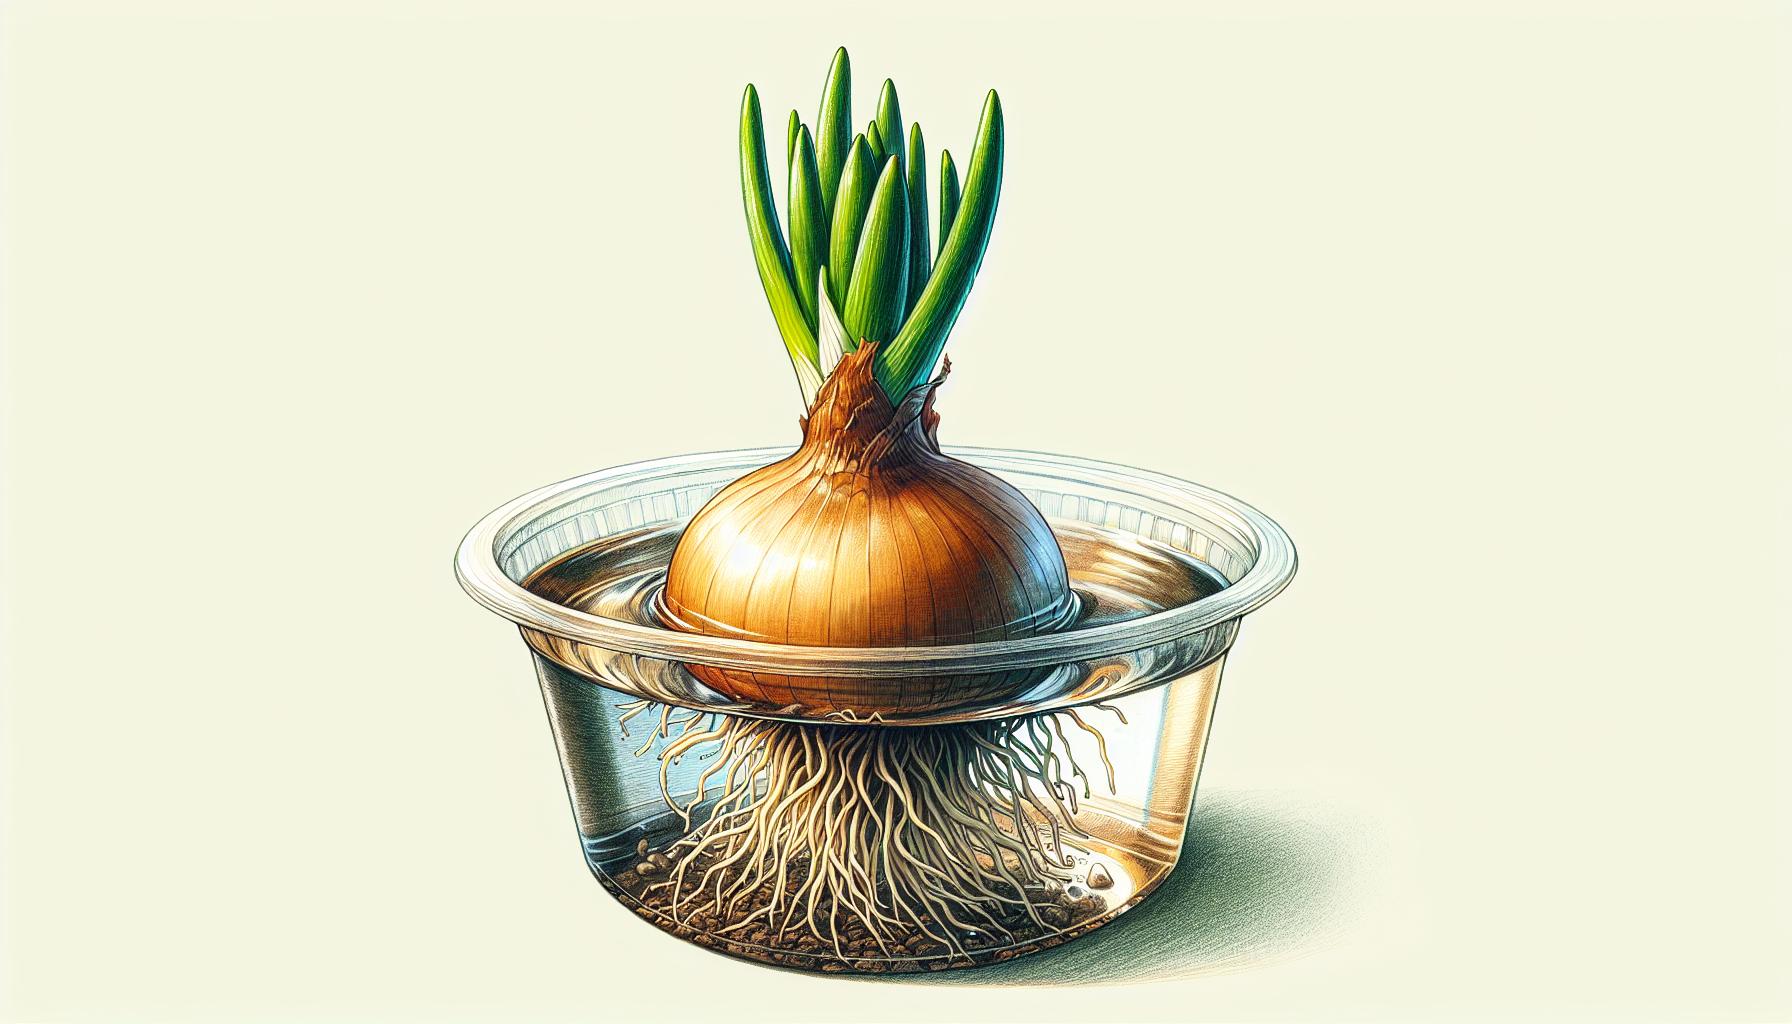
When venturing into growing onions from scraps, selecting the right onion bottoms is crucial. Start with healthy scraps, ensuring that they’re free from mould and rot. The base of the onion should have a dry, papery feel, not a slimy or soft texture. This indicates the scrap is still viable and can sprout successfully.
Look for the roots. You’ll want to find onion bottoms with small, dried roots still attached. These roots, albeit dormant, are an indicator that the onion is capable of regenerating. Without them, your onion bottom will likely not grow.
The size of the onion bottom matters too. It’s recommended to use a section at least one inch from the bottom. This size ensures that enough of the growth plate, from where your new onions will sprout, is present. Smaller sections might not contain all the necessary tissues for regeneration.
Upon selecting your onion bottoms, place them in a suitable environment for sprouting. A shallow container with water can be enough to kickstart the process, ensuring that the roots are submerged while the top remains dry to prevent rotting.
- Start with healthy scraps
- Look for dried roots
- Use a section at least one inch from the bottom
Remember, although patience is key, a carefully chosen onion scrap has the potential to flourish into a full bulb, offering you a fresh addition straight from your windowsill.
Preparing the Soil for Planting
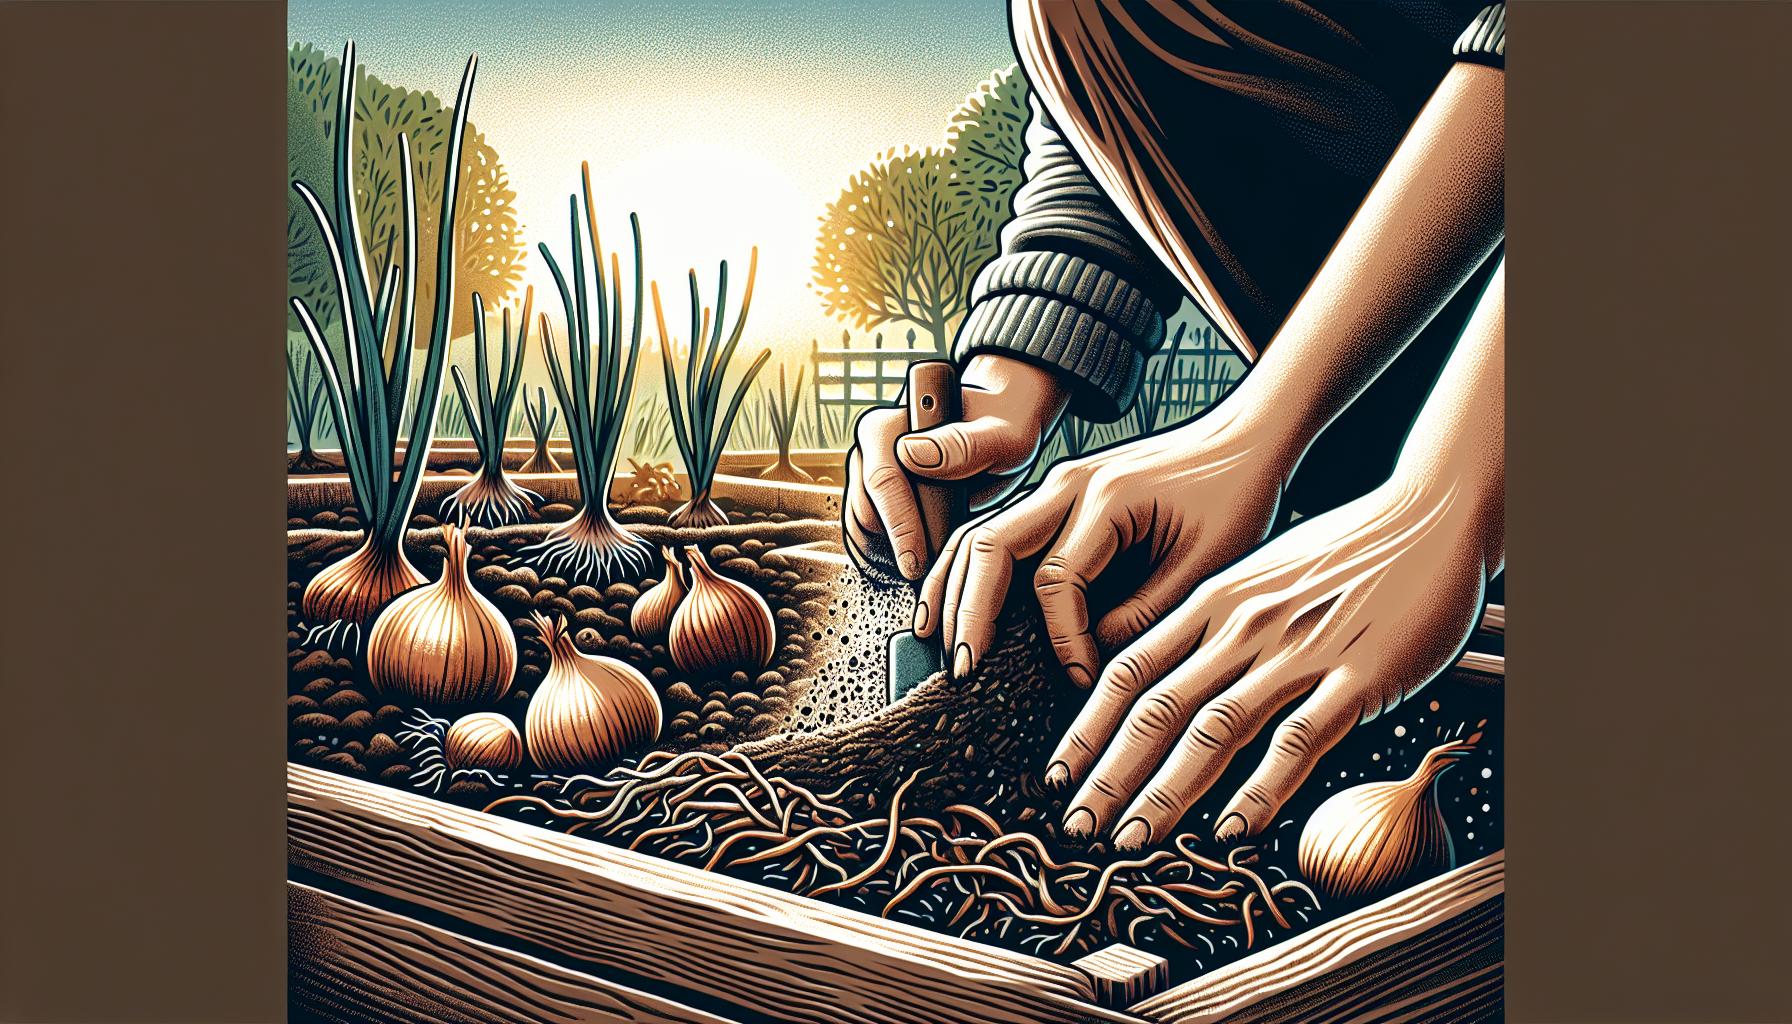
When gearing up to plant your selected onion bottoms, preparing the soil is a crucial step that can’t be skipped. Well-prepared soil ensures optimal conditions for the onion scraps to take root and thrive. To set yourself up for success, focus on creating a hospitable environment right from the start.
Choose a location that receives ample sunlight, as onions need around 6 to 7 hours of direct sunlight per day. This exposure is necessary for healthy growth and the development of bulbs. Hence, it’s vital to clear the area of any shade-casting obstacles.
Next, you’ll want to loosen the soil to a depth of at least 4 inches. This aeration is important because compacted soil can hinder root growth and water penetration. Incorporating organic matter, such as composted leaves or well-aged manure, not only improves soil structure but also enhances its fertility. This amendment should be mixed into the top layer of soil where your scraps will be planted.
| Soil Quality | Benefits |
|---|---|
| Loose | Facilitates root growth |
| Rich in organic matter | Provides essential nutrients |
Once you’ve set the stage with well-prepared soil, your onion bottoms are ready to be nestled into their new home. Gently plant each piece root-end down, ensuring they’re covered with just enough soil to hold them in place without smothering them. Properly spaced scraps will have room to expand, so aim for a separation of about 4 to 5 inches between each scrap.
Remember, consistent moisture is key, especially in the early stages of growth. Maintain even watering to keep the soil moist but not waterlogged. Over time, with the right soil conditioning, you’ll encourage strong root systems and, eventually, healthy onion growth.
Planting the Onion Bottoms
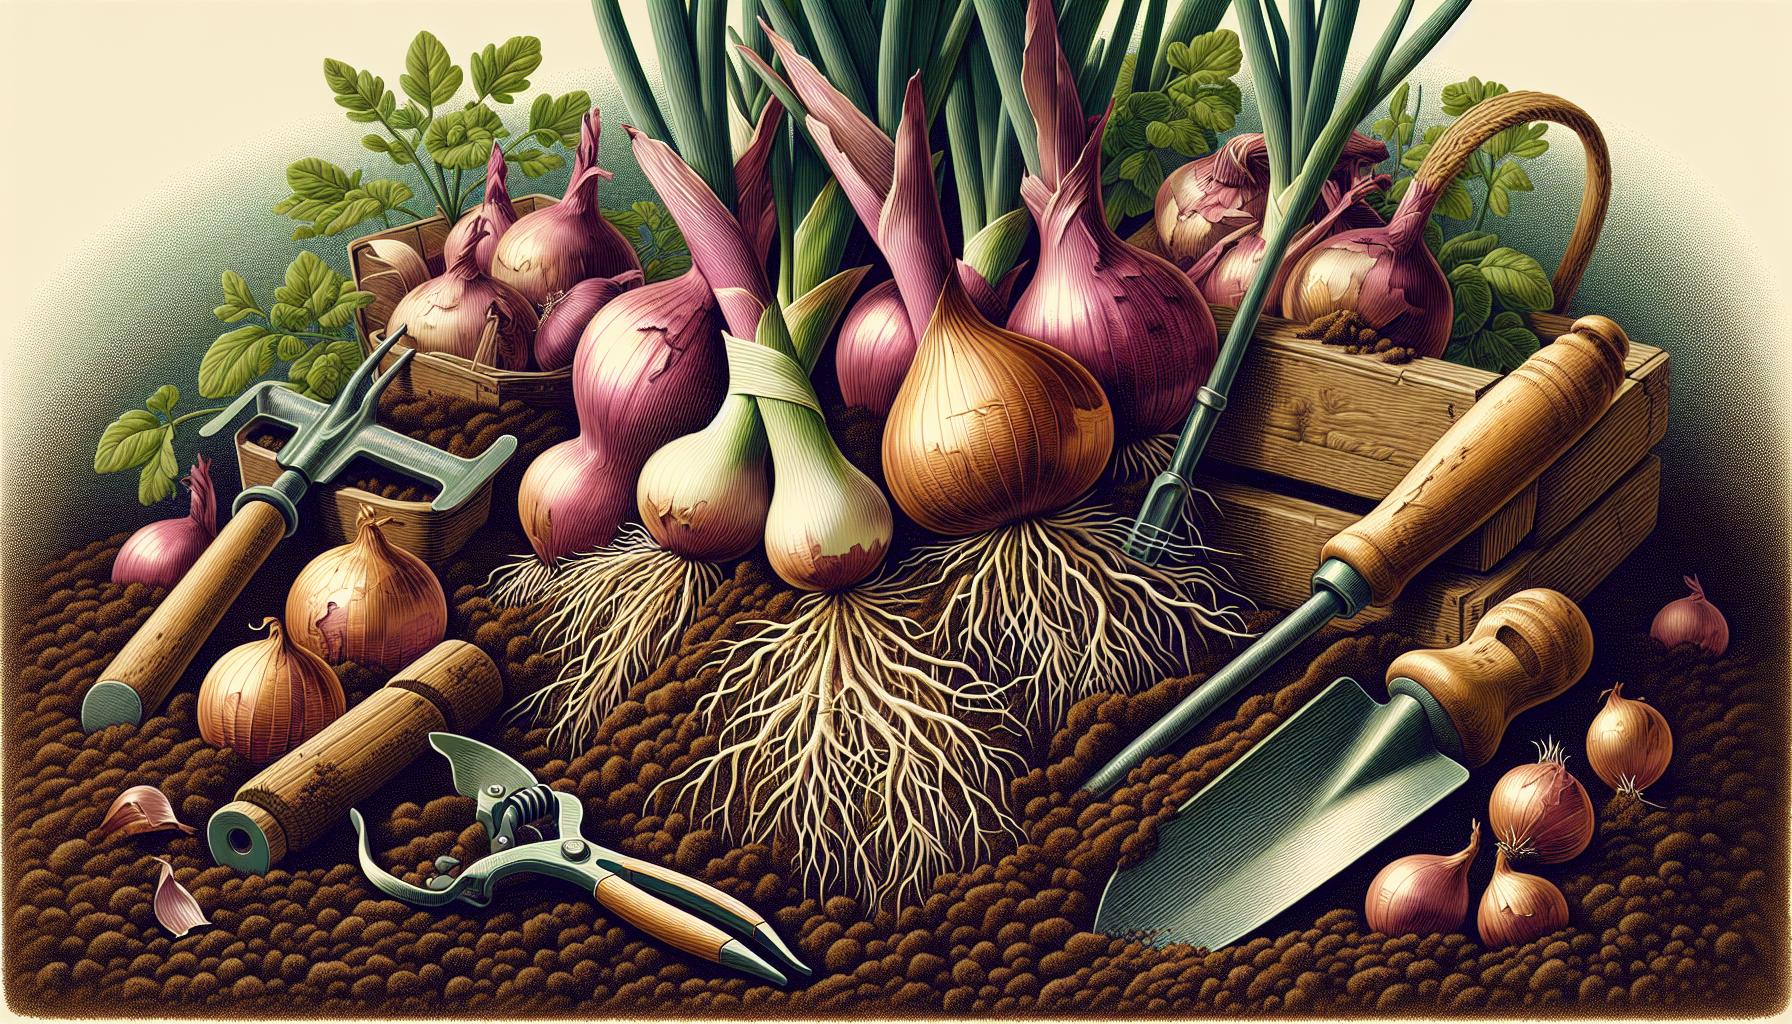
Once you’ve prepared your soil correctly, you’re now ready to plant your onion bottoms. Start by making holes in the soil roughly a couple of inches apart to provide enough space for each onion to grow. The depth of each hole should align with the size of the onion bottom; typically, this means planting them about one inch deep to ensure proper root development.
Ensure the roots are pointing downwards when you place the onion bottom into the hole. This positioning is crucial as it allows the roots to penetrate the soil and anchor the plant firmly. Cover with soil gently but do not compact it too much; onions prefer loose soil to expand.
For those onion bottoms without apparent root bits, don’t fret. Simply place them on the surface of the soil, and they will naturally grow roots downwards if the other conditions are right. In fact, this method can actually be easier for beginners as it allows you to see signs of growth more readily.
Watering your planted onion bottoms is essential, but there’s a balance to strike. Aim for the soil to be moist but not waterlogged to prevent rotting. During this initial phase, watering should be done conservatively. Over time, as the onions establish themselves, you can gradually increase the frequency and volume of water.
| Soil Condition | Watering Frequency |
|---|---|
| Dry, arid | Daily to maintain consistent moisture |
| Moist, cool | Every few days or as needed |
Finally, while sunlight is important for growth, too much direct exposure during the earliest stages can be detrimental. Providing some shade can protect the tender sprouts as they adapt to their new environment. This balance of sunlight and shade will foster a healthier growing process for your onion scraps.
Caring for Your Onion Plants
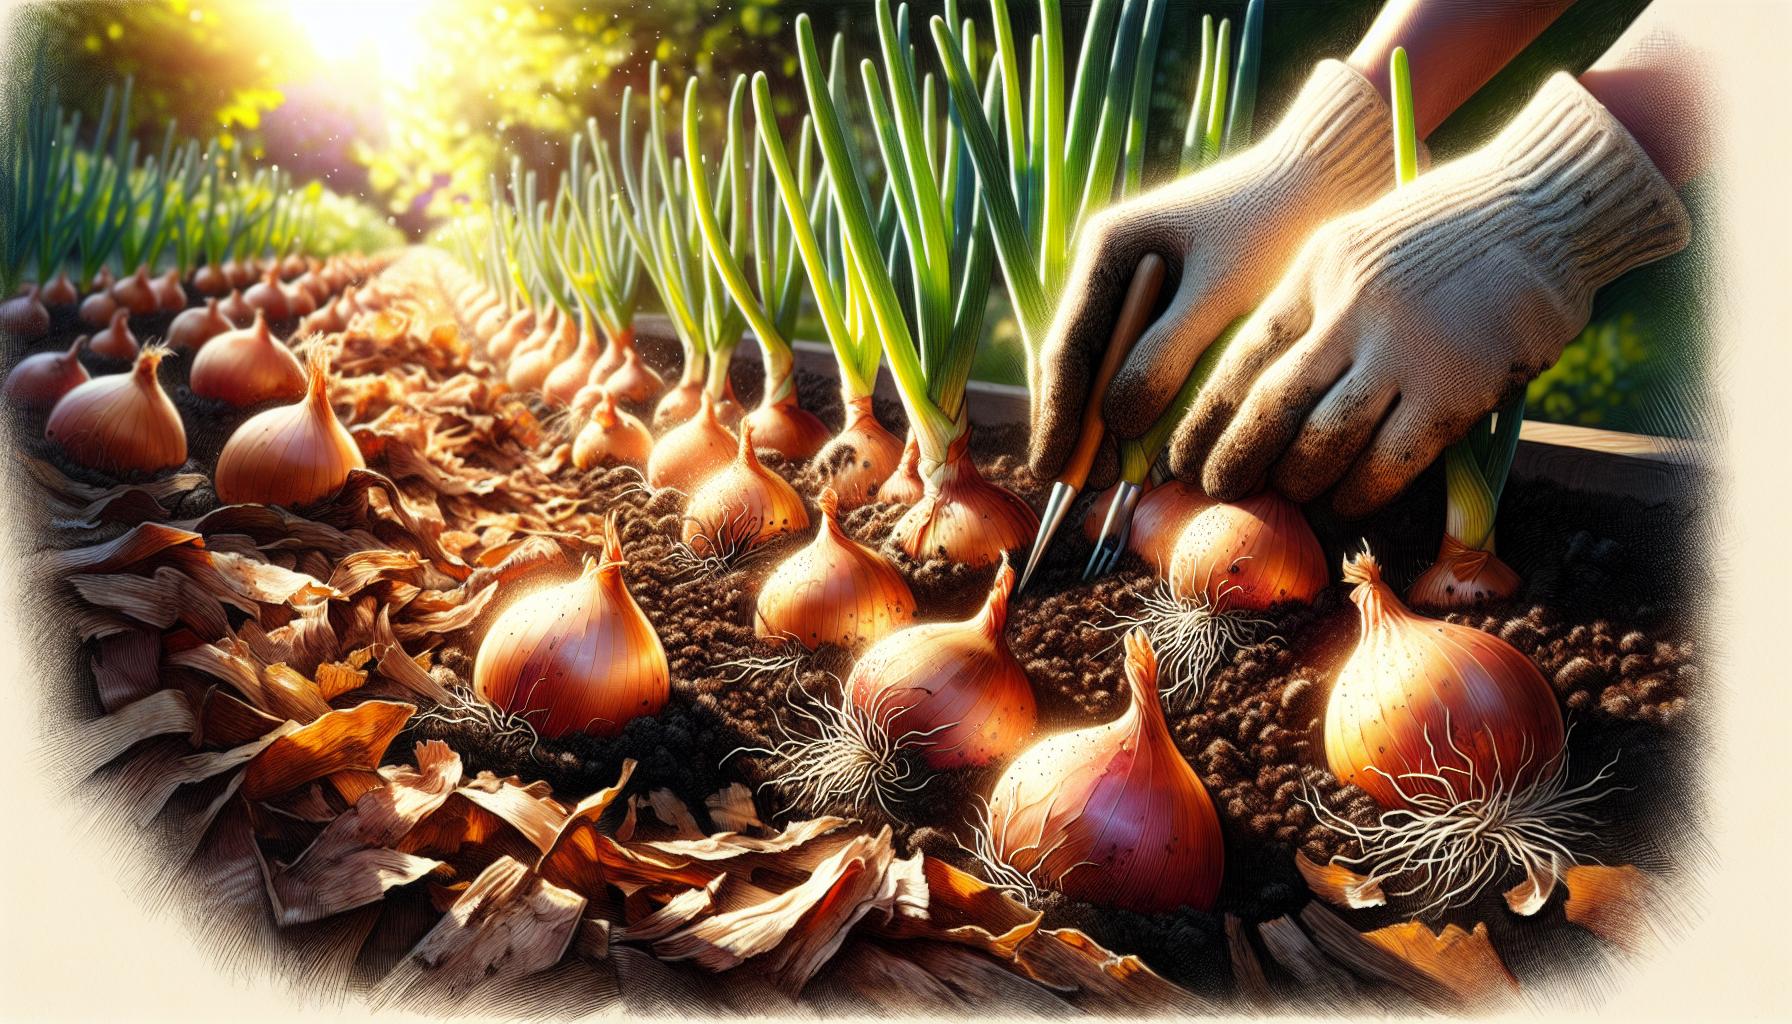
Once your onion bottoms are snug in their soil homes, consistent care is key for robust growth. You’ll want to strike a balance between nurture and nature, giving your plants just enough attention without going overboard. Here’s what you’ll need to keep in mind to ensure a bountiful harvest.
Watering Schedule
Regular watering is crucial, but onions dislike soggy conditions. Start with moderate watering, keeping the soil evenly moist. As the plants grow, reduce the frequency but increase the depth of watering to encourage deep root growth. This approach will help your onions become more resilient, particularly during dry spells.
Detection and Prevention of Pests and Diseases
Stay vigilant for signs of onion pests, such as the onion maggot or thrips. Plants afflicted by pests or diseases often exhibit stunted growth, discolored leaves, or wilting. To prevent infestations:
- Rotate onion crops annually
- Keep the area free of weeds
- Use organic pesticides if necessary
Nutrient Requirements
Onions are relatively undemanding, but they do benefit from soil rich in nutrients. Integrate a balanced fertilizer into your care routine, particularly one high in nitrogen to support early plant growth and later, phosphorus and potassium for bulb development.
Mulching for Optimal Growth
Mulching serves multiple purposes: it retains soil moisture, keeps weeds at bay, and can regulate soil temperature. Organic mulch like straw or grass clippings is often recommended. Just ensure to apply mulch around the plants without covering them entirely.
Through these steps, your onion plants will thrive. Remember to be patient. Onions take time to turn kitchen scraps into full bulbs, but with proper care, you’re setting the stage for success.
Harvesting and Storing Your Onions
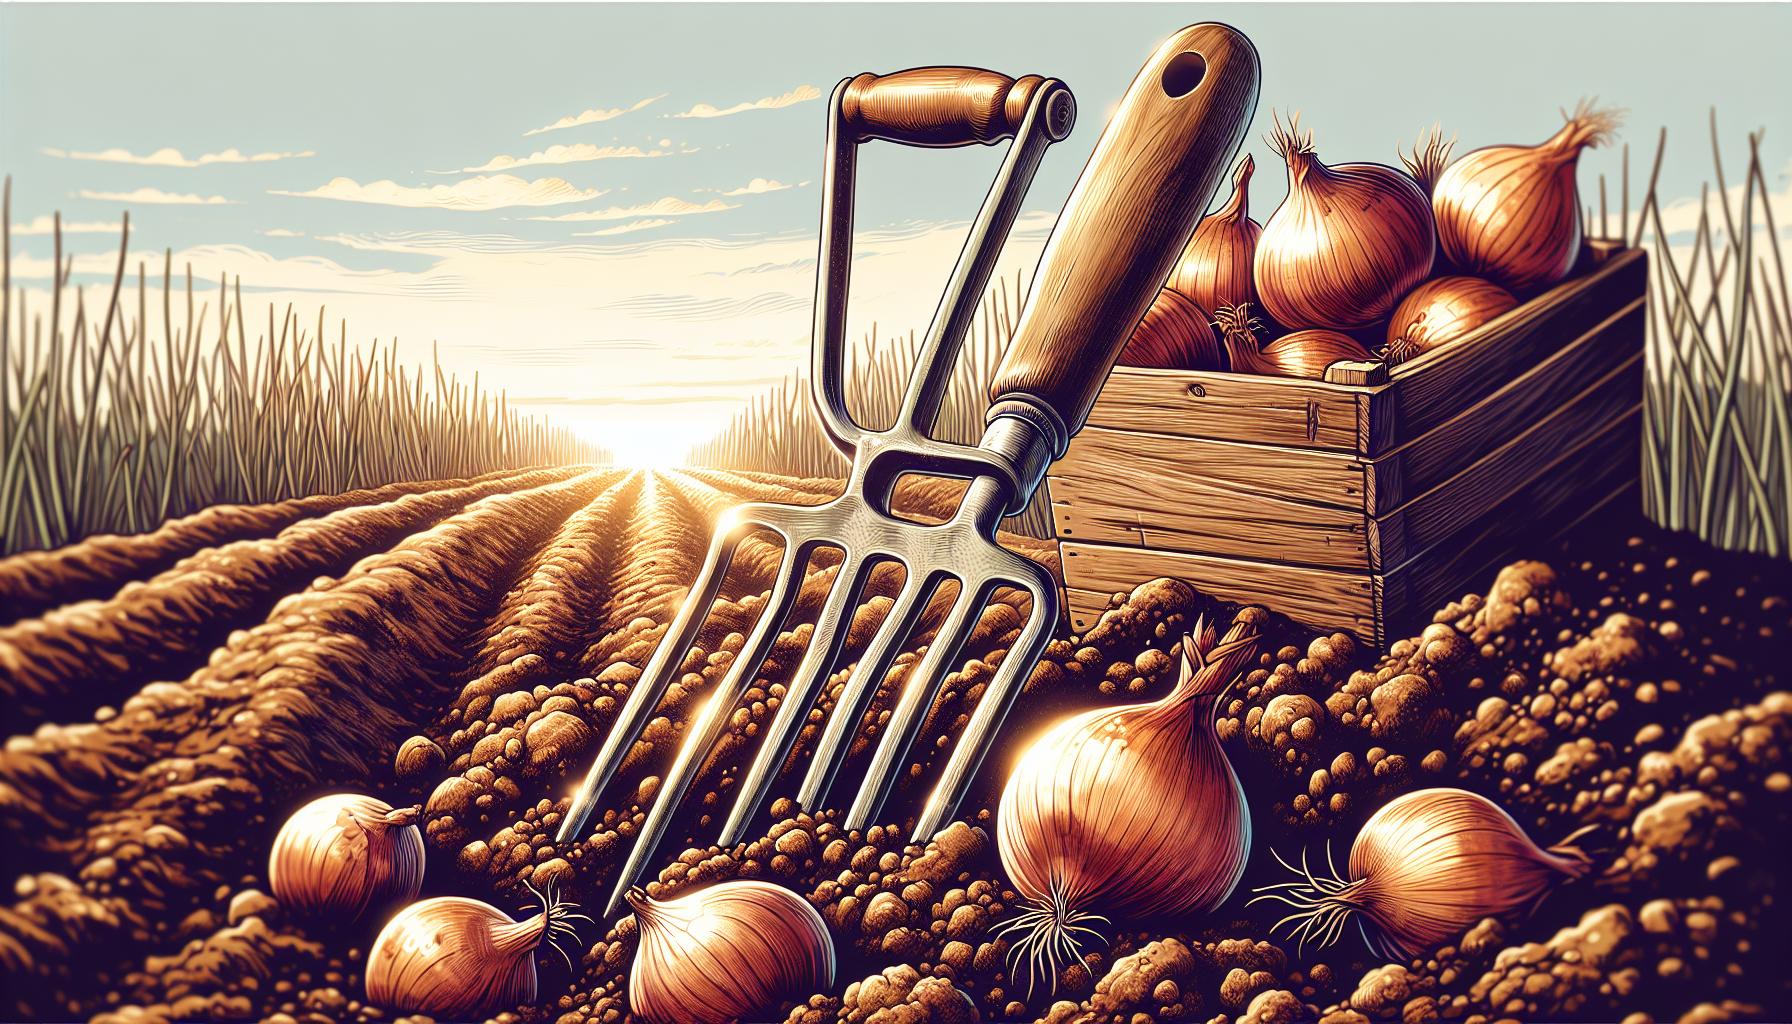
Once your onions have matured and the tops begin to fall over, it’s time to think about harvesting. Generally, this happens in late summer to early autumn. Tugging the bulbs out of the ground may be tempting, but gentle handling is key to prevent bruising.
- Wait for a dry day to loosen the soil around the onions with a fork.
- Gently pull the onions out, and then lay them on top of the soil for a day or two to dry, weather permitting.
- If it’s wet or cold outside, dry your onions in a well-ventilated shed or garage.
Proper curing is vital for the storage life of your onions. Once the outer layers are dry and the necks feel tight, move the onions to a cool, dry place with good air circulation, such as a covered porch or a shaded area. Cure them for approximately two weeks until all the foliage has withered and the roots feel dry.
Storing for Longevity
After curing, trim the roots and cut back the tops to about one inch. Your onions are now ready for storage. The right conditions can significantly extend their shelf life.
- Store your onions in a cool, dry location—ideal temperatures range from 4 to 10 degrees Celsius.
- Mesh bags or netting helps maintain airflow and prevents mould.
- Avoid storing onions near other produce to prevent flavor transfer.
| Ideal Storage Conditions | Temperature | Humidity |
|---|---|---|
| Cool, Dry Place | 4-10°C | Low |
Regularly check your onions for soft spots or signs of sprouting. Remove any compromised bulbs to prevent them from affecting the rest. By following these steps, you can enjoy your homegrown onions for months after the harvesting season has ended.
Conclusion
Growing onions from scraps is not only a sustainable choice but also a satisfying gardening project. With patience and care, you’ll harvest onions that are both flavorful and long-lasting. Remember to dry them properly and cure them to ensure they store well. Keep them in a cool, dry place and check them periodically to enjoy your homegrown onions for months to come. Embrace this cycle of growth and you’ll never look at an onion scrap the same way again. Happy gardening!
Colin Macmillan is a seasoned entrepreneur and the CEO of Riverwood Landscape, a leading landscaping company based in Canada. He has been at the helm of the company since leaving high school, demonstrating his strong leadership skills and business acumen.
Colin’s expertise lies in various aspects of landscaping, including lawn care, interlocking, sod installation, and commercial maintenance. His hands-on approach and dedication to the craft have been instrumental in building Riverwood Landscape into a reputable brand.
One of his most notable achievements is the creation of a successful landscape franchise that services multiple locations. This accomplishment underscores his strategic thinking and ability to scale operations effectively.
Colin has also had the privilege of working with Guelph Hospital for landscaping and maintenance, a testament to the trust and reliability that his company has earned over the years.
His professional mission is to offer the best services and experiences for customers, a goal that he tirelessly pursues. Colin’s commitment to excellence and customer satisfaction continues to drive the growth and success of Riverwood Landscape.


