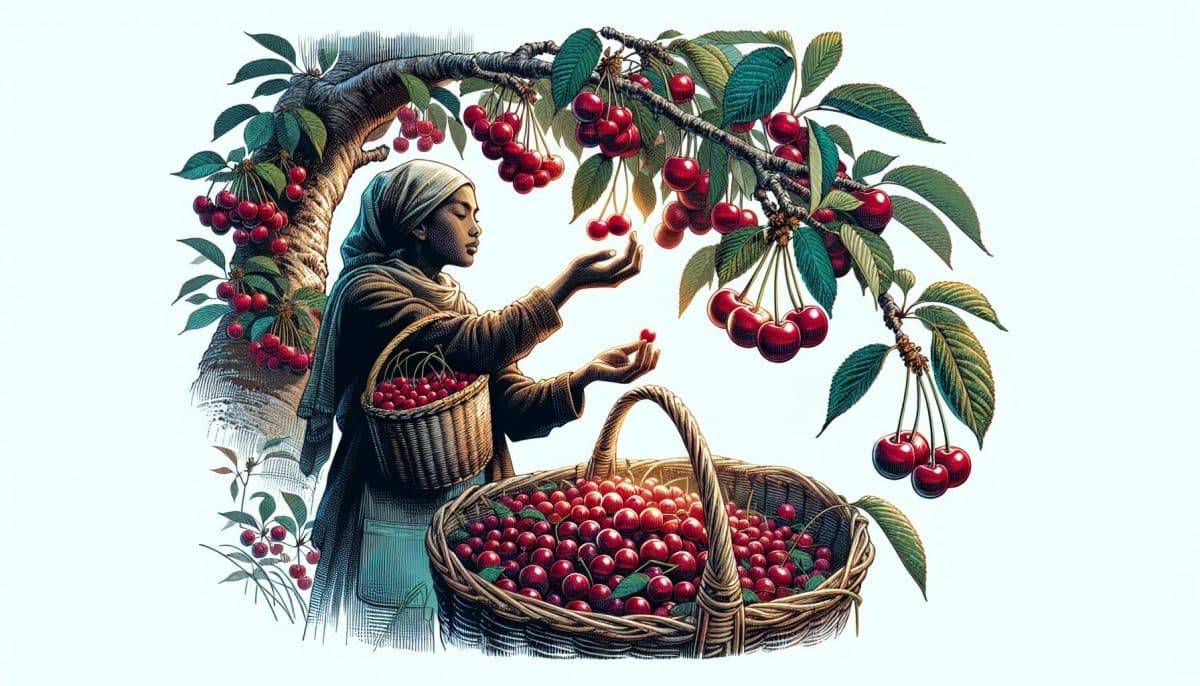
Growing a cherry tree from seed is a rewarding process that connects you with the very heart of nature. Imagine cultivating your own cherry blossoms and eventually savouring the sweet fruits of your labour. It’s a journey that begins with a small pit and leads to a flourishing cherry tree in your own garden.
Choosing the Right Cherry Variety
When you’re planning to grow a cherry tree from seed, picking the appropriate variety is crucial for success in your specific climate. Cherry trees fall into two primary categories: sweet cherries and sour cherries.
Sweet Cherry Varieties
Sweet cherries, typically eaten fresh, flourish in hardiness zones 5-7. Varieties you might consider include:
- Bing: Known for its sweetness and vibrant red colour.
- Stella: A self-fertile variety that doesn’t require a pollination partner.
- Rainier: Features yellow fruits with a red blush and a unique, delicate flavour.
Sour Cherry Varieties
Sour cherries, often used in cooking, are more cold-resistant and can thrive in zones 4-6. Popular sour cherry options are:
- Montmorency: The most widely grown sour cherry in the world which is perfect for pies and preserves.
- Morello: Offers a richer flavour, ideal for recipes needing a tangy punch.
Consider Local Climate and Soil Type
It’s vital you select a variety that matches your local growing conditions. For instance, if you’re in a region with late spring frosts, opt for a variety that blossoms later to avoid damage to the flowers. Also, ensure the soil type in your garden can support your chosen variety, with adequate drainage for optimal growth.
Whether you wish to savour fresh cherries from a Bing tree or make homemade preserves from a Montmorency harvest, your success hinges on selecting a suitable variety. Research the specific needs of each type and understand your garden’s environment before deciding. This forethought will pave the way for a robust, flourishing cherry tree that rewards your efforts season after season.
Obtaining Cherry Seeds
Before you start growing your cherry tree, you’ll need viable seeds. Fruit quality is a direct indicator of seed viability, so always choose from high-quality cherries. If you’ve selected a sweet cherry variety like Bing or Rainier, visiting a local farmers’ market can provide you with fresh, organic choices directly from the source. Sour cherry enthusiasts often lean toward varieties such as Montmorency and can find these seeds more readily in specialty stores or online.
You’re not limited to buying cherries; if you have access to a cherry tree, collect the ripe fruit and extract the seeds yourself. This not only ensures the freshest seeds but also gives you a direct connection to the tree’s lineage. Remember, from a single healthy cherry fruit, you can obtain several seeds.
Seed extraction should be done carefully to avoid damaging them. Here’s how you can do it:
- Cut the cherry fruit in half to expose the pit.
- Gently remove the pit and rinse it under cool water.
- Dry the pit with a soft cloth.
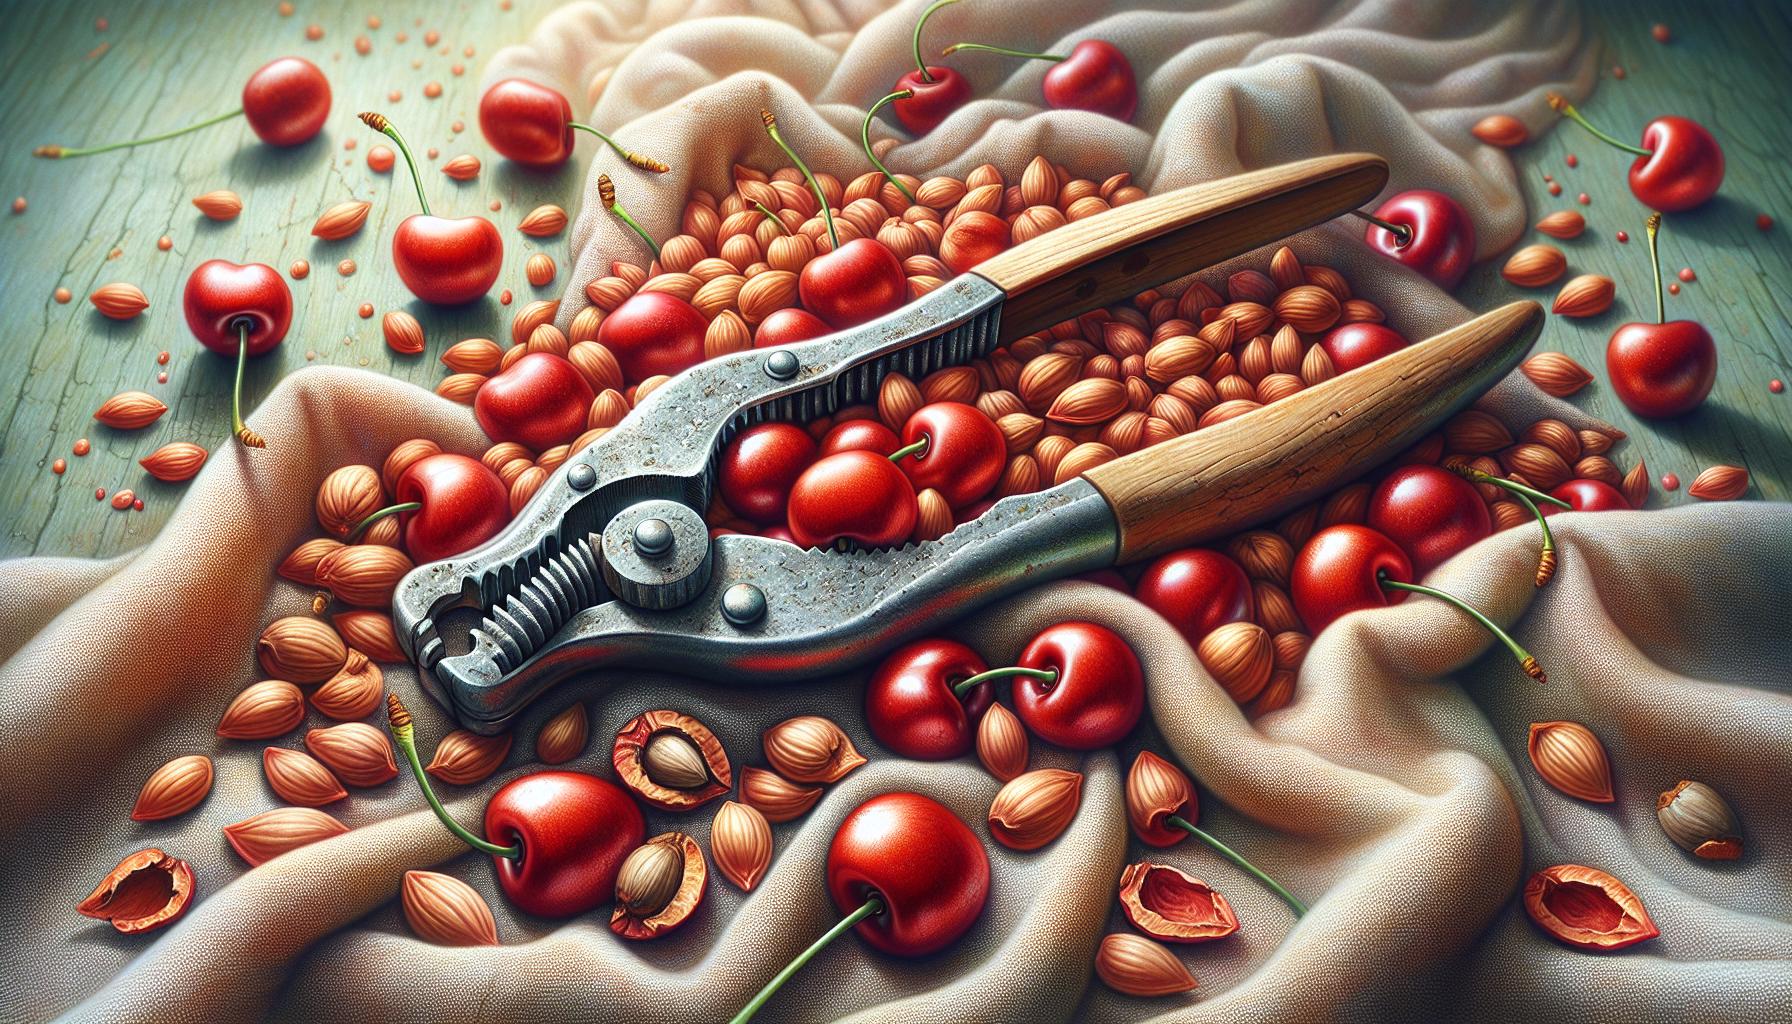
Remember, drying is crucial because a wet seed can rot instead of germinating. Once dried, use a nutcracker to carefully crack open the outer shell and retrieve the seed inside. Be sure to wear safety glasses, as fragments can fly.
After collecting your seeds, the next step is stratification, a process which involves simulating winter conditions to encourage germination. This process is vital for cherry seeds due to the natural dormancy cycle they go through in their native environments.
Preparing the Seeds for Planting
After obtaining and extracting your cherry seeds, it’s crucial to prepare them properly for planting to increase the chances of successful germination. The preparation process involves several steps, each designed to mimic the natural conditions the seeds would experience in the wild.
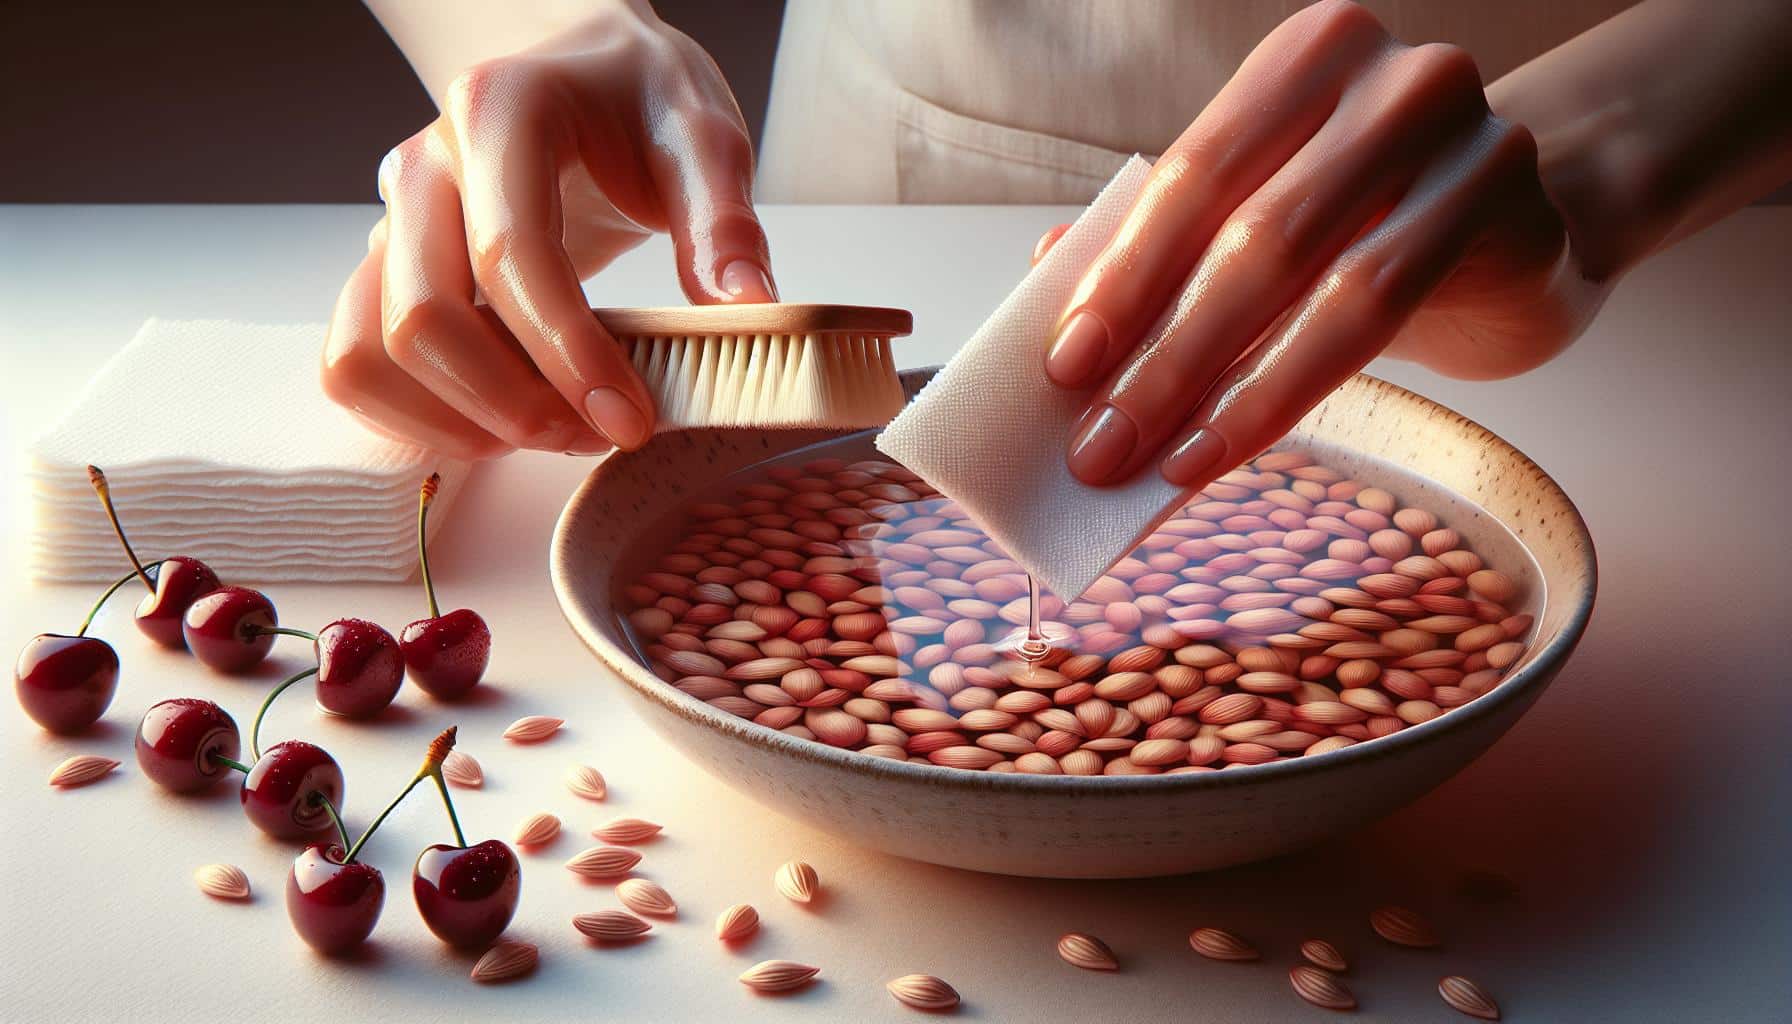
Firstly, clean your seeds thoroughly to remove any flesh or residue that could potentially carry pathogens. Use warm water and gently scrub the seeds with a soft brush or cloth. After cleaning, pat them dry with a paper towel.
Next, it’s time for stratification. Place your cherry seeds in a moistened mixture of peat and sand inside an airtight container. This mixture should be just damp, not soaking wet, as overly wet conditions can lead to mold growth which is detrimental to the seeds. The container should then be stored in your refrigerator, which replicates the chill of winter. Typically, cherry seeds require a stratification period of about 10 to 12 weeks. Throughout this time, check the moisture level regularly and add water if necessary to maintain a consistent level of humidity.
After the stratification period ends, your seeds are ready for planting. Sow them in small pots with well-draining soil, placing them about 2 inches deep. Keep these pots in a bright, warm location and maintain consistent soil moisture. Germination can take several weeks, so patience is key.
Remember, this preparation phase is crucial for cherry seed germination. Ensuring each step is followed precisely will foster optimal conditions for your future cherry tree to thrive.
Planting the Cherry Seeds
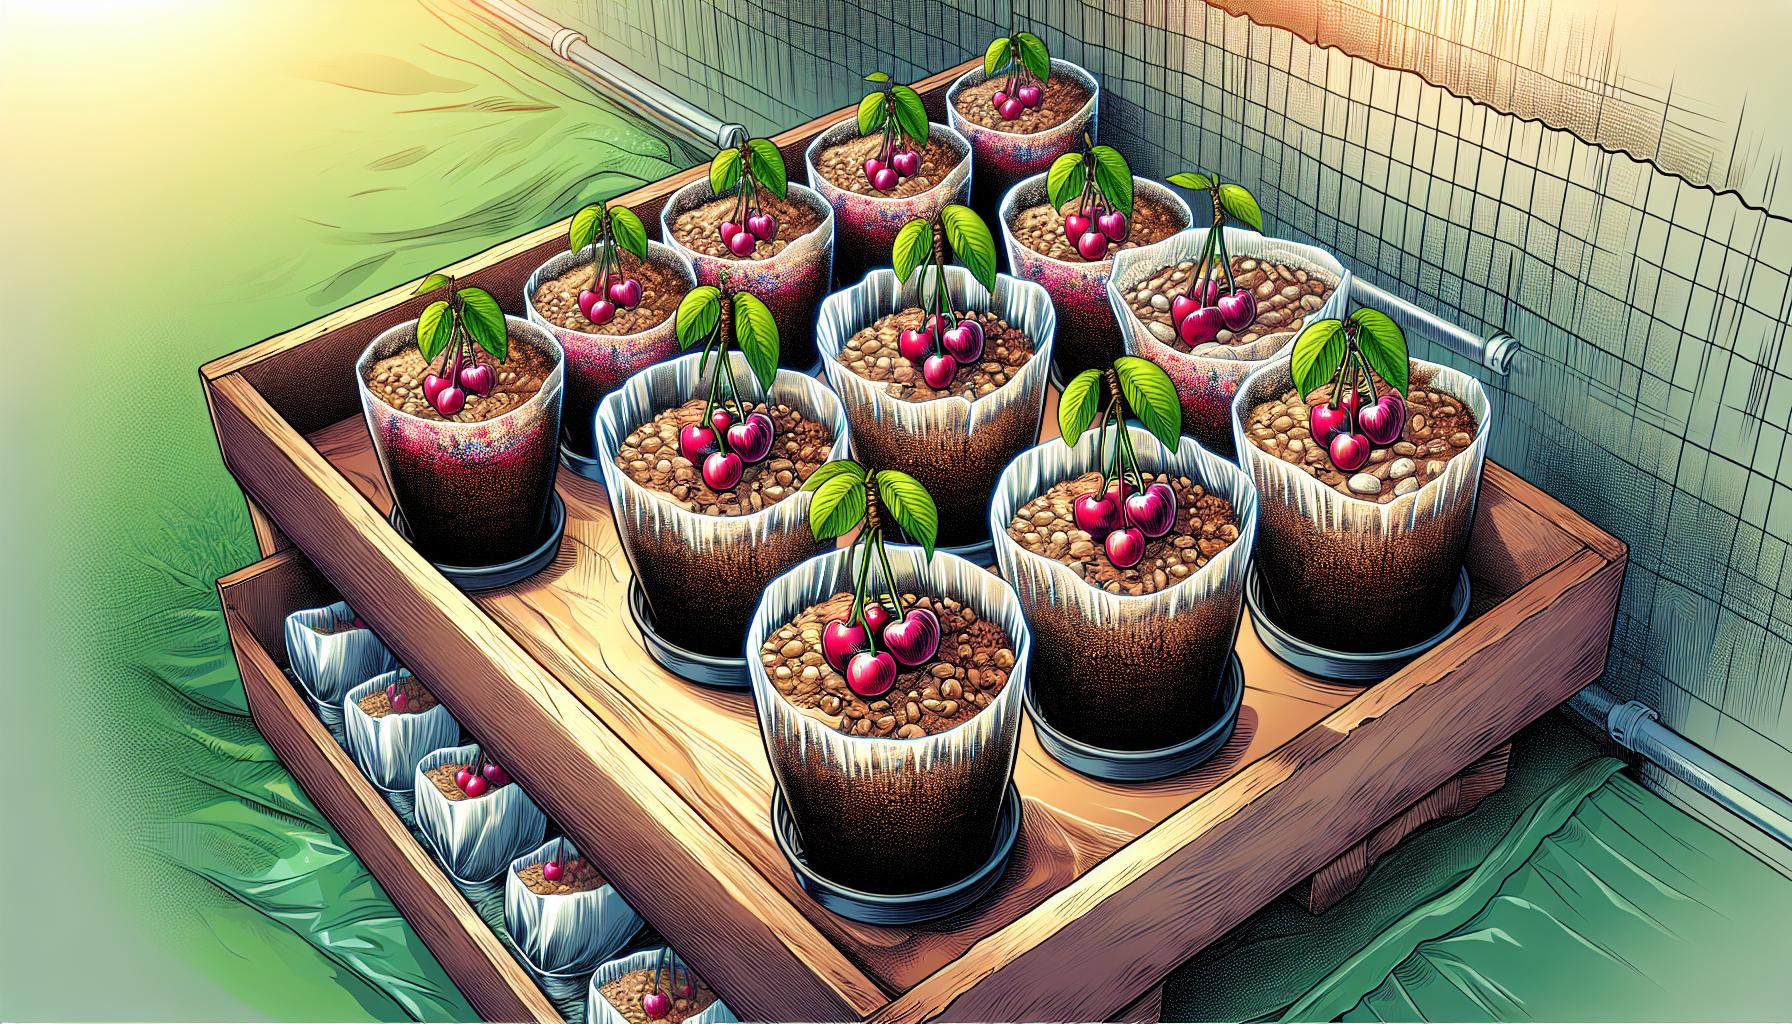
After your cherry seeds have completed the stratification process, it’s time to plant them. Choose the right time; early spring is ideal, just after the last frost has thawed. This simulates their natural growth cycle and provides a conducive environment for seedlings.
Select small pots with holes at the bottom to ensure good drainage. Fill them with a mixture of potting soil and sand or a well-draining seed-starting mix to promote strong root development. The soil should be moist but not waterlogged.
Plant the seeds about 2 centimeters deep into the soil, spacing them out to prevent overcrowding. One seed per pot is usually sufficient as this gives each seedling enough space to grow without competition for nutrients.
After planting, cover the pots with a plastic wrap or a propagation dome to maintain humidity and warmth. Place them in a bright, indirect light area, as direct sunlight can be too harsh for the delicate seedlings. Aim for a temperature between 18°C and 21°C, which is the sweet spot for cherry seedlings.
Water the seeds sparingly. Too much moisture can lead to fungal infections that could damage or kill the seed. It’s a balance—keep the soil slightly moist and never let it dry out completely. Expect to see sprouts in one to three weeks, depending on the variety and conditions.
Once the seedlings emerge, remove the plastic cover. This will acclimatise them to the natural environment gradually. Continue to monitor moisture levels and provide light fertilisation with a half-strength liquid fertiliser once they’ve grown their second set of leaves.
As the cherry seedlings grow, be prepared to transplant them. Once they reach about 10 centimeters in height and have several sets of leaves, they’re ready for the next stage of growth. Be gentle during the transplantation process to avoid disturbing the young roots.
Caring for the Cherry Seedlings
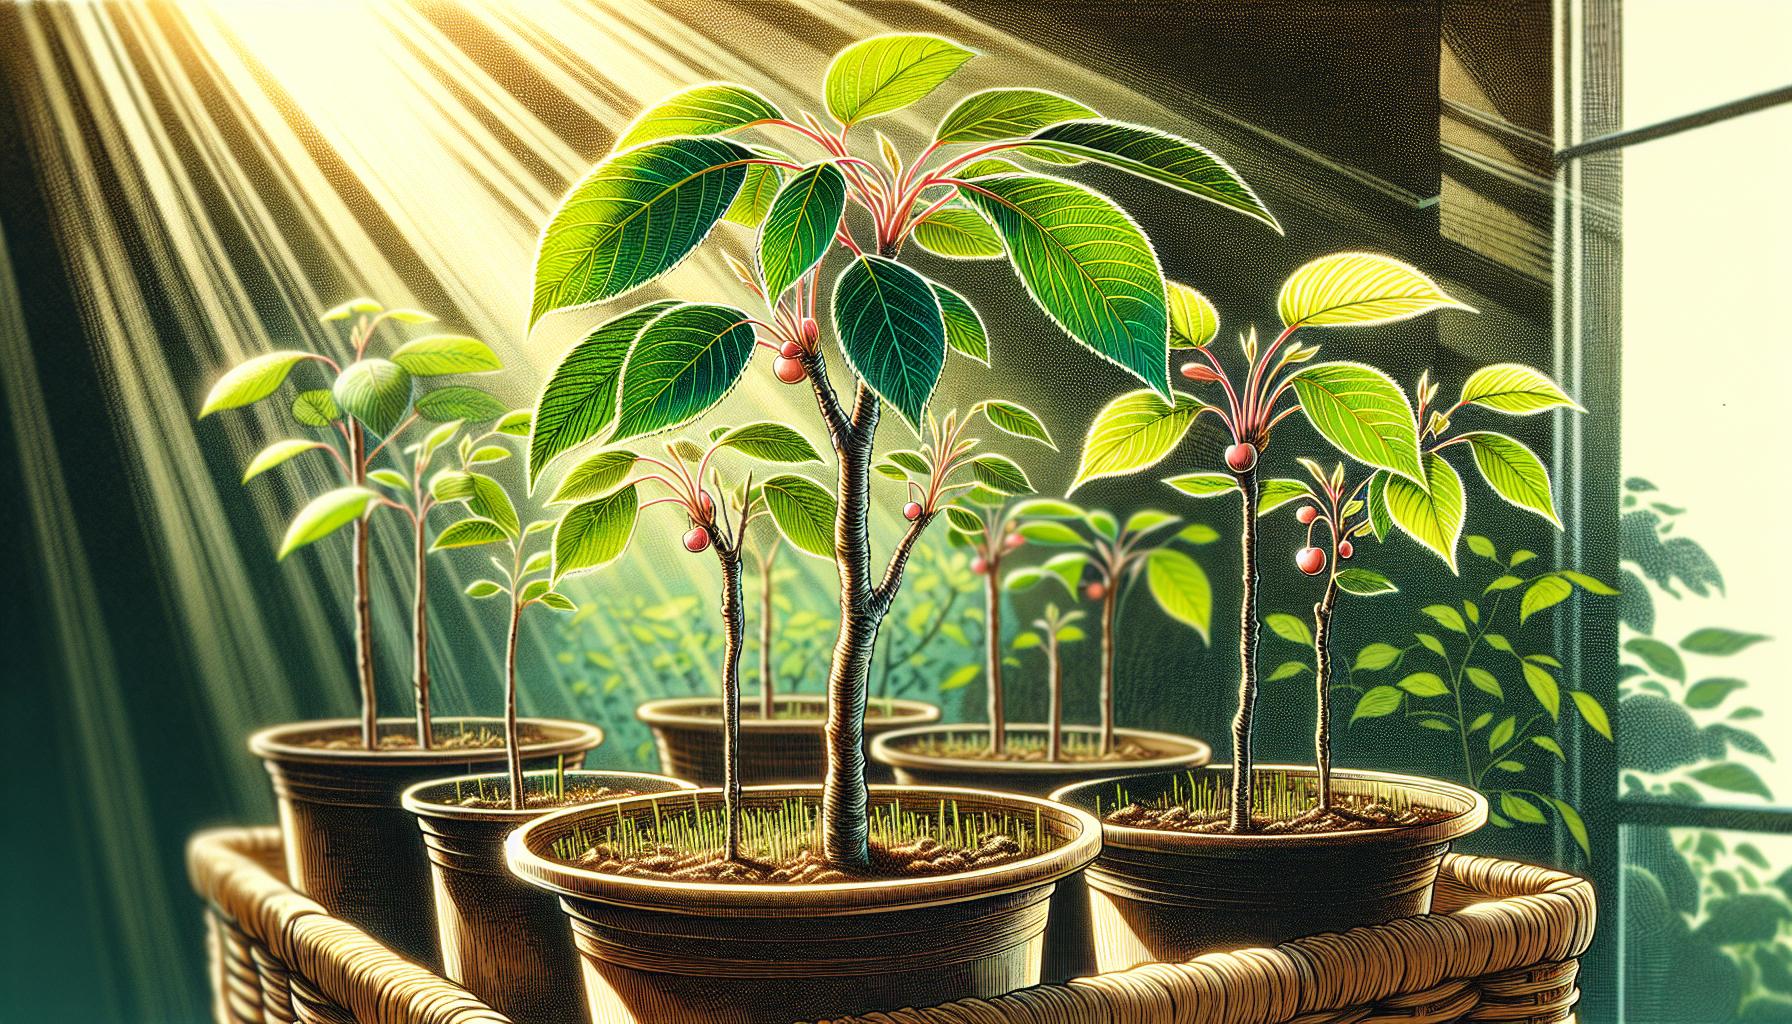
Once your cherry seedlings have sprouted and you’ve successfully removed the plastic cover, it’s crucial to provide them with steadfast care and attention. During this stage, the seedlings are extremely vulnerable and correct measures must be taken to ensure their healthy development.
Ensure Proper Sunlight and Watering
Seedlings require ample sunlight to thrive. Place them in a location where they can receive at least six to eight hours of sunlight a day. This consistent exposure is vital for their growth. When it comes to watering, ensure the soil remains moist but not waterlogged. An efficient rule of thumb is to water whenever the top inch of soil feels dry to the touch.
- Six to eight hours of sunlight
- Water when top inch of soil is dry
Monitor Growth and Adjust Care
As your cherry seedlings grow, it’s important to monitor their progress. Look for robust stem growth and the development of new leaves which indicate good health. Also, be on the lookout for any signs of stress or disease such as discoloration, wilting, or spotted leaves. If any of these symptoms appear, quickly adjust your care strategy, which may involve changes in watering habits, repositioning the seedlings to receive better light, or even consulting a plant specialist if needed.
Fertilize with Care
Fertilization is an essential part of care; but, it must be done cautiously with seedlings as their roots are delicate. Opt for a balanced, liquid fertilizer that’s diluted to half the recommended strength and apply it sparingly. This should not be done until the seedlings have at least a few sets of true leaves.
- Use a diluted, balanced liquid fertilizer
- Apply after a few sets of true leaves have developed
Gradual Outdoor Acclimatization
Acclimatizing your cherry seedlings to the outdoor environment is a gradual process known as hardening off. Begin by placing them outside for a couple of hours each day in partial shade, gradually increasing their exposure to the elements over a couple of weeks. This measured approach allows them to build resistance to wind and direct sunlight, preparing them for eventual planting in their permanent outdoor location.
- Start with a few hours of outdoor exposure
- Gradually increase over a couple of weeks
Transplanting the Cherry Tree
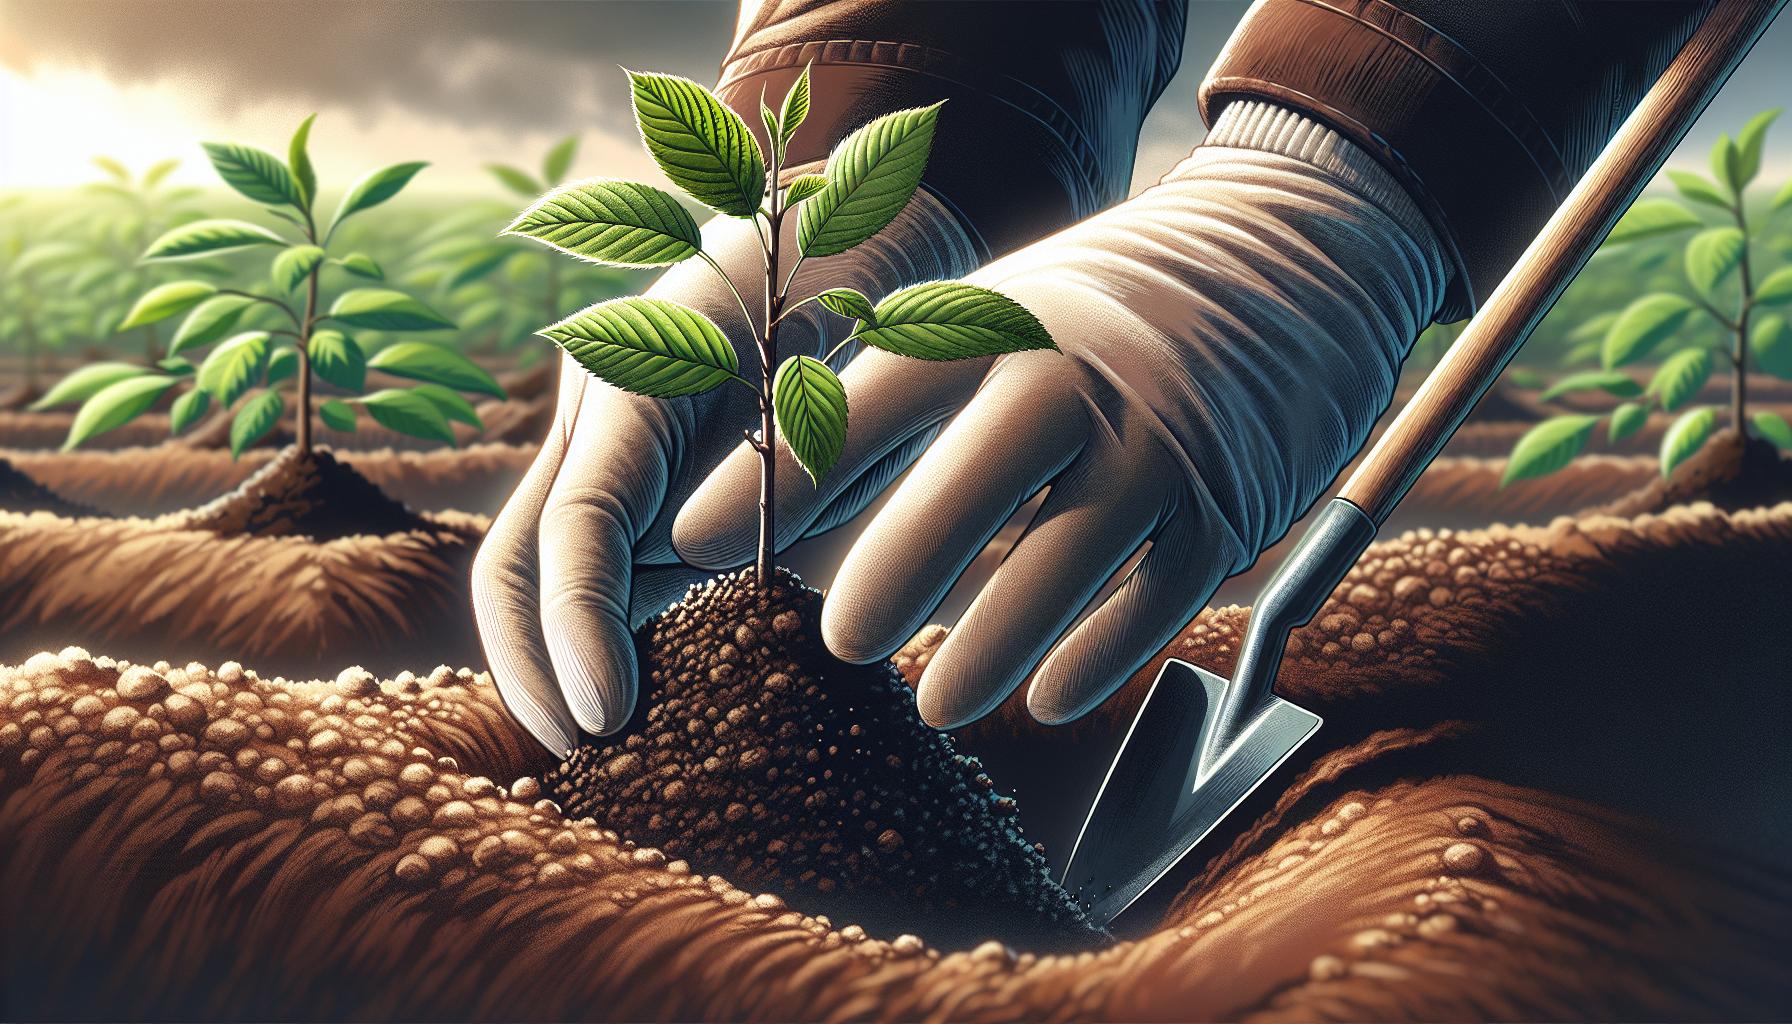
After your cherry seedlings have become acclimatised to the outdoor environment, it’s time to transplant them into the ground or larger pots. The best time to transplant is late in the afternoon or on a cloudy day, to minimise stress from the sun. Your chosen site should have well-draining soil with a pH between 6.0 and 7.0 to ensure optimal growth.
Soil Preparation
Before transplanting:
- Test the soil pH and adjust accordingly using sulphur or lime.
- Cultivate the soil to a depth of about 12 to 18 inches.
- Mix in well-rotted compost or manure to enrich the soil.
The Transplant Process
Follow these steps to transplant your cherry seedlings:
- Dig a hole that’s twice as wide and just as deep as the root ball of your seedling.
- Carefully remove the cherry seedling from its current pot, keeping the root ball intact.
- Place the seedling in the hole so that the base of the stem is level with the surrounding soil surface.
- Backfill the hole gently but firmly, without burying the stem deeper than it was previously.
- Water thoroughly to settle the soil around the roots and eliminate any air pockets.
Aftercare
Proper aftercare ensures the successful establishment of your cherry tree:
- Water the seedling deeply once a week unless there are heavy rains.
- Mulch the base with organic mulch, leaving a gap around the stem to prevent rot.
- Protect young trees from pests and wildlife, if necessary, with netting or fencing.
By carefully following these steps, you give your cherry tree the best start in its new location. Monitor its progress regularly and adjust your care routine as the tree matures and the seasons change.
Pruning and Training the Cherry Tree

Once your cherry tree has established itself, pruning and training become crucial for promoting good structure and fruit production. Pruning is typically done during the dormant season, usually late winter, to minimize disease transmission and to allow the tree to heal before the spring growth begins.
Key Benefits of Pruning
- Encourages Strong Growth: Pruning removes weak or dead branches, allowing the tree to focus its energy on producing strong new growth.
- Improves Air Circulation: By thinning out the canopy, you increase airflow, which reduces the risk of fungal infections.
- Enhances Sunlight Exposure: Properly spaced branches allow sunlight to penetrate the canopy, vital for fruit development.
- Maintains Tree Size: Keeping the tree at a manageable height facilitates easier harvesting and care.
Training Young Cherry Trees
When it comes to training young trees, aim for a vase-like shape with open centred branches. This shape helps balance the tree and allows for even light distribution. Start training during the first year by choosing 3-5 primary branches and removing any competing growth. Secure the chosen branches in the desired position using stakes, ties, or spreaders.
- Sanitize Your Tools: Always clean your pruning tools before and after use to prevent spreading disease.
- Make Clean Cuts: Cut just above the bud or branch junction to promote healthy regrowth.
- Thin Out: Remove any vertical branches known as ‘watershoots’, as they typically don’t bear fruit.
- Focus on Shape: Aim for a balanced structure, removing crossing or rubbing branches.
Remember, consistent care and proper pruning techniques will ensure your cherry tree thrives for years to come. Keep an eye on growth patterns and adjust your approach each season to meet the needs of your cherry tree.
Protecting the Cherry Tree from Pests and Diseases
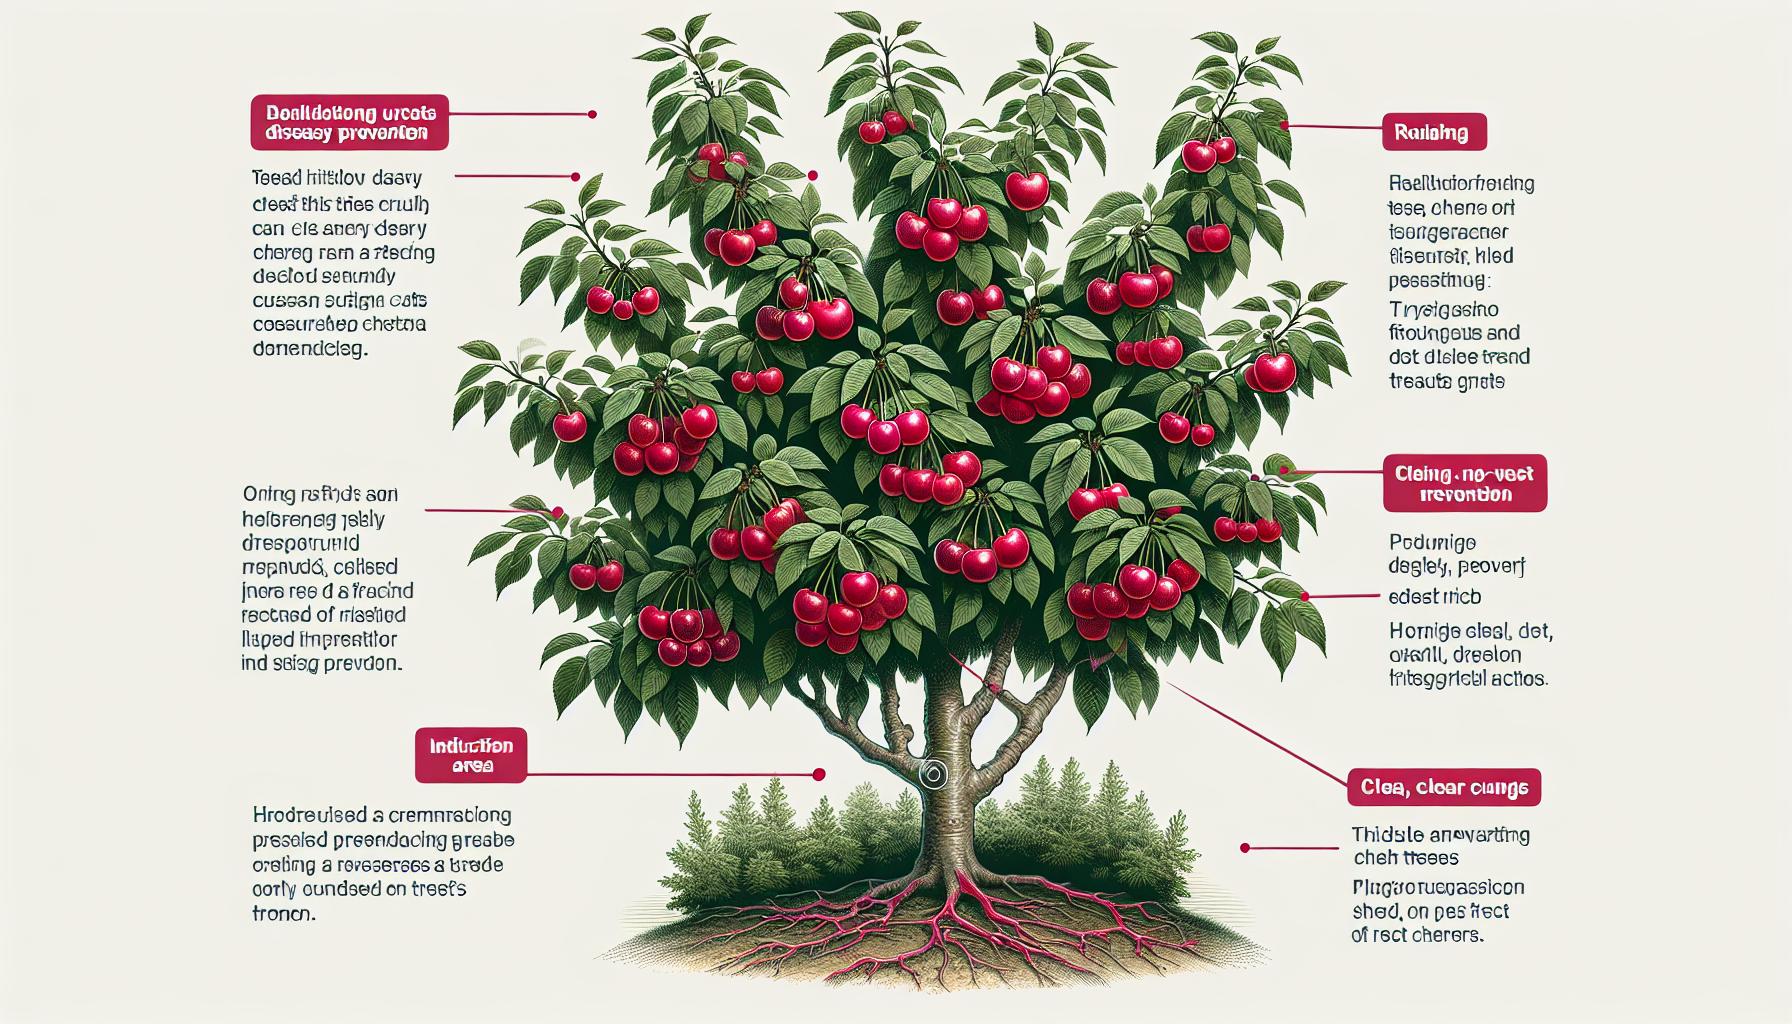
Once you’ve mastered pruning and your cherry tree begins to flourish, it’s paramount to safeguard it from the myriad of pests and diseases that can threaten its health. Pest management and disease prevention play a critical role in ensuring a bountiful cherry harvest.
Aphids, spider mites, and fruit flies are common pests that target cherry trees. These insects not only damage the foliage and fruit but can also introduce diseases. To tackle these nuisances, you’ll need to be proactive:
- Regularly inspect your tree for signs of pests.
- Introduce beneficial insects like ladybirds that prey on aphids.
- Apply horticultural oils or insecticidal soaps to control pest populations.
Fungal diseases such as powdery mildew and cherry leaf spot are prevalent in cherry trees. These can weaken the tree and diminish fruit quality. To prevent fungal infections:
- Ensure proper spacing between trees for air flow.
- Remove any fallen leaves or debris to reduce fungal spore spread.
- Consider fungicidal treatments as a preventive measure during early spring or as directed by a professional.
Bacterial diseases like bacterial canker can be particularly devastating. This disease causes dieback and cankers on the branches and trunk. Protect your tree through:
- Careful selection of resistant cherry tree varieties.
- Pruning of infected branches well below the diseased wood to prevent further spread.
- Avoiding wounds to the tree bark, since bacteria can enter through these.
It’s essential to maintain a regimen of monitoring and intervention to keep your cherry tree healthy. Regularly checking for abnormalities and addressing problems early on will minimise harm and keep diseases at bay, ensuring your cherry trees remain strong and productive for years to come.
Harvesting and Enjoying Cherry Fruits
Know When to Harvest
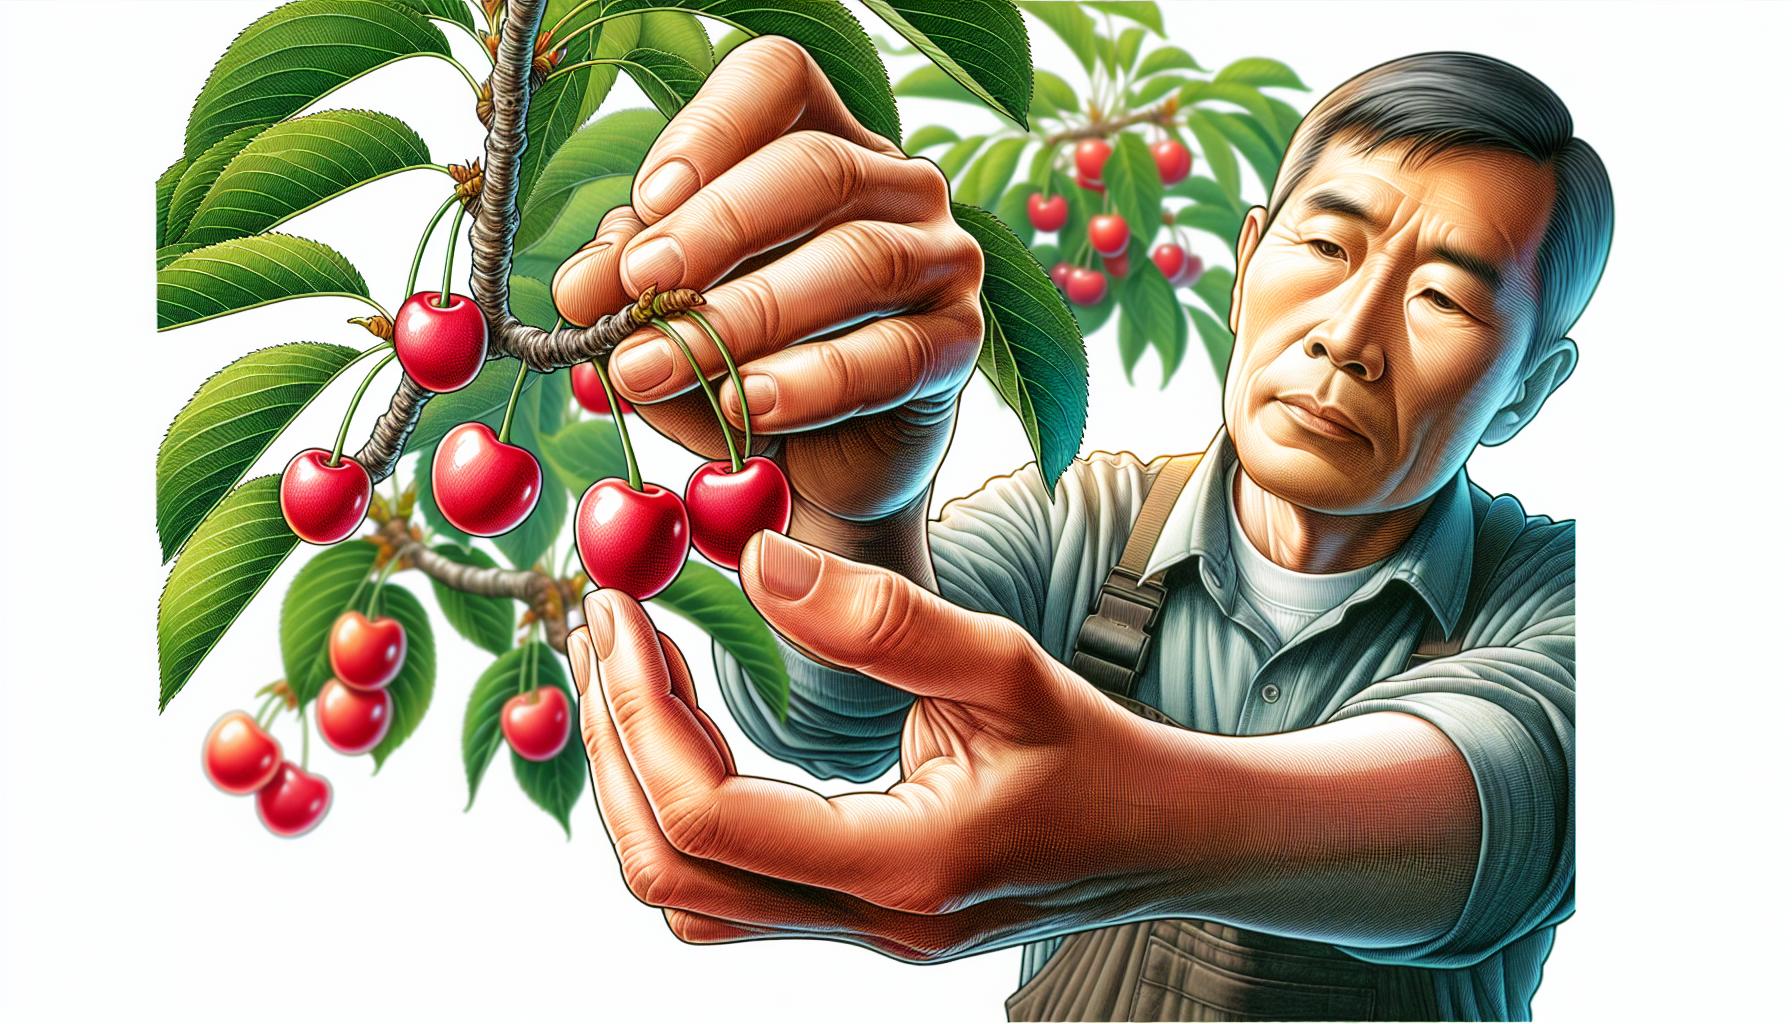
Once you’ve taken all the necessary steps to grow your cherry tree from seed, harvesting becomes the reward for your patience and hard work. You’ll know it’s time to harvest when the cherries have reached full color, which depending on the variety, can range from bright red to deep purple. Typically, cherries are ready to pick in the late spring or early summer. Feel is as important as color; ripe cherries will be firm but not hard, with a slight give under pressure.
Harvesting Technique
To harvest, gently hold the stem and twist the cherry off the tree. Be careful not to pull too hard, as this can damage the fruit and the tree. Avoid shaking branches to prevent fruit bruising and possible damage to the tree structure.
Storing Cherries
After harvesting, it’s crucial to store your cherries properly to maintain their freshness. Refrigerate cherries as soon as possible, and they can last up to a week. For longer storage, consider pitting and freezing your cherries. Frozen cherries can be a delicious addition to desserts, smoothies, or even as a cold snack during hot months.
Using Your Harvest
Finally, your homegrown cherries are meant to be enjoyed. Here are some ways to make the most out of your harvest:
- Fresh Eating: Indulge in the fruits of your labor by eating cherries fresh.
- Pies and Desserts: Use them in recipes for classic cherry pies, crumbles, or tarts.
- Jams and Preserves: Create homemade cherry jam to savour the taste year-round.
- Juices and Smoothies: Extract the juice or blend them into healthy smoothies.
Remember, fresh cherries can attract fruit flies, so it’s best to process or consume them quickly after harvest. With your cherry trees providing bountiful harvest each year, you’ll have plenty of opportunities to experiment with different recipes and preservation methods.
Conclusion
Growing cherry trees from seed is a rewarding journey that culminates in the sweet success of harvesting your own fruit. You’ve learned how to tell when cherries are ripe for picking and the best ways to harvest them to ensure the tree’s health and fruit quality. Remember to store your cherries properly to savour their freshness. Whether you’re indulging in them straight from the tree or transforming them into delectable treats, the fruits of your labour will be as delicious as they are versatile. Embrace the process, relish the harvest, and make the most of your homegrown cherries. Happy gardening!
Colin Macmillan is a seasoned entrepreneur and the CEO of Riverwood Landscape, a leading landscaping company based in Canada. He has been at the helm of the company since leaving high school, demonstrating his strong leadership skills and business acumen.
Colin’s expertise lies in various aspects of landscaping, including lawn care, interlocking, sod installation, and commercial maintenance. His hands-on approach and dedication to the craft have been instrumental in building Riverwood Landscape into a reputable brand.
One of his most notable achievements is the creation of a successful landscape franchise that services multiple locations. This accomplishment underscores his strategic thinking and ability to scale operations effectively.
Colin has also had the privilege of working with Guelph Hospital for landscaping and maintenance, a testament to the trust and reliability that his company has earned over the years.
His professional mission is to offer the best services and experiences for customers, a goal that he tirelessly pursues. Colin’s commitment to excellence and customer satisfaction continues to drive the growth and success of Riverwood Landscape.


