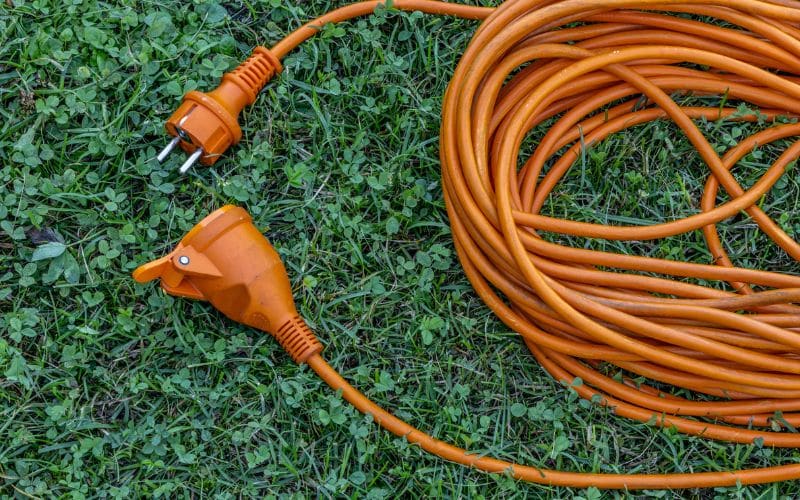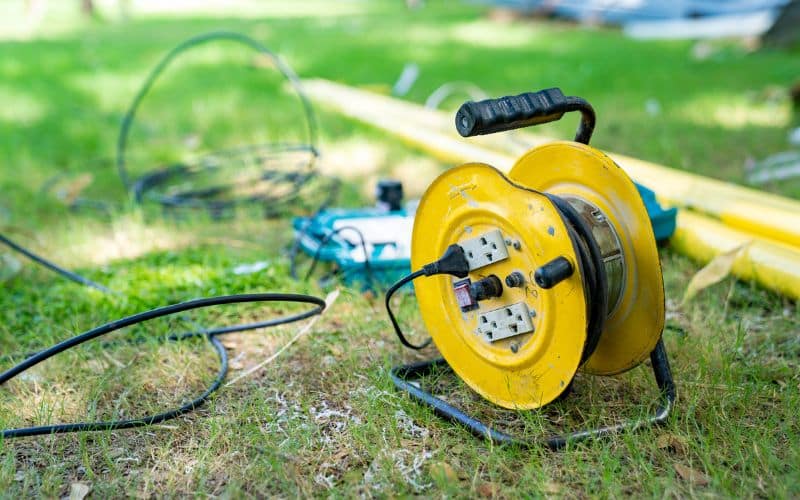
Burying an extension cord may seem like a simple solution to your outdoor power needs, but it’s not as straightforward as you might think. Safety should always be your top priority, and it’s crucial to understand that not all extension cords are suitable for burial. In fact, extension cords aren’t rated for direct burial at all, making them potentially dangerous and ineffective when used in this way.
If you’re considering this, you need to think about whether this is a temporary or permanent solution. The National Electrical Code (NEC) only permits burying extension cords for a temporary period. If you’re thinking long term, it’s time to consider wiring your house instead.
The depth at which you bury the cord is another important consideration. Anything below 18 inches is illegal, so be prepared to dig a little deeper. And remember, always consider using a conduit before burying an extension cord. It provides that extra layer of protection your cable needs.
The Importance of Properly Burying Extension Cords
Safety first! Regardless of the project you’re undertaking, safety should always be your top priority. The same goes for burying an extension cord. It’s vital to remember that extension cords aren’t designed for direct burial, and if they’re not properly insulated and shielded, they can become a significant safety hazard.
When extension cords are buried without protection, moisture, dirt and insects can seep into the cord, leading to electrical shorts and potential shock hazards. The risk is even greater if the cord is damaged or cut.
Here’s a few things to remember to ensure you’re burying your extension cords safely:
Use a conduit: A plastic or metal conduit can protect your cord from damage, moisture and pests. It also makes it easier to replace the cord if necessary.
Bury at the right depth: The National Electrical Code requires that outdoor electrical wiring be buried at least 18 inches deep. This reduces the risk of someone accidentally digging into the cord.
Use the right cord: Not all extension cords are created equal. Always choose a cord that’s suitable for outdoor use, and check that it’s rated for the wattage of the appliances you’ll be using.
Remember, burying an extension cord is only a temporary solution. If you need a long-term outdoor power solution, consider having an electrician install a permanent outdoor electrical outlet. This will provide you with a safer, more reliable power source for your outdoor power needs.
Planning and Preparation
Before you start digging, it’s crucial to have a plan in place. The success of your outdoor power project greatly hinges on the preparatory steps. This phase involves assessing your power needs, choosing a suitable extension cord, and determining the length of the cord.
Assessing Your Power Needs
First and foremost, it’s essential to determine your outdoor power needs. How many devices will you be powering? What are the wattage requirements for each? These are critical questions that you need to answer.
Remember, overloading your extension cord can lead to disastrous consequences like electrical shorts or even fire.
Choosing the Right Extension Cord
Having identified your power needs, it’s time to pick a suitable extension cord. This isn’t as simple as grabbing the first extension cord off the shelf.
The extension cord you choose needs to be rated for outdoor use and handle the total wattage of the appliances you’ll be using.
Also, bear in mind that extension cords are not designed for direct burial. Therefore, for safety reasons, you should consider using a conduit for extra protection. This will ensure your cord is shielded from elements like moisture, dirt, and insects which can cause electrical shorts and potential shock hazards.
Determining the Length of the Cord
Another critical factor to consider is the length of the extension cord. It needs to be long enough to reach your appliances without being excessively long.
Extra length can lead to voltage drops, which can affect the performance of your appliances.
Also, it’s crucial to remember that the National Electrical Code only allows extension cords to be buried temporarily. Therefore, it’s advisable to consult with a professional electrician for long-term outdoor power needs.

Tools and Materials Needed
Equipping yourself with the right tools and materials is the first step towards a successful project of burying an extension cord. Let’s delve deeper into what you’ll need for this undertaking.
Shovel
A sturdy, reliable shovel is a key tool for any type of digging project. It’s essential for breaking through the hard ground and creating a trench deep enough for burying your extension cord. You’ll need it to dig a trench that’s at least 18 inches deep to meet the National Electrical Code‘s safety guidelines.
String or Marker Flags
To ensure a straight, neat trench, you’ll need a string or marker flags. These tools will help you map out the path of your trench before you start digging. It’ll ensure you have a clear guide to follow, reducing any risk of veering off course and making your trenching work more efficient.
Digging Tool
While a shovel is great for breaking ground, a more specialised digging tool, like a trenching shovel or a garden edger, can make your work easier. These tools are designed to dig deep, narrow trenches – perfect for burying an extension cord. They’ll provide precise, clean cuts in the soil and help you maintain a consistent depth throughout the trench.
Electrical Tape
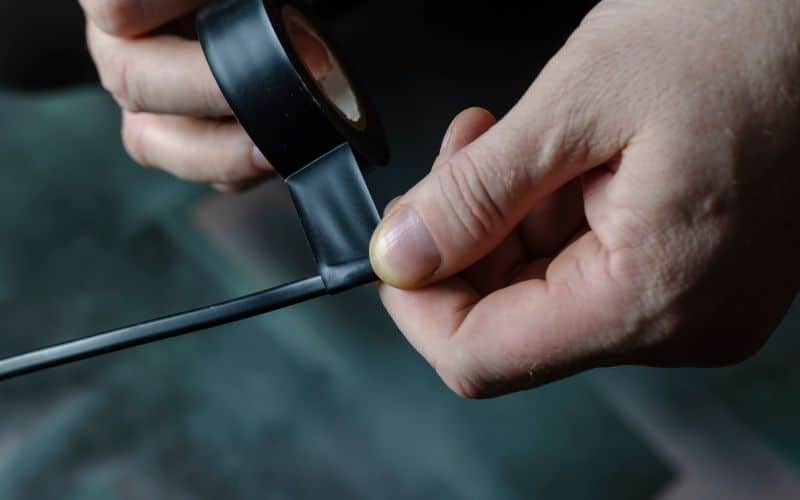
Once your trench is dug, you’ll need electrical tape to secure and protect your extension cord. It’s used for insulating electrical wires, preventing short circuits, and offering protection against elements like moisture and dirt. Remember, safety is paramount when dealing with electricity, so it’s crucial to thoroughly wrap your cord in high-quality electrical tape before burying it.
Safety Gloves
Last but certainly not least, safety gloves are a must-have for this project. They’ll protect your hands while digging, handling the extension cord, and working with electrical tape. Look for sturdy gloves that offer a good grip and are resistant to cuts and abrasions.
With these tools and materials at your disposal, you’re well prepared to bury your extension cord safely and effectively. However, keep in mind that this should be a temporary solution. For long-term outdoor power needs, consulting with a professional electrician for a permanent installation is highly recommended.
Locating the Ideal Pathway
Now that you’ve got the basics covered, it’s time to plan the route for your extension cord. Selecting the right path can make a significant difference in the success and safety of your project.
Avoiding Obstacles
The first step in locating the ideal pathway for your extension cord is to avoid obstacles. You’ll need to take into account any physical barriers that could interfere with your cord. This can include:
- Trees and shrubs
- Outdoor furniture
- Garden features such as ponds or fountains
It’s important to choose a path that avoids these obstacles where possible. Not only can they make digging your trench more difficult, but they can also pose a risk to the integrity of your extension cord.
Considering the Terrain
Next, you’ll want to consider the terrain of your garden. If the ground is uneven or sloped, you may need to adjust your path accordingly.
Here’s what you should keep in mind:
- Avoid areas prone to flooding or water pooling. Water and electricity don’t mix, so it’s crucial to avoid these areas to prevent potential electric shocks.
- Steer clear of areas with heavy foot traffic. The constant pressure can damage the cord over time and lead to safety hazards.
- Try to keep the path as short as possible. A longer cord means more potential for voltage drops, which can affect the performance of your appliances.
Checking for Underground Utilities
Perhaps the most critical step in locating the ideal pathway is to check for underground utilities. You don’t want to accidentally hit a gas or water line while digging your trench.
Before you start to dig, you should:
- Contact your local utility companies. They can provide you with information about any underground utilities in your garden.
- Use a cable avoidance tool (CAT). This device can detect buried utilities and help you avoid them.
Remember, safety is paramount. It’s always better to take the time to check for underground utilities than to risk damaging them and potentially causing a dangerous situation.
Digging the Trench
The process of digging the trench for your extension cord is a crucial step that demands careful execution. With the ideal pathway identified, you’re now ready to start digging. But remember, it’s not just about digging a hole in the ground; precision, safety, and adherence to certain guidelines are key.
Measuring and Marking the Trench Route
The first step in digging the trench is measuring and marking the route. To do this:
- Use a measuring tape to determine the length of your extension cord. This will give you an idea of how long your trench needs to be.
- Mark the route with a line of spray paint or a garden hose. This visual aid will ensure you stay on track while digging.
- Keep your markings straight and clear. This will make the digging process easier and more efficient.
Digging the Trench to the Appropriate Depth
Next up, it’s time to start digging. It’s important to dig to the right depth to protect your cord and prevent any potential accidents.
- Aim for a trench that’s at least 6 inches deep. This depth provides a safe and secure pathway for your extension cord.
- Use a suitable tool such as a garden spade or trenching shovel for the digging process.
Remember to take breaks. Digging can be strenuous work, and it’s important to pace yourself to avoid exhaustion or injury.
Creating a Path for the Cord
With the trench dug, you’re ready to create a path for the cord.
- Start by laying down a thin layer of sand at the bottom of the trench. This will cushion the cord and protect it from any sharp rocks or debris.
- Next, carefully place your extension cord into the trench. Make sure it lays flat and doesn’t have any twists or kinks.
- Once the cord is in place, cover it up with the dirt you removed while digging.
While burying an extension cord can provide a quick fix for outdoor power needs, remember it’s only a temporary solution. For long-term outdoor power needs, it’s always best to consider a more permanent installation with the guidance of a professional electrician. So, after you’ve finished laying your extension cord, why not give one a call? They’re sure to provide sound advice and ensure your outdoor power setup is safe, secure, and built to last.

Installing the Cord
After determining the ideal pathway for your extension cord and digging the trench, it’s now time to install the cord. This process involves attaching the cord to the power source, running it along the trench, and securing it in place. Here’s a step-by-step guide on how to do it.
Attaching the Cord to the Power Source
First off, you’ll need to attach your extension cord to the power source. Make sure that the power source is switched off before you start. It’s also crucial that the cord is compatible with the power source. If it’s not, you’ll need an adapter. Plug the cord into the power source, ensuring it’s securely attached.
Running the Cord Along the Trench
Next, you’ll run the cord along the trench. Start at the power source and work your way down to the end of the trench. It’s important to lay the cord flat in the trench, without any twists or kinks. This will prevent any damage to the cord and ensure that the power flows smoothly. Also, avoid pulling the cord too tight as this can cause it to wear out quicker.
Securing the Cord with Clips or Staples
Finally, you’ll need to secure the cord in place. This is done using clips or staples. They should be spaced about a foot apart along the length of the cord. Do not hammer the staples or clips into the cord. Instead, they should be hammered into the ground either side of the cord. This will keep the cord secure without damaging it.
Remember, burying an extension cord should only be a temporary solution. If you’re looking for a long-term solution for your outdoor power needs, it’s recommended that you consult with a professional electrician. They’ll be able to guide you through the process and ensure that the installation is safe and secure. After all, safety should always be your top priority when dealing with electricity.
Covering and Finishing the Trench
Once you’ve successfully installed the extension cord in the trench, you’re onto the next stage: covering and finishing the trench. It’s a straightforward process, but one that still requires careful execution to ensure safety and longevity.
Backfilling the Trench
After you’ve laid the cord in the trench and secured it, it’s time to backfill. Backfilling involves replacing the soil you initially dug out back into the trench. It’s important to do this carefully to avoid damaging the cord.
- Start at one end of the trench and slowly shovel the soil back in.
- Be sure to keep the cord centred as you backfill to prevent it from getting pinched against the trench walls.
- If you come across any large rocks or sharp objects, don’t toss them back in the trench. They could potentially harm the cord.
Tamping Down the Soil
After backfilling, the next step is to tamp down the soil. Tamping helps compact the soil, reducing the likelihood of it settling unevenly over time.
- Using your foot or a hand tamper, apply pressure to the soil until it’s level with the surrounding ground.
- Don’t tamp too hard though; you don’t want to risk damaging the cord underneath.
Testing the Cord
Lastly, remember to test the cord. This is crucial to ensure your extension cord is functioning correctly after burial.
- Plug in a small appliance or device at the end of the extension cord.
- If the device powers on, then you’ve successfully buried your extension cord.
Covering and finishing the trench may seem like a minor detail, but it’s these final touches that can make all the difference in ensuring a safe and efficient power supply for your outdoor projects.
Conclusion
You’ve navigated the tricky process of burying an extension cord. You’ve planned, dug, covered and finished your trench. You’ve backfilled it with soil, tamped it down for even settling and tested your cord to make sure it’s working just right. It’s been a journey, but remember, this is only a temporary fix. It’s always best to consult a professional electrician for a more permanent solution to your outdoor power needs. Safety and longevity are key when it comes to electricity. So while burying an extension cord might have been a quick fix, don’t forget to think long term. It’s your power, your safety, and your peace of mind at stake.


