Building the perfect ice rink in your backyard is a winter dream, but you might wonder if you can flood your rink with snow on it. Achieving that glass-like surface requires a bit more than just letting nature take its course. In this article, you’ll learn the dos and don’ts of flooding your rink to ensure a smooth and even ice surface.
Flooding your rink is a delicate process, and doing it over snow might not yield the results you’re hoping for. Stick around as we explore the techniques to smooth out uneven areas and repair any cracks or holes, ensuring your rink remains in top condition throughout the chilly season.
Can I Flood My Rink with Snow on It
Flooding over snow is not advisable. Snow acts as an insulator and creates a barrier that hinders the proper freezing of water beneath it. Your objective should be to achieve a hard, even ice surface you can enjoy the entire season. Snow on the ice surface can lead to a bumpy and uneven rink, certainly not ideal for skating. When snow is present and you flood the rink, the water seeps in the snow creating slush which, when frozen, results in an irregular ice surface. This is specifically problematic as it leads to fragile ice prone to cracking under the weight of skaters.
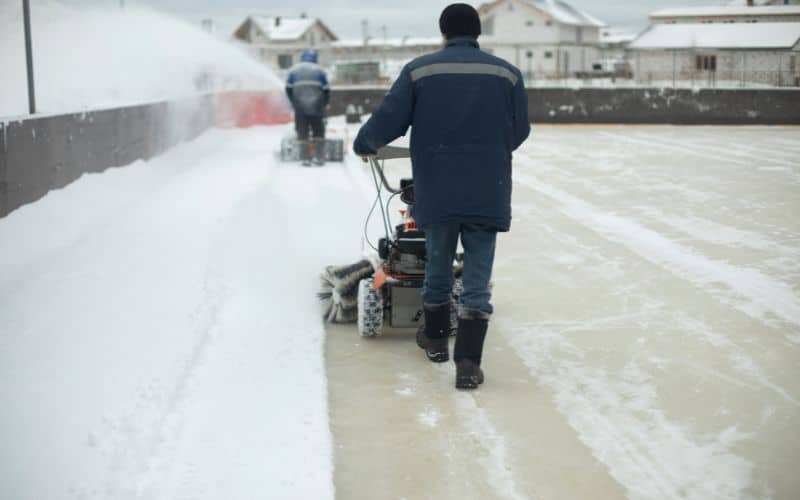
The best approach starts with removing all the snow before flooding. This can be done using a shovel or snowblower, ensuring there is direct contact between the water and ice surface. Without snow, the water will freeze uniformly, adhering to the cold ice beneath, and maintain the quality of your rink.
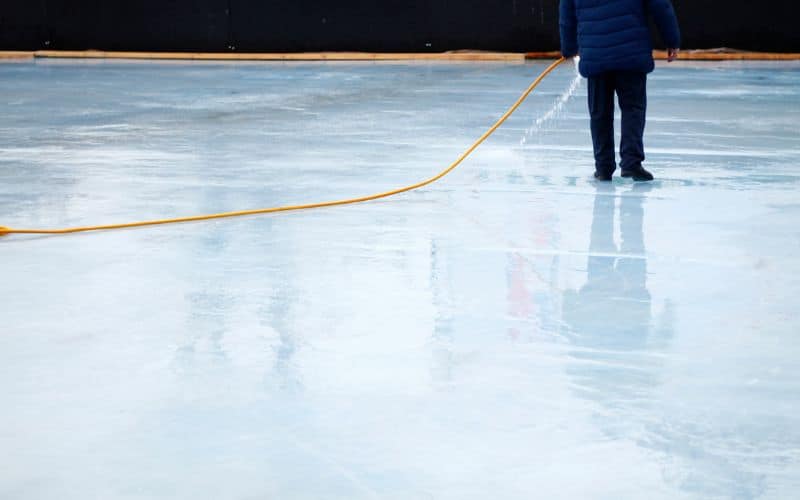
An additional tip involves timing. Flooding your rink at night when temperatures are coldest and wind is minimal aids the freezing process, leading to better ice quality. Start from one end, slowly moving to the opposite end, allowing the water to spread evenly and naturally without creating unwanted ripples. Remember, patience is key; wait until the ice is fully frozen before using it to assure the best possible skating experience.
To maintain the ice, observe, and measure its thickness regularly. Aim for a solid 3″ to 5″ ice base before considering to flood over it for additional layers. The base thickness prevents your ice from melting too quickly during warmer days and adds stability for a safe skating environment. With routine maintenance and proper flooding techniques, your backyard rink will remain a crisp, flat winter wonderland.
The Challenges of Flooding a Snow-covered Rink
Snow Insulation
When you’re maintaining an ice rink, one often overlooked factor is the insulating properties of snow. Snow on top of an ice surface can act as a blanket, keeping underlying ice from melting even when ambient temperatures rise. This natural insulation maintains the rink’s surface integrity during unseasonably warm weather. For example, leaving a thin layer of snow on the rink was effective in preventing melt even as water ran down the streets nearby due to the sun’s reflection.
The snow can also protect your lawn come spring by acting as an insulation layer. With the snow in place, as your backyard rink begins to thaw, the ensuing melt is absorbed, providing moisture for your grass, which can result in a lush green lawn. However, the insulating snow layer has to be managed carefully. It’s essential to pack it down and create a solid ‘slush’ by lightly spraying water, then letting it freeze. This creates a robust base for additional ice layers.
Uneven Surface
Arguably the most significant challenge of flooding a rink over snow is preventing an uneven ice surface. Snow beneath the water can create shell ice when temperatures drop below –20 C, leading to air pockets that cause bumps and can become tripping hazards. These irregularities contribute to an icy surface that’s difficult to make even throughout the season.
The flood method, while effective at creating thick layers of ice, can exacerbate unevenness if not managed correctly. If you flood over smooth ice, you risk destroying it. Instead, wait for the base layer of snow and water to freeze before you begin. This base should be around half an inch thick to provide a solid foundation. And remember, despite temptations, never flood without removing all the snow first. Snow not cleared away becomes slush, which results in crusty, uneven areas and poor ice quality. For any rough patches, softening with hot water and smoothing with a trowel can offer a temporary fix.
Using your rink regularly is one surprising way to achieve a smoother surface. The constant activity helps to eliminate ridges and imperfections. However, for long-term maintenance and the prevention of an uneven surface, consider using tools like the “Ice Groomer” or manually resurfacing with a squeegee. These methods fill in cracks and allow for a smoother finish, ensuring a safer, more enjoyable skating experience.

Tips for Flooding a Snow-Covered Rink
Clearing the Snow
Before flooding, it’s imperative that you remove as much snow as possible from the rink. Snow acts as an insulator and can prevent the proper formation of ice. To ensure the most efficient clearing, start with a sturdy snow shovel to move the bulk of the accumulation. For the remnants, consider using a leaf blower or a wide broom to sweep away any remaining snowflakes and prevent them from bunching up and creating an uneven surface during the flooding process.
Preparing the Surface
Once the snow is cleared, you’re set to prepare the base layer. It’s crucial for the foundational snow and water layer to measure around 1/2-inch thick and be completely frozen before adding more layers. Ensure you use a mist setting on your hose to avoid disturbing your delicate surface. Begin by flooding the rink with 3-4 inches of water or wait until there’s approximately 4 inches of snow then add water until it takes on a slushy appearance. You must be patient and allow this mixture ample time to solidify.
Utilizing Hot Water
The use of hot water is a game-changer when creating the perfect ice surface. Hot water will aid in producing a smooth and hard ice surface, as it contains less dissolved oxygen, thereby reducing the presence of micro air bubbles. Flood the surface with a thin layer of hot water to eliminate any air gaps, leading to a more durable ice layer. For localized problem areas such as ridges or bumps, pour hot water directly over the affected parts to melt and then manually smooth these sections with a flat tool like a trowel for an even finish. Remember, only attempt these techniques when the temperature is below -10°C to prevent shell ice formation.
Employ these methods and with a little perseverance, you’ll maintain an exceptional quality ice rink ready for endless winter fun.
The Benefits of Flooding with Snow on the Rink
Speedy Ice Formation
When you flood your rink with a layer of snow present, you’re employing a natural coolant that aids in rapid ice formation. Snow acts as an insulator for the ice beneath. It allows the flooded water to chill quickly and freeze efficiently. This accelerated process is due in part to the snow’s ability to maintain the cold temperature surrounding the rink, creating a stable environment for the ice to set.
Real-life examples include rink managers like Dave Nagel who have observed the formation of ice to be “the quickest and the crispest” in such conditions. By retaining a substantial base layer of ice and subsequently adding layers, the snow supports a swift transition from a flooded surface to a skate-ready rink.
Another practical tip derived from experience is the use of pre-flooding techniques. A wide industrial broom, for instance, can smooth out the surface immediately before flooding, thereby complementing the snow’s cooling effect and facilitating an even smoother and quicker freeze.
Reduced Water Usage
Utilizing the insulative property of snow can also lead to a decrease in water consumption during the flooding process. Because the base layer of ice is effectively maintained cold by the snow, you need less water to achieve the desired ice thickness. This efficiency is evident when comparing to the traditional methods that fully rely on repeated flooding to build up the rink.
A case that illustrates this principle is the use of the NiceIce resurfacer, which lays down a thin ice layer and effectively deals with the effects of weather on the rink surface. When snow is involved, this resurfacer—or a similar device—can work more efficiently, requiring fewer sessions to maintain a quality ice surface. Since the device depends on outside air temperature and the insulating snow, less water is needed to restore the ice, which translates into lower water usage overall.
Remember, your goal is to maintain a solid and even ice for an optimal skating experience. The presence of snow can both expedite the formation of ice and reduce the amount of water you’ll need, making the entire process more efficient and cost-effective. With these strategies in place, you’ll be well on your way to enjoying your rink throughout the winter season.

Conclusion
You’ve got the know-how to flood your rink effectively, even with snow on it. Remember to clear as much snow as you can for the best results and use hot water to tackle any rough spots. Flooding at temperatures below -10°C is ideal, allowing for quick freezing and a solid ice surface. By incorporating the insulating properties of snow, you’ll not only speed up ice formation but also save on water. With these techniques, you’re well on your way to enjoying a smooth and durable ice rink. Happy skating!


