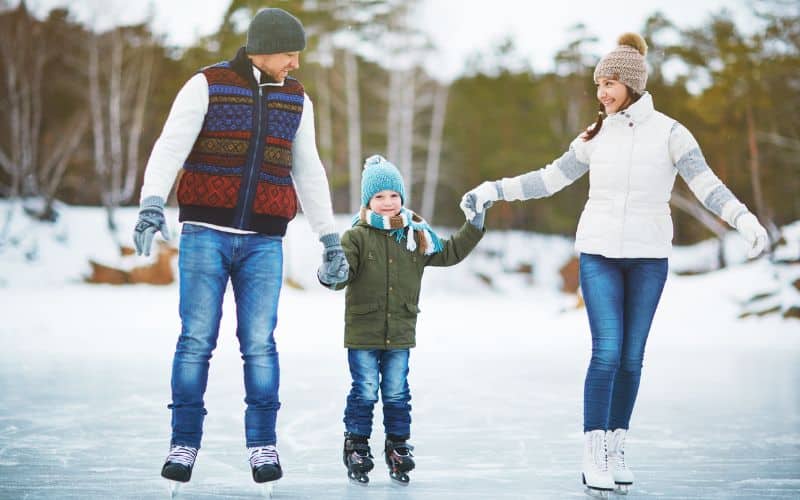
Building your own outdoor rink can be a thrilling project that brings endless fun. Whether you’re planning late-night hockey games with your mates, or afternoon skating lessons with the kids, your DIY outdoor rink can accommodate it all. Over the years, you might even start your own traditions, like saving a jar of water from the melting rink to add to next year’s ice!
Creating a smooth ice surface is essential, and that’s where routine flooding comes in. It’s not just about haphazardly splashing water around, there’s a method to the madness. With the right schedule and procedures, you’ll have a rink that’s as smooth as a professional one.
Finding the perfect spot in your yard is crucial. Most yards aren’t perfectly flat, but that’s okay. If your yard has a slope of around 6-8 inches, you won’t need to level the area. The water will self-level and fill the lowest areas first. So, if you’ve got a six-inch slope, you could end up with 4 inches of ice on the high side and 10 inches on the low side. That’s perfectly fine. Just make sure your boards are tall enough or braced if you have more than a normal slope.
Planning and Preparation
Without fail, thorough planning and careful preparation are key elements to building a successful outdoor rink. Understanding the location, size, and materials needed are crucial steps in creating your icy haven.
Determine the Location
The first task on your checklist should be figuring out the prime location. You might want to hunt for the flattest spot near your house, preferably close to an outdoor water source. Avoiding septic or leach fields is vital, as you wouldn’t want to cause any damage. Moreover, a location with adequate outdoor lighting or the potential to install it will facilitate your night games and solo ice dances!
Calculate the Size
Post locking down the location, it’s time to get the measurements right. Remember, the size of your rink will be limited to the largest, flattest area of your yard unless you plan to spend bucks on excavation. You can use the Pythagorean’s Theorem to ensure perfect right angles. For instance, for a rink size of 44 x 88 feet, the perfect diagonal should measure 98.4 feet. If the maths gives you a headache, online calculators are your next best friend!
Gather Necessary Materials
Lastly, rounding up the tools and materials you’ll need is crucial. Common supplies for your rink might be brackets, boards, a liner and a handheld Zamboni for flooding the ice. It’s highly recommended to keep some extra board material and bracing on hand. First-time builders might also find it helpful to have items like extra brackets or wooden stakes within reach as you learn the ropes of your new winter project.
Building the Base
Building a sturdy base for your outdoor rink is key to ensuring its quality and longevity. The process involves laying down a tarp or liner, filling it with water, and then smoothing out the surface.
Each step requires careful attention and precision; mistakes could mean a weaker rink prone to damage or even a collapse.
Lay Down a Tarp or Liner
The first step to building the base of your outdoor rink is to Lay down a tarp or liner. To achieve best results, you should ideally do this right before you intend to fill it with water. Secure the tarp in place using lumber or other heavy objects at the edges, but remember to remove these before the water freezes.
Ensure that your liner is larger than your projected rink size with at least a four-foot excess on all sides. When laying your liner, you might notice some areas having more clearance than others due to the uneven ground. This is normal and shouldn’t worry you. Remember to have extra braces and boards handy, as you may need to create makeshift barriers to prevent water from spilling over.
Fill with Water
Once the liner is in place, you can now begin filling your rink with water. This could take several days considering the large volume that’s required – say thousands of gallons. You can estimate the amount of water needed quite easily using a Backyard Ice Rink Water Calculator or, to be on the safe side, maintain a water level of at least 4 inches in the shallowest areas.
Avoiding layer upon layer filling as it can damage your liner. If you’re able to, use a water delivery service. As a cost-saving tip, avoid doing the filling during snowy periods. This is crucial because any snow that lands on the water could lead to a crust of ice that creates ripples on the rink’s surface.
Smooth the Surface
The final step in building your base is smoothing out the surface, which can prove quite challenging but is crucial for a perfect finish. Any high points should be taken care of by either cutting the board to hug the mound or digging the ground down. As for low points, you should fill them with either foam or packed snow/dirt.
For an optimal outcome, aim for at least three consecutive days with temperatures of -15°C or lower to freeze the water. Once frozen, manually shave off any high points or unwanted bumps. Some people prefer resurfacing the rink with a few coats as it helps produce an evenly smooth ice surface. Finally, adding a layer of hot water and allowing it to freeze can give you the smooth surface you’re after, and nothing beats getting out there with your skates on to smooth out any final imperfections.

Maintaining the Rink
Maintaining your own DIY outdoor hockey rink isn’t just about hard work, it’s about good planning and instruction as well. Just as chopping firewood and shovelling snow is hard work, maintaining your rink is an exercise routine in itself. You’ve got to stay on top of everything to keep your rink at its peak shape, specifically through regular snow clearance, smoothing the ice surface, and performing routine maintenance.
Regularly Clear Snow
Snowstorms are inevitable, and dealing with them promptly is part of maintaining an outdoor rink. When it snows, it’s crucial to clear your rink as soon as possible. The snow acts as an insulator and bonds to the ice, potentially ruining your surface if left unattended for too long. Waiting for the storm to end is acceptable, but don’t let the snow linger; it’s best to shovel early and often.
Keeping the rink clear also means staying on top of the snow shavings that build up during a game. The light layer of snow that forms can hinder puck handling if it builds up too much. A quick intermission for a rink shovel can do wonders.
Keep the Ice Smooth
A game of hockey is best enjoyed on a smooth ice surface, but maintaining this smoothness can prove challenging. Skates chip the ice, leaving behind a rough surface that’s hard to glide on. To restore the smoothness, you can consider using hot water. It can help melt down the imperfections, leaving behind a new, smooth sheet of ice.
Remember to smooth out the bumpy, chunky ice that can occasionally form. Although tedious, smoothing out ice is a must-do to maintain a high-quality rink. You could consider using an iron (with no holes) to smooth down any chunky sections of your ice.
Perform Routine Maintenance
Skating can chip and scratch the ice while snowfall leaves a crusty, slushy surface — a nightmare for skaters. To keep your rink in top form, maintain it regularly. An ice resurfacer is useful for this, although not strictly necessary. Such devices smooth out ice and apply a thin layer of water for a skateable finish. For smaller rinks, a homemade, mini ‘Zamboni’ may suffice.
You should ideally perform such maintenance at night, given that temperatures are at their lowest, providing the perfect condition to freeze the rink. So ensure you have adequate lighting around the rink to facilitate the work.
Additionally, watch out for external variables. For instance, try avoiding placing the rink under trees, since leaves and sticks can create holes in the surface if they aren’t cleaned off properly.
Keeping your rink at its peak isn’t easy, but with due diligence, you’ll be rewarding yourself with smooth ice and a top-notch rink. So grab your shovel, bolster your resolve, and get set to maintain your DIY outdoor rink in its best form.
Fun and Safety Tips
Outdoor rinks offer a fantastic way to savour the winter outdoors, providing hours of family-friendly fun, but it’s equally important to ensure everyone’s safety while creating a cool and social environment. Here a few tips for lighting, seating, and safety, to get the best out of your outdoor rink experience.
Add Lighting for Night Skating
Keeping the rink well-lit can extend skating hours far beyond sundown. Remember, it can get dark early in long winter months. Chances are it’ll get dark around 4 or 5 in the evening, meaning without adequate lighting, skating after sunset isn’t an option.
Under-liner lights can make a unique and fun addition to your rink. Often in different colours, they glow from beneath the ice surface without attracting radiant heat from the sun, which could result in the ice melting on a sunny day. Additionally, LED lights mounted on tall poles around the rink can provide overhead light, illuminating the rink and enabling skating and maintenance tasks after sunset. Make sure the lights are well-secured and correctly installed to prevent any accidents.
Create a Seating Area
Creating a seating area can make your rink a social hotspot. Besides being useful for taking a break between time on the ice, it’s a great spot to enjoy rink-side snacks, drinks, or just cozy up with a blanket and watch the fun unfold.
Consider installing wooden benches for more comfort and durability. If you’re feeling adventurous, don’t shy away from building your very own warming house, equipped with a fireplace for cold nights. Not only can it provide a warm respite from the cold, but it can also serve as storage for all the extra gear like skates, sticks, and shovels.
Bonus point: A fireplace can elevate the ambiance and provide that lovely smoky smell perfect for winter nights outdoors.
Ensure Safety Measures Are in Place
One of the many benefits of a backyard rink is the improved safety it offers, particularly for young children. An outdoor rink provides a more controlled environment than public options and reduces the risk of accidents associated with crowds and less cautious users.
When building your rink, check that the ground is level with minimum clearance space. All sharp edges should be properly filed and sanded to prevent any injuries that could result from potential falls. The boards should line up correctly during installation with the help of L brackets and #9 SD connector screws.
Pro Tip: Don’t skimp on bracing. Not only does it add an extra layer of safety, but secure and stable boards also ensure longevity for your rink.
Always remember that safety isn’t a side note, but a priority when enjoying winter fun on your backyard rink.

Conclusion
You’ve now got the tools to build a top-notch outdoor rink. Remember, it all starts with a sturdy base. Lay down a tarp or liner, fill it with water, and smooth out the surface. Don’t forget about regular maintenance – clear snow promptly and keep the ice smooth with hot water. And it’s best to do this at night when temperatures are lowest.
Avoid trees to keep debris at bay. Consider adding lights for night skating, a seating area for socialising, and safety measures. Under-liner lights and LEDs can extend your skating hours, while wooden benches or a warming house can enhance the experience. Safety is crucial – level the ground, file sharp edges, and use secure boards with proper bracing.
With diligence and proper maintenance, you’ll have a rink that’s not just high-quality, but also safe and fun. So go ahead, put these tips into practice and enjoy your outdoor rink.


