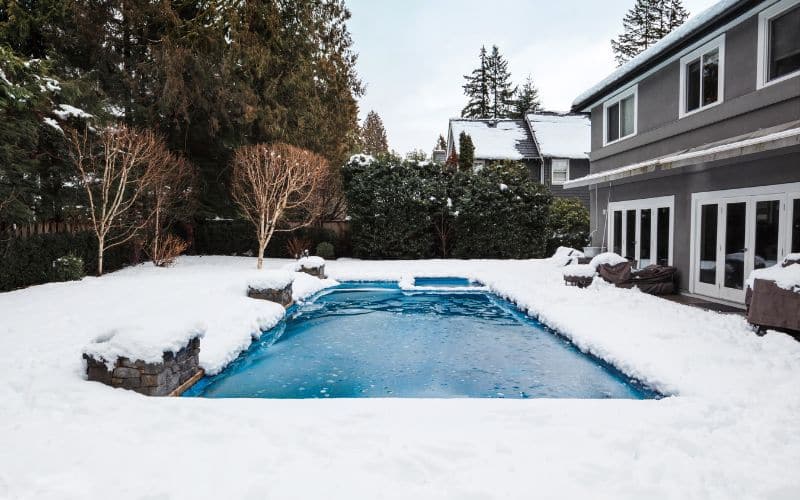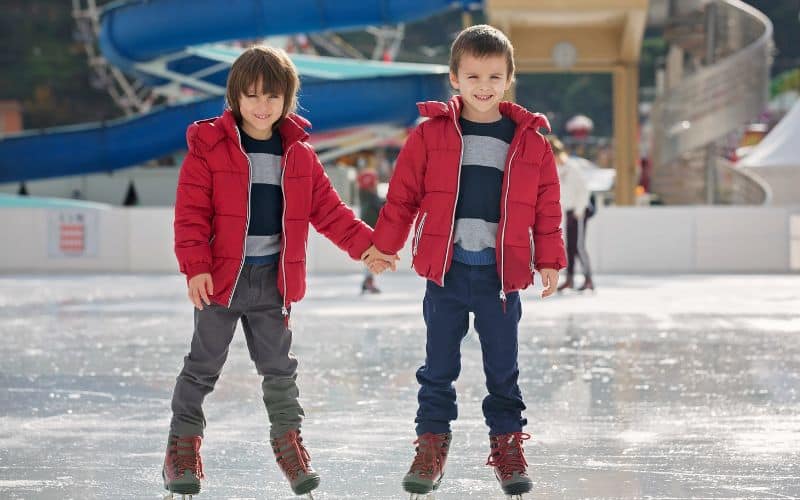
Imagine transforming your summer oasis into a winter wonderland where the laughter and joy of swimming are replaced with the gliding and twirling of ice skates. Yes, it’s possible to repurpose your pool into a dazzling ice rink, ensuring year-round entertainment right in your backyard.
In regions where the mercury dips and holds steady below freezing, your pool can become the stage for hockey games, figure skating practice, and even a unique track for racing remote control cars on ice. We’ll explore how this frosty conversion not only adds a twist to your winter activities but also protects your pool during the chilly season. Keep reading to find out how you can skate over the very spot you sunbathe in, without any damage to your beloved pool.
Can You Turn a Pool into an Ice Rink?
Absolutely, you can transform your swimming pool into a vibrant ice rink. The concept isn’t just a whim; it’s tried and true. In areas where the mercury dips below freezing for extended periods, a pool-to-rink conversion is entirely feasible.
Steady freezing temperatures ensure a stable ice depth, crucial for the safety and success of your rink. By reducing the pool water level 18 to 20 inches below the coping, you’re setting the stage for a natural freeze that won’t harm the pool structure.
Benefits of Pool Conversion
- Protects the Pool: Ice forms a shield over the pool’s surface, safeguarding it during harsh conditions.
- Encourages Physical Activity: An ice rink promotes winter sports and keeps friends and family active.
- Utilizes Existing Space: Pool areas, typically equipped with lighting and power, provide a ready-made venue for the rink.
Real-Life Example
In late 2016, the transformation of a “lagoon” swimming pool into an ice rink materialized. Custom Ice, a Canadian-based firm, crafted an ice system tailored to the pool’s contours. This innovative design, essentially a pool within a pool, allows for an ice rink without compromising the integrity of the swimming area.
Turning your pool into an ice rink is not only doable – it’s an ingenious use of space that delivers a host of recreational opportunities right in your backyard.
Preparing the Pool
Cleaning the Pool
Before starting the conversion process, it’s essential to clean the pool thoroughly. Remove any debris, leaves, and dirt using a pool net or vacuum. Any organic matter left in the pool can interfere with the freezing process and potentially damage the ice surface. Ensure the water is as clear as possible to facilitate a solid freeze. A clean base will result in a smoother, safer ice rink.
Removing the Pool Cover
After cleaning, gently remove the pool cover. If it’s a vinyl cover, be careful to avoid tears or damage as it may have become brittle in the cold. Fold the cover neatly to prevent any creases and store it in a dry location. It’s vital that you don’t skip this step; the cover needs to be off for the water below to freeze evenly.
Checking for Leaks
Inspect your pool for any leaks before allowing the water to freeze. Water that escapes can lead to uneven ice and potential accidents. Additionally, a leak might undermine the pool structure, causing long-term damage. Look for damp spots around the pool and check the lining integrity. Even small leaks should be patched up swiftly to maintain the pool’s foundation and ensure a reliable ice surface.
Creating the Ice Rink
Transforming your swimming pool into a winter wonderland is a strikingly feasible project. With careful steps, you’ll be able to craft an ice rink right in your backyard. Here’s what you need to know about the process.
Filling the Pool with Water
To begin, ensure your pool is clean and free from debris. Start the filling process by adding approximately 4 inches of water—this is the minimum thickness required for a solid ice base. It’s imperative to fill the pool when temperatures are consistently at or below freezing. This ensures the water turns to ice uniformly and maintains its solidity. Keep in mind that larger rinks will require more water and time to fill; Matt Humes reported a staggering 14 hours to fill his backyard rink.
Adding a Layer of Insulation
Before creating the ice, it’s advisable to lay down a layer of insulation. This aids in protecting the pool’s surface and allows for a more balanced freezing process. Utilizing a thermal pool blanket or foam layer not only insulates but also helps in maintaining the integrity of the rink. Adding a water layer on top of the insulation is essential for achieving the desired ice thickness. This application needs to be done when the weather is appropriate for ice formation.
Installing the Ice Rink Liner
The ice rink liner is your ice surface’s bedrock. Opt for high-quality liners like those from IronSleek, as they are durable and apt for the purpose. Unfurl the liner carefully over your rink, ensuring it overlays the edges to prevent water escape. It’s a task best executed with a team; though it’s doable solo, it will demand more time. Once in place, you can begin the strategic filling—start with the deepest end, balancing out any incline, similar to how Humes managed a variance from 4 inches to 14 inches in his rink setup. The addition of side guards offers extra safety for skaters and adds stability to the liner during the filling process.

Maintaining the Ice Rink
Once your pool has transformed into a frosty haven for skaters, upholding the quality of the ice is paramount. Remember, maintenance is key to ensure everyone’s safety and enhance your rink’s longevity.
Monitoring the Temperature
Keep a close eye on weather forecasts and maintain optimal ice conditions for safety and performance. With sophisticated systems capable of sustaining ice up to 10 – 12°C (50 – 55°F), monitoring technology such as “Ice Sensors” play a vital role. These sensors ensure chillers operate efficiently, kicking in only when necessary, similar to a central air conditioning unit. During periods of cooler temperatures, you may find that Mother Nature does an adequate job herself.
Regularly Inspecting the Ice Surface
Vigilant inspection is crucial. Watch for signs indicating the ice’s integrity may be compromised, such as cracks, pooling water or slushy areas. Areas of concern often appear light gray to black or white to opaque and should be avoided. Clear and blue ice signifies dense, strong ice, ideal for skating. Require a minimum ice thickness of at least four inches for safe skating; thick ice, around 12-15 inches, is optimal for hockey play.
Clearing Snow and Ice Build-Up
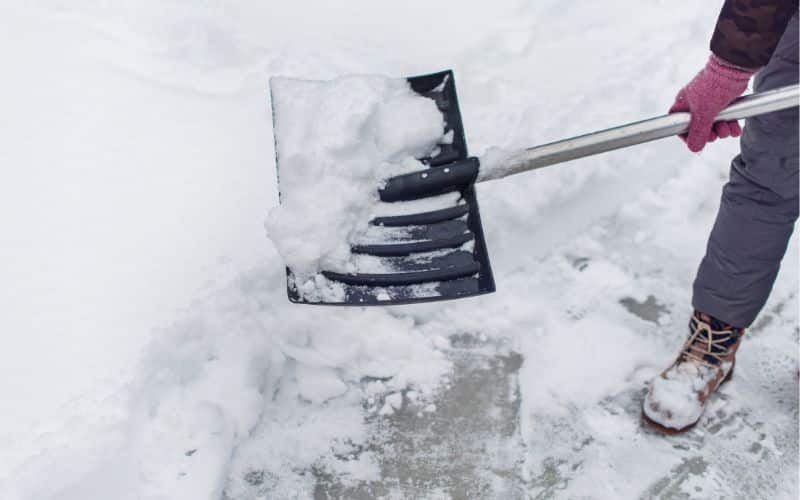
Snow detracts from the quality of your ice surface and requires removal – think of it as gaining another driveway to clear. A flat metal shovel is indispensable for keeping the surface even. Following snowfall or after heavy use, resurfacing may be necessary. Implement techniques like flooding with warm water to create a smooth, renewed surface. For regular conditioning, remove debris with a broom and patch any uneven areas with fresh layers of water, allowing it to freeze consistently.
Safety Precautions
When transforming your pool into an ice rink, safety must sit at the forefront of your considerations. Neglecting this essential aspect exposes skaters to potential hazards that could lead to severe injuries—or worse.
Using Safety Barriers
Prevent Unintentional Access – Children and pets are naturally curious but may not understand the associated risks. Erecting a physical barrier around your ice rink effectively prevents them from accidentally stepping onto unsafe ice.
- Fencing: Install sturdy fencing that stands as a visual as well as a physical barrier.
- Gates with Locks: Only allow access when supervision is guaranteed, and keep entry points secure when the ice rink is unsupervised.
Protect Skaters from Slipping Off: Safety barriers act as essential aides for skaters, especially beginners who need boundaries to prevent them from slipping off the ice into surrounding areas where injuries could occur.
- Soft Padding: Add cushioning around the rink’s perimeter to minimize impact.
- Visible Markers: Fluorescent safety tape can delineate the rink’s edges clearly, reducing the risk of skaters accidentally skating beyond the intended area.
Providing Adequate Lighting
Visibility for Day & Night: Whether you’re an early riser eager for an ice session at dawn or you fancy a twirl under the stars, proper lighting ensures every glide is clear and visible.
- Strategic Lights: Place lights around the perimeter and above the rink to eliminate shadows and dark spots where potential dangers could lurk.
- LED Solutions: Use energy-efficient LED lights for a brighter rink while keeping energy costs down.
Mood and Safety: Lighting isn’t just functional; it can also enhance the atmosphere of your rink—throw on some colorful LEDs for parties or stick to bright whites for competitive play.
- Motion Sensors: Consider installing lights with motion sensors that activate as someone approaches, both saving energy and warning when someone is near the ice rink.
Incorporating these safety features ensures not only a delightful skating experience but also peace of mind. You’re prioritising the welfare of everyone involved — a significant step towards creating a fun and secure winter activity hub in your own backyard.

Conclusion
Transforming your pool into an ice rink is not only possible but can be a delightful way to repurpose your space for winter fun. You’ve learned the steps to safely make the switch and the importance of safety barriers and adequate lighting. With these measures in place, you’ll ensure that your icy transformation is both enjoyable and secure. So go ahead and make the most of those chilly months by skating under the stars—right in your own backyard.


