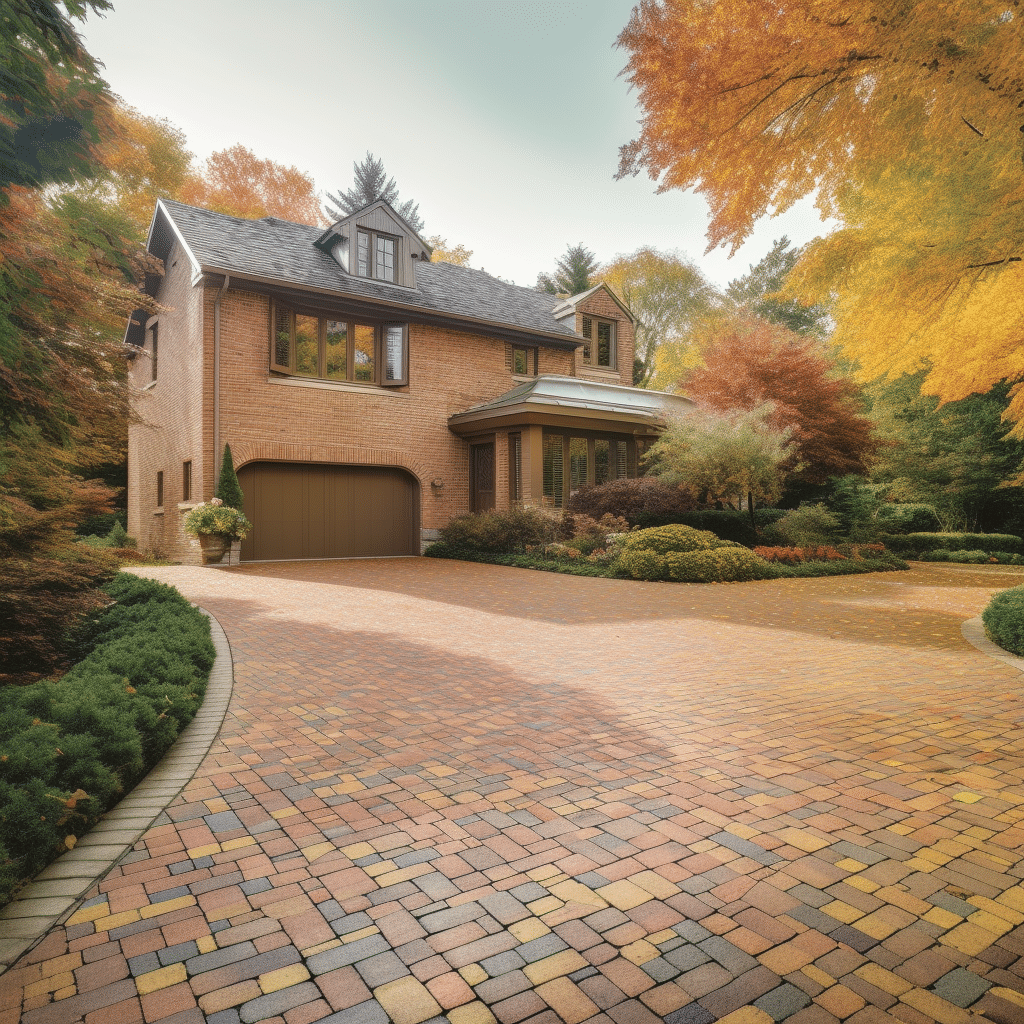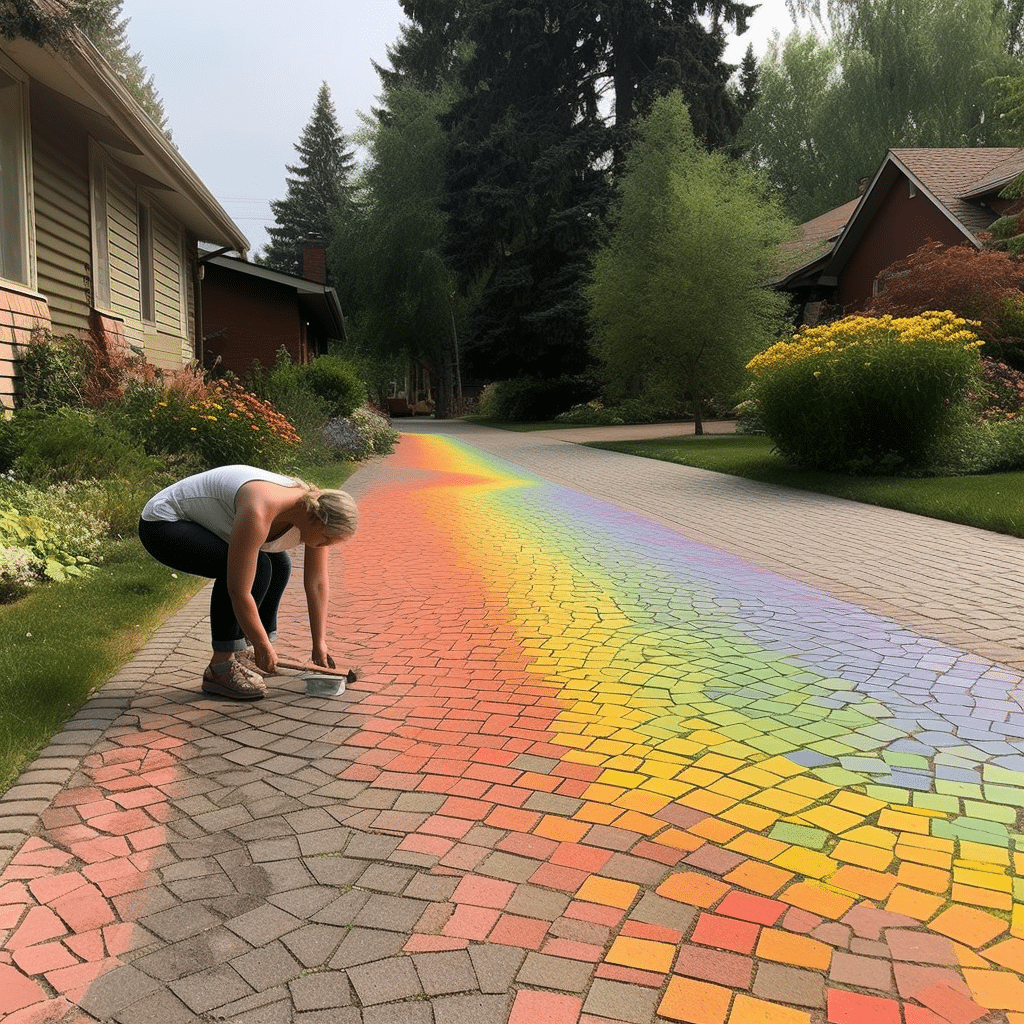
The type of paint you choose also matters significantly in this DIY project. Not all paints will adhere well to brick surfaces – so selecting a suitable masonry or concrete paint can make all the difference in how vibrant and durable your finished product turns out.
In conclusion: Yes, painting over those old-looking interlocking bricks is entirely possible! But remember – proper surface prep work combined with choosing the right kind of exterior-grade masonry/concrete specific paints will set up for success in this endeavor.
Understanding Interlocking Bricks
When it comes to giving your landscape a solid, attractive foundation, interlocking bricks are often a top choice. They’re not only visually appealing but also incredibly durable and versatile. So let’s delve deeper into what these unique construction elements truly are.
Interlocking bricks are essentially individual blocks of concrete or clay that fit together like puzzle pieces. Unlike traditional bricks that require mortar to hold them together, interlocking ones rely on the friction between each brick to stay in place. This makes them much easier to install and maintain over time.
You might be wondering about the types of interlock brick available out there – well I’ve got you covered! You’ll find these gems in various shapes, sizes, and colors catering for all aesthetic preferences:
- Rectangle – The most common shape
- Square – Perfect for creating intricate designs
- L-shape – Ideal for robust edging applications
The thickness varies too; usually ranging from 60mm (for light traffic areas) up to 120mm (for heavy-duty use).
| Thickness | Suitable For |
|---|---|
| 60 mm | Light Traffic Areas |
| 80 mm | Medium Traffic Areas |
| 100 -120 mm | Heavy Duty Use |
Now let’s talk about cost-effectiveness because I know that’s crucial too! Given their long-lasting nature coupled with minimal maintenance needs make them an economical option compared to other hardscape materials.
While they’re more expensive upfront than poured concrete or asphalt — on average costing $10-$20 per square foot installed — their lifespan can exceed those materials by decades if properly maintained!
In terms of environmental friendliness – another important factor nowadays – they score pretty high as well. Being made mostly from natural resources like clay or stone aggregate means they have less impact on our environment compared with synthetic alternatives.
So there you have it; my rundown on understanding interlocking bricks. Whether you’re considering paving your driveway or upgrading your backyard patio space; knowing the ins-and-outs will help make sure you choose wisely!

Prepping Your Bricks for Painting
Before we dive into the painting process, it’s crucial to prepare your interlocking bricks properly. This initial stage might seem tedious, but trust me, it’ll pay off in the long run. The preparation process ensures that the paint adheres well and gives a smooth finish.
Firstly, you need to clean those bricks thoroughly. Over time they accumulate dirt, grime and maybe even some moss or algae if they’re outdoors. You can use a stiff brush along with soapy water to scrub them clean; just make sure you rinse off all soap residues afterwards.
For stubborn stains or growths like moss and mold – vinegar will be your best friend! Just mix equal parts of white vinegar with water and apply this solution onto affected areas using a spray bottle.
Here are simple steps:
- Scrub down the bricks with soapy water
- Rinse thoroughly
- Apply vinegar-water solution on stubborn stains
- Rinse again
Once cleaning is done, allow ample drying time before starting to paint as moisture trapped under layers of paint could lead to peeling later on.
It’s also important not forget about repairing any damages before getting started with painting. Cracks or chips in your interlocking bricks can create uneven surfaces which won’t look good once painted over!
I’d recommend filling these imperfections using sand-cement mixture; ensure that it matches color of existing brickwork for an invisible repair job!
To sum up:
- Clean meticulously,
- Allow enough drying time,
- Repair damages prior painting.
Following these steps guarantees great results when you finally decide to revamp those old looking interlocking bricks by giving them fresh coat of paint!
Troy Channer is a seasoned professional with over a decade of experience in the construction industry, specializing in residential projects and road infrastructure networks. His expertise spans a broad range of skills, including proficiency in Microsoft Excel, Word, and PowerPoint, which he adeptly uses to streamline operations and enhance productivity.
Troy’s commitment to excellent customer service is a cornerstone of his professional philosophy, always prioritizing client satisfaction and fostering strong relationships. His leadership skills are well-recognized, and he has a proven track record of managing teams to deliver high-quality results.
In addition to his construction experience, Troy is also the proud owner of a successful landscape company based in Oakville. This venture allows him to apply his extensive knowledge of civil engineering and project management to create beautiful and sustainable outdoor spaces for his clients.
Troy holds an Advanced Diploma in Civil Engineering Technology from Humber College, further solidifying his credentials as a highly skilled operations professional in the industry. His combined experience and education make him a versatile professional capable of tackling a wide range of projects.


