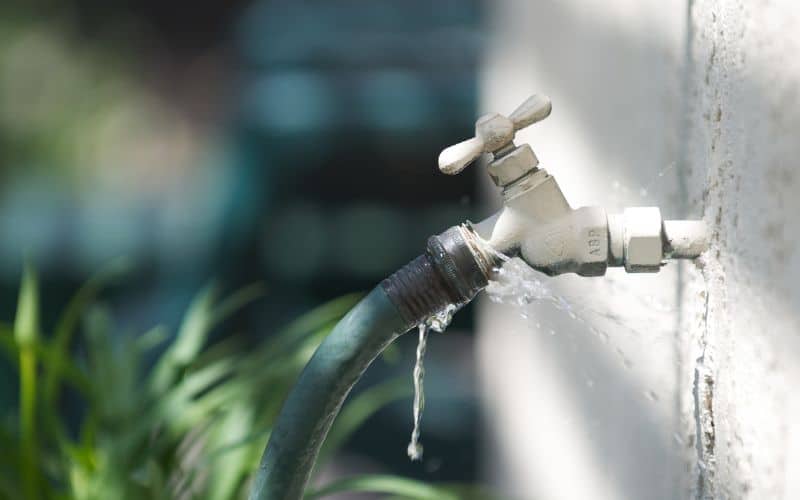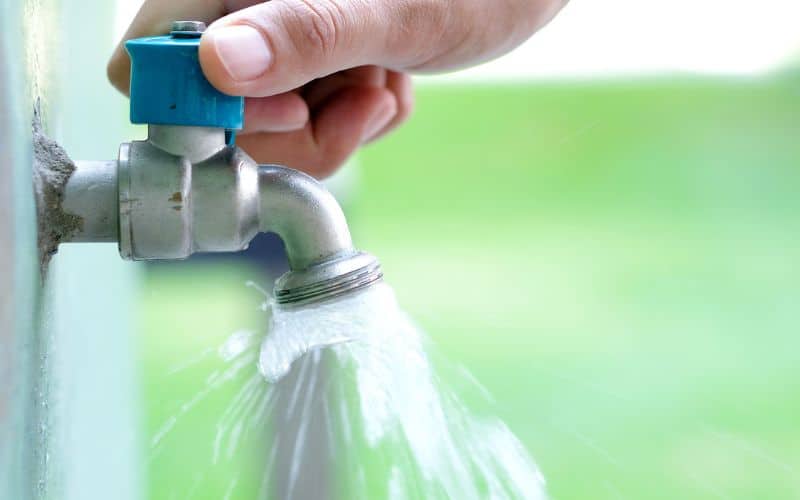
Before you can tackle a leaky outdoor faucet, it’s crucial to identify the root of the problem. A faucet might leak for a variety of reasons, from a faulty washer to a compromised stem packing. If your outdoor faucet leaks from the spout when the water is off, it’s likely a washer issue. On the other hand, if the faucet leaks around the handle while it’s turned on, the stem packing might be the culprit.
Not all faucet leaks are immediately visible. Sometimes, your faucet might appear perfectly fine from the outside, yet be leaking in unseen places. It’s important to keep an eye out for signs of these hidden leaks. A few simple steps to spot an outdoor faucet water leak include observing the faucet when it’s turned off, checking the water flow when the faucet is on, and inspecting your yard for any sunken or wet areas.
Common Causes of Outdoor Faucet Leaks
Understanding what causes your outdoor faucet leaks is the first step to addressing this issue efficiently. Your outdoor faucet leak could be due to a damaged washer or a loose or worn-out valve stem.
Damaged Washer
At the heart of your leaky outdoor faucet, you may just find a damaged or worn-out washer. According to studies, worn-out washers are one of the likely culprits of a leaking outdoor faucet. They play a critical role in controlling water flow, and their proximity to the valve seat exposes them to large amounts of friction. This friction wears them out over time, failing to halt water drainage from your faucet effectively.
Repairing a damaged washer is easy, you simply need is a wrench, pliers, a screwdriver and a spare washer. Start by turning off your water supply and using an adjustable wrench to loosen the packing nut behind the faucet handle. Once you have access to the washer assembly, replace the damaged washer with a new one of similar size and thickness.
Loose or Worn Out Valve Stem
Your faucet leak could also be due to a loose or worn-out valve stem. The valve stem holds the faucet washer in place, and a faulty one can cause water leakage.
To examine the valve stem, start by loosening the faucet handle, then pull the valve stem out. If you’re unsure about what you’re looking for, a valve stem typically resembles a long metal rod. Upon inspection, if the valve stem appears loose or worn out, then it needs replacing.
To replace it, push a new valve stem back into the hose bib and ensure it’s securely tightened. Tighten the packing nut on your spigot using an adjustable wrench until snug.
Remember, your outdoor faucets are frequently exposed to the elements, making them susceptible to harm. Continual upkeep will secure the health of your outdoor water faucets and save you on unnecessary water wastage and costly repair bills. Even seemingly small and insignificant leaks, if left unattended for long, can lead to extensive damage. Therefore, it remains prudent to promptly address any form of outdoor faucet leakage.
How to Diagnose an Outdoor Faucet Leak
Having examined the common causes of outdoor faucet leaks, it’s time to delve into the step-by-step diagnostics. Whether your faucet suffers from a spout leak or a base leak, understanding how to identify the issue can save you time and money, not to mention water!
Check for Visible Leaks
One of the simplest ways to diagnose an outdoor faucet leak is through visual observation. First, check if the faucet leaks when it’s turned off. Any dripping or seeping water is a clear indication of a problem.
Next, introduce water flow by turning the faucet on. Placing your hand over the opening, you can detect if water flow slows; if it does, there’s a leak in the system. Pay attention to both the handle and base of the faucet. If any water steadily appears near these areas after turning on the faucet, an O-ring or valve cartridge might be defective.
Checking for outdoor spout leaks is straightforward. Simply place an empty container directly underneath the faucet for a day and see if it collects water. If it does, a spout leak is present.
Now comes the exploration of your yard or property for any sunken or damp areas. These could point to a more subtle issue: an underground leak in your system.
Test Water Pressure
Water pressure can be a major factor in faucet leaks. If your water pressure is too high, it may be too much for the faucet to handle, thus causing leaks.
To verify whether water pressure is causing your leak, first turn off all water flow in your system, indoors and out. Next, locate your water meter and see if the indicator is moving. If it is, a leak within your system is evident. Note that the water meter is typically found near the property boundary.
To further test your outdoor faucet’s water pressure, cover it with your thumb or hand and turn the water on. If you can hold the water back, then there’s a leak dispersing the pressure. However, if the force of the water is too strong and difficult to hold back, your faucet is likely in good condition.
Should you detect high water pressure, don’t panic! Adjusting your home’s water pressure is simpler than it seems. Locate the water pressure regulator on your main water line, next to the water meter and shutoff valve. This bell-shaped device features a standard lock nut and an adjustment screw. To reduce pressure, loosen the lock nut and turn the adjustment screw anticlockwise.
Remember, if you’re dealing with high water pressure that doesn’t seem to adjust, or if leaks persist despite your best troubleshooting efforts, it’s recommended to call in a plumber. Spotting a leak early and getting it fixed will prevent escalated damage and save you money in the long run.

Repairing an Outdoor Faucet Leak
Outdoor faucet leaks can be both bothersome and wasteful. It not only drenches your garden but also leads to water wastage, and if left unattended, may result in immense damage to your house’s foundation. But fret not! Repairing outdoor faucet leaks can be both quick and cheap, with the right instructions to guide you.
Replace the Washer
Washer replacement is a straightforward process that can solve leaks stemming from a degraded or loosed washer. Here are the steps:
- Shut off the water supply.
- Remove the handle of the faucet to gain access to the washer assembly.
- Depending on your faucet model, you might find the washer assembly directly behind the faucet handle or at the bottom of a long metal rod – the faucet stem if you’re dealing with a frost-proof faucet.
- With the washer assembly exposed, use a screwdriver to remove it.
- Once removed, replace the old washer with a new one of the same dimensions.
- Reassemble the faucet in the correct sequence.
Remember, it’s important that you assemble the faucet accurately so as not to aggravate the problem.
Tightening the Valve Stem
Sometimes, the solution to a leaky faucet may be as simple as Tightening the Valve Stem. Here’s how:
- Check if your faucet leaks when the valve stem is repositioned.
- If it does, tighten the packing nut behind the handle by 1/8 to 1/4 of a turn.
- If the leak persists, you might need to replace the washer.
Replace the O-ring
Lastly, if changing the washer or tightening the valve stem doesn’t solve your problems, consider that the o-ring might be at fault. This round rubber washer can deteriorate over time, leading to leakages. Here’s how to replace one:
- Remove the handle of the faucet to reveal the stem.
- On the stem, locate and remove the screw that holds the o-ring.
- Discard the old o-ring and replace it with a new one.
- Replace the handle, ensuring everything is tightened properly.
Take some time out to conduct regular checks of your outdoor faucets. A minor repair today can save you from a costly problem further down the line. It’s worth noting that diagnosing and repairing outdoor faucet leaks usually doesn’t require specialised plumbing knowledge. However, if you’re struggling with a stubborn leak, it’s advisable to call a professional. There’s no shame in seeking expert help to protect your home and garden from unnecessary damage.

Preventing Outdoor Faucet Leaks
Outdoor faucet leaks can be a costly nuisance if not addressed promptly. However, there are practical measures you can take to reduce the likelihood of leaks. Sure, there’s no guaranteed way to completely prevent them but remember prevention is always better than cure. Let’s examine some of these preventive strategies.
Winterize Your Faucet
One of the first steps you can take towards leak prevention is winterizing your outdoor faucet. Why, you may ask? The answer is simple. Winter is often unkind to outdoor faucets, especially in places with heavy frost and freezing temperatures. If left unattended, the water within the taps can freeze, causing expansion and ultimately leading to leaks or even bursts.
To winterize your faucet, it’s advisable to disconnect the spigot in the fall. However, bear in mind that for frost-proof outdoor faucets, the internal washer will still deteriorate over time and eventually require replacement.
Use a Faucet Cover
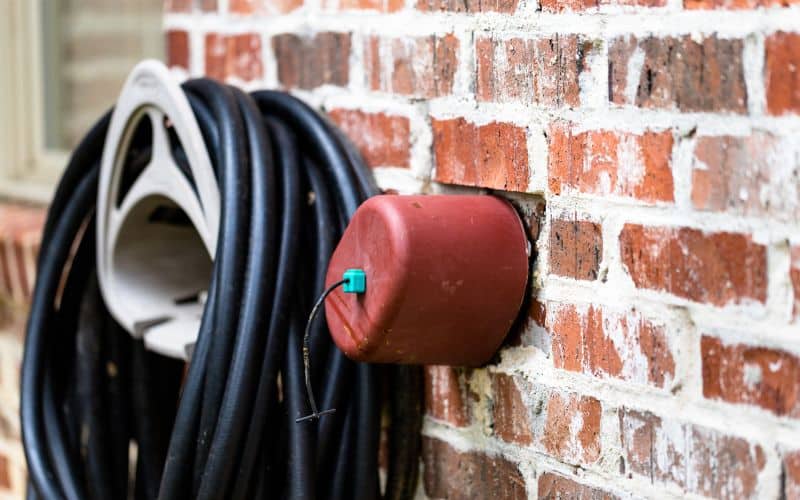
Another measure that you can use to reduce the likelihood of leaks is applying a faucet cover. This will offer an added layer of protection from the elements, including potential water damage. When the temperatures begin to drop, giving your faucet a good rest with a cover can go a long way.
For a more durable solution, you might consider investing in a frost-free spigot, designed to handle freezing temperatures. These frost-proof faucets are commonly found in modern homes and can be an effective way of resisting winter’s grip on your faucet system.
Regularly Inspect and Maintain Your Faucet
Regular inspection and maintenance are vitally important for maintaining the health of your outdoor faucet. You should visually inspect your system for any hint of an outdoor faucet leak when the faucet is turned off.
Simply turn on the faucet and place your hand over the opening. If you feel the water flow slowing down when it’s covered, chances are you’ve got a leak in the system that must be tracked down and fixed. Additionally, consider taking a walk around your yard or property and look for areas that seem sunk or wet, as these might be signs of an underground leak in your system.
Part of your faucet’s maintenance could also involve some cleaning. Upon inspection, if you notice parts like the aerator or the anti-siphon valve are in need of attention, remove these components and soak them in an acidic cleaner. Doing so can help restore your faucet system’s functionality.
Conclusion
Fixing a leaky outdoor faucet isn’t rocket science. You’ve got all the know-how right here. Remember, prevention is key. Winterise your faucet and use a cover to protect it from harsh weather conditions. Regular checks and maintenance can help you spot any leaks early on. Yet, if you’re still facing persistent leaks, don’t hesitate to call in the pros. It’s better to invest in a professional plumber than risk further damage. After all, a stitch in time saves nine. Don’t let a small leak turn into a big problem. Take action today and keep your outdoor faucet in tip-top shape.


