Understanding the Basics of Interlock Bricks
Let’s dive into the world of interlock bricks. You might wonder, “What makes these bricks so special?” Well, they’re not just any old brick – interlock bricks are a unique and versatile building material that lock together without requiring mortar. That’s right; no additional adhesive is needed!
Interlocking bricks are made from concrete or cement mixture. They’re designed with grooves and locks on their sides which allow them to fit snugly together like puzzle pieces. It’s this interlocking feature that gives these building blocks their name.
Their strength comes from two sources: the pressure used in production and how they’re laid out during construction.
- The high-pressure machinery used in creating these durable blocks compacts the mixture tightly resulting in a solid brick.
- When it comes to laying them down, a staggered approach is taken where each row slightly overlaps with the one below it for added stability.
Here’s some data on typical dimensions:
| Brick Type | Length (cm) | Width (cm) | Height (cm) |
|---|---|---|---|
| Small | 25 | 12 | 7 |
| Medium | 30 | 15 | “same as small” |
| Big “ | 35″ “ | 20″ “ | “same as medium |
Now you might be thinking, “That’s all well and good but why would I want to use interlocking bricks?” I’m glad you asked! There are quite a few benefits:
- Easy installation
- High durability
- Environmentally friendly
- Enhanced aesthetics
Easy installation because there’s no need for mortar joints between layers which speeds up construction time significantly while also reducing costs.
Next up we have high durability. These bad boys can withstand harsh weather conditions making them perfect for outdoor projects such as driveways or walkways.
Thirdly we’ve got environmental friendliness. Less cement means less CO2 emissions during production making your curb appeal greener than ever!
Lastly, let’s not forget about those enhanced aesthetics – an often overlooked benefit of using interlocking pavers! The wide range of shapes colors patterns available allows homeowners designers alike create truly unique designs will make your property stand out block!
Common Problems with Interlock Bricks
Now, let’s dive into some of the most common issues that you may face when dealing with interlock bricks. Understanding these problems can be a big step towards maintaining your walkway, patio or driveway in top shape.
First off, sinking is one of the main headaches for many homeowners. It’s often caused by improper installation or due to natural elements like rainwater eroding the sand base underneath. A telltale sign would be uneven surfaces and puddles forming after rainfall.
Next on our list is shifting, where bricks move out of place over time. This tends to happen if there wasn’t sufficient edge restraint installed initially or due to heavy traffic on the area.
Thirdly, we have weed growth between bricks which can turn your beautiful landscape into an unsightly mess in no time at all! These pesky plants find their way through tiny gaps and start thriving unless steps are taken to prevent them.
Lastly but certainly not least, we’ve got staining – whether from oil leaks from vehicles or natural causes like leaves and bird droppings – this problem can really detract from your curb appeal!
Here’s a quick summary:
| Problem | Cause |
|---|---|
| Sinking | Improper installation / Erosion |
| Shifting | Lack of edge restraint / Heavy traffic |
| Weed Growth | Tiny gaps between bricks |
| Staining | Natural stains & vehicle leakage |
Remember: Prevention is always better than cure! So ensure proper installation right off the bat and keep up regular maintenance checks for signs of trouble brewing underfoot.
Step-By-Step Guide to Fixing Your Interlock Bricks
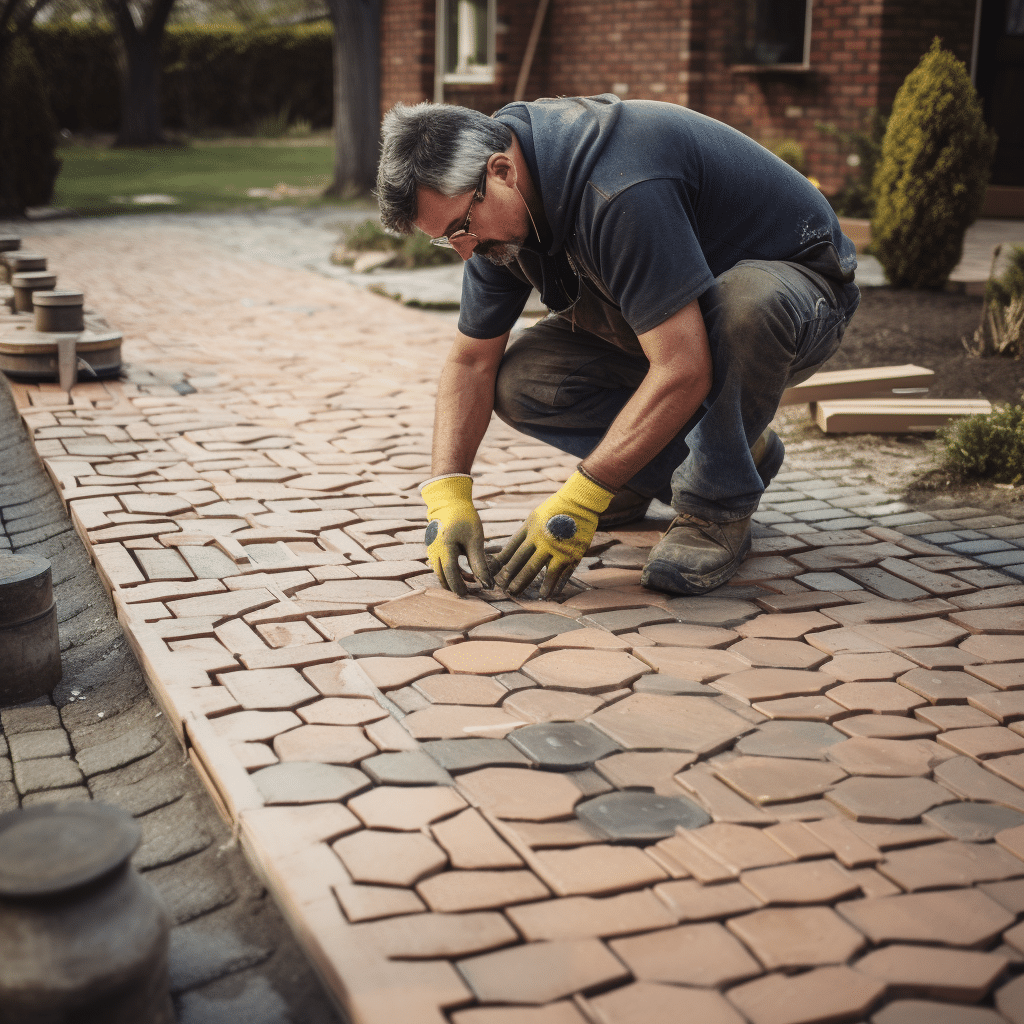
Fixing interlock bricks isn’t as daunting as it may seem. With a little know-how and the right tools, you can restore your walkway or patio to its former glory in no time. Here’s my step-by-step guide on how to fix interlock bricks.
1. Identify Damaged Bricks
First off, I need to identify which bricks are damaged or have shifted out of place. Sometimes, it’s easy — they’re cracked, chipped or noticeably uneven compared with the surrounding area.
2. Remove Damaged Bricks
With my safety gloves on and a flathead screwdriver in hand, I’ll gently pry up any problematic bricks from their setting bed of sand.
3. Prep the Base
Once those damaged blocks are out of the way, preparing the base is next on my list! It involves clearing away loose debris and leveling off any sand that might’ve become uneven over time.
| Step | Description |
|---|---|
| 4 | Install New Bricks: Now comes for some new brick installation! Laying them down one by one carefully into their spots ensures each fits snugly with its neighbors. |
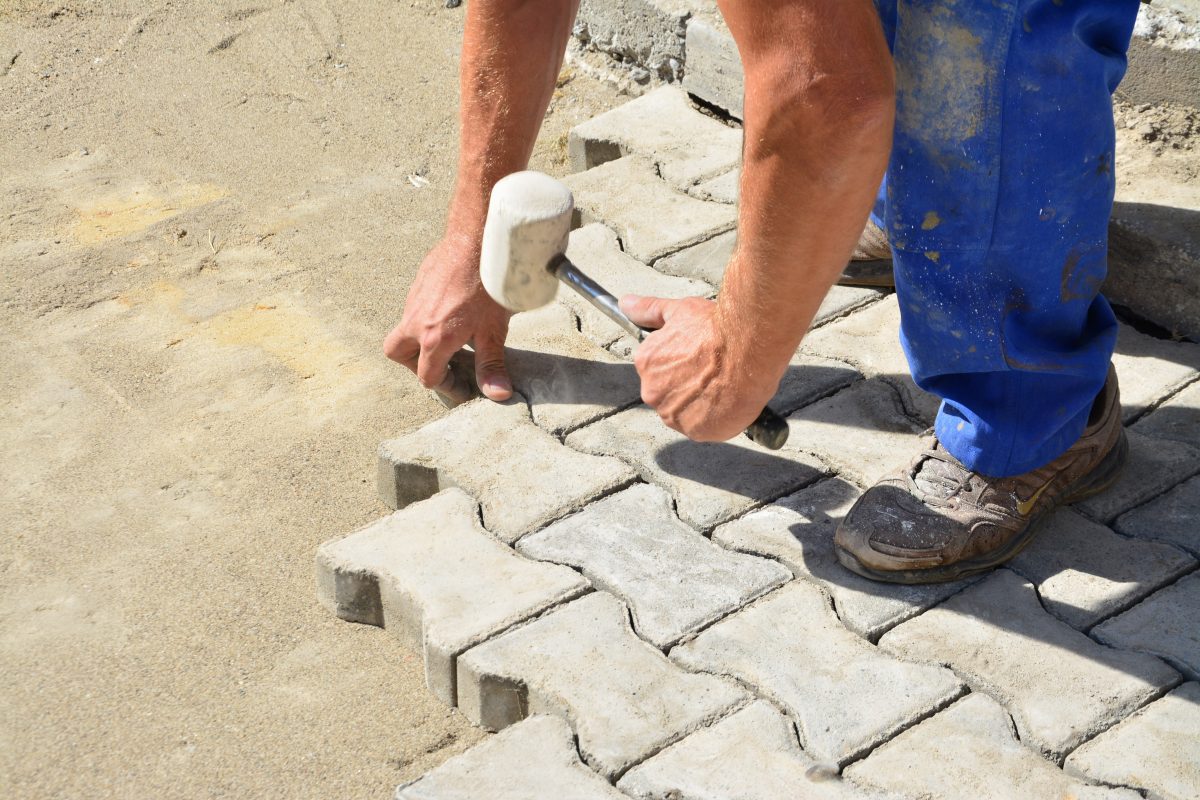
| 5 | Tamp Down: After all replacement blocks are installed, I’ll use a rubber mallet lightly tap them into place until they’re level with existing ones. |
| 6 | Fill Joints: The last crucial step involves sweeping fine-grained polymeric sand over top fill joints between each block before wetting down set it firm |
Note: Remember patience here – rushing this process could result in misaligned pavers.
There you have it – a simple yet effective method for fixing those pesky interlocking brick problems plaguing your property’s curb appeal!
Safety Measures During the Repair Process
Safety is a crucial aspect when you’re getting down and dirty with interlock brick repairs. It’s not just about doing it right; it’s about doing it safe too. Let me share some safety measures that should be on your checklist during this process.
First off, personal protective equipment (PPE) can’t be overlooked. Always ensure you’ve got these essentials:
- Hard hat
- Safety glasses
- Work gloves
- Steel-toed boots
Next up, remember to keep the work area clean and organized. A cluttered workspace isn’t only inefficient – it’s also dangerous! It can lead to accidents such as tripping or stepping on sharp objects.
When lifting heavy bricks, use your legs instead of your back. I know we’ve all heard this before but trust me – improper lifting techniques are a common cause of back injuries in construction work.
Also critical is knowing how to properly operate any tools or machinery involved in the repair process. You don’t want any mishaps due to lack of knowledge here!
If you’re working outdoors, remember sun protection – wear sunscreen and stay hydrated especially during hot summer days.
Lastly, always have an emergency plan ready for worst-case scenarios:
- Know where first aid kits are located.
- Have emergency contact numbers readily available.
- If professional medical help is needed immediately, do not hesitate to call them!
I hope these tips will help create a safer environment for everyone tackling their own interlock brick repairs!
Useful Tips for Maintaining Your Interlocked Pavement
Interlock bricks are a great investment, adding aesthetic appeal to any property. But just like anything of value, they require some upkeep. Here are my handy tips on how to maintain your interlocked pavement.
First off, regular cleaning is essential. You’d be surprised at how much dust and dirt can accumulate over time! Use a broom or blower to remove loose debris from the surface regularly.
Next up, it’s crucial to handle weed growth promptly before it gets out of hand. Weeds can sprout in between bricks if not properly managed – but don’t worry; I’ve got you covered! A solution of water and vinegar sprayed directly onto the weeds usually does the trick.
Let’s talk about sealing your interlocking pavers next. This isn’t something that needs doing every year – once every three years should suffice for most homeowners. Sealing helps protect against color fade and wear-and-tear damage.
Here’s another important tip: consider re-sanding your pavers’ joints now and then using polymeric sand (sand mixed with additives that harden when wet). It aids in keeping everything firmly locked together while deterring weed growth!
Lastly, always address any visible damages immediately by replacing broken or chipped blocks as soon as possible.
To sum things up:
- Regularly clean off dirt
- Control weed growth with home remedies
- Seal your pavers every few years
- Re-sand joints occasionally
- Promptly replace damaged blocks
And remember: taking care of these aspects will extend the life span of your beautiful interlock pavement significantly!
Conclusion: Final Thoughts on Fixing and Maintenance of Interlock Bricks
My journey through the world of interlock bricks has been quite enlightening. It’s clear that maintaining these unique structures is no small task, but it’s certainly not impossible. With the right knowledge and tools at your disposal, you can keep your interlock bricks in top shape for years to come.
When we talk about fixing interlock bricks, there are several key steps to remember:
- Always start by identifying what exactly needs repair.
- Then gather all necessary materials before you begin.
- Once ready, carefully remove any damaged or loose bricks.
- Finally replace them with new ones ensuring they fit perfectly within their allocated spaces.
Of course let’s not forget maintenance. Regular cleaning goes a long way in preserving the longevity and appearance of your interlocking brick pavement.
In terms of frequency:
| Task | Frequency |
|---|---|
| Sweeping | Weekly |
| Washing | Monthly |
| Sealing (if needed) | Annually |
The beauty lies not just in how well-kept they look but also in their durability when maintained properly. And yes! They do require effort but as I’ve learnt throughout this exploration – it’s well worth every bit!
Remember though that even with all this information at hand there might be times when professional help is required. Don’t hesitate then to call upon an expert who will ensure everything gets back into perfect shape again.
All things considered; taking care of our outdoor space pays off handsomely over time especially if those spaces include beautiful patterns created from sturdy yet elegant interlocking bricks!
So here we have it – my insights into repairing and maintaining these stunning features often found adorning walkways driveways patios and more! As always continue learning because after all isn’t life one big DIY project?
Troy Channer is a seasoned professional with over a decade of experience in the construction industry, specializing in residential projects and road infrastructure networks. His expertise spans a broad range of skills, including proficiency in Microsoft Excel, Word, and PowerPoint, which he adeptly uses to streamline operations and enhance productivity.
Troy’s commitment to excellent customer service is a cornerstone of his professional philosophy, always prioritizing client satisfaction and fostering strong relationships. His leadership skills are well-recognized, and he has a proven track record of managing teams to deliver high-quality results.
In addition to his construction experience, Troy is also the proud owner of a successful landscape company based in Oakville. This venture allows him to apply his extensive knowledge of civil engineering and project management to create beautiful and sustainable outdoor spaces for his clients.
Troy holds an Advanced Diploma in Civil Engineering Technology from Humber College, further solidifying his credentials as a highly skilled operations professional in the industry. His combined experience and education make him a versatile professional capable of tackling a wide range of projects.


