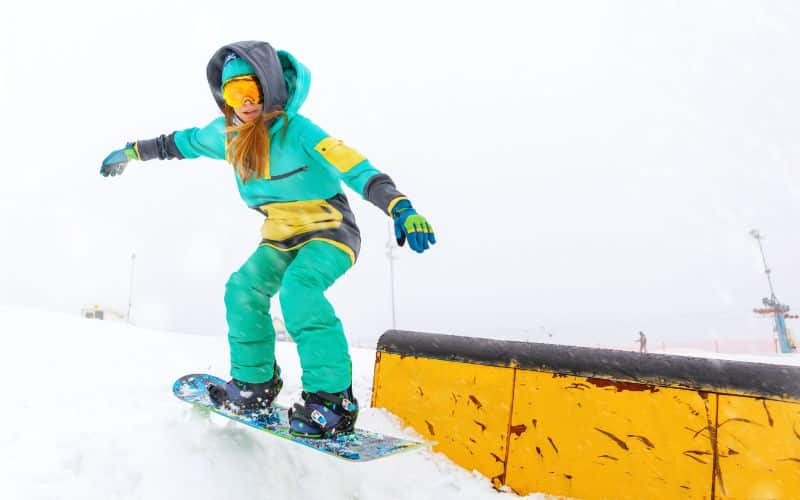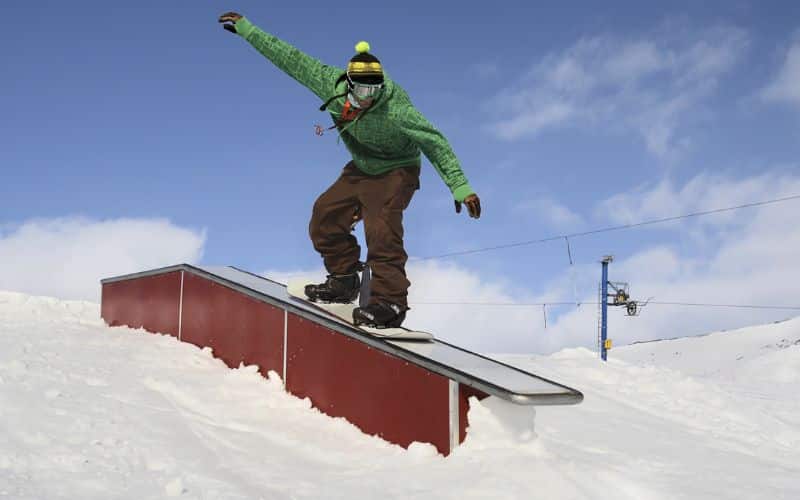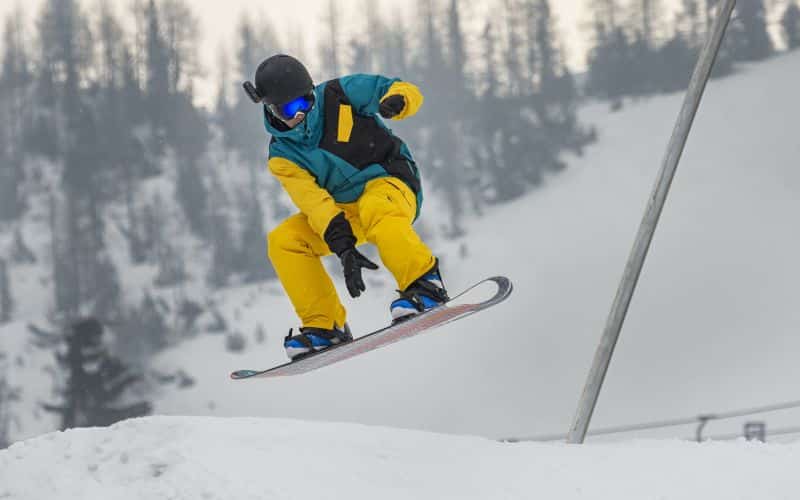
Ever thought about turning your backyard into a mini winter wonderland? With the pandemic, backyard rinks have seen a surge in popularity. But why stop at rinks? In this article, we’re stepping it up a notch and showing you how to build your very own snowboard park.
You might be thinking it’s a massive undertaking. But don’t worry, we’ve got your back. We’ll guide you through a simple, cost-effective process that even uses scrap wood. You’ll be shredding in your own backyard in no time!
Preparation
Squeezing every ounce of joy out of winter and the tradition of backyard snowboarding starts with the right preparation. Before you embark on your personal backyard snowboarding project, properly plan and prepare the space to ensure a safe and exciting experience.
Deciding on the Location
Finding the perfect spot for your snowboard ramp is the first step of your preparation. Make sure you choose a flat and spacious area in your backyard. Remember, safety first! It’s crucial to stay clear of any potential hazards like trees, rocks, or fences. Transforming your backyard into your favourite snowboarding park begins with a thoughtful location choice.
Measuring and Marking the Area
After settling on the perfect location, it’s time to measure and mark the area. Use ski poles, twigs, or any other suitable tools to set the boundary for your snowboard ramp. Measure carefully! Attention to detail here is essential for a smooth launch pad and a perfect landing spot that won’t give you any nasty surprises halfway down the slope.
Bear in mind, you’ll be working mostly atop your roof or skiing off a jump. Adjust your measurements to reflect the transition angle that’s perfect for you, ensuring every trick you master is Instagram-ready with no haggard jump marring your flawless stunts.
Gathering the Necessary Materials
The beauty of a backyard project lies in its authenticity and the personal touch you bring when assembling the necessary materials. Some basic items you’ll need to get started on your backyard rink include:
- Approximately 85 meters (280ft) of scrap wood
- Nails
- A saw (preferably a circular saw)
- A tape measure
- A marker
- Rope
- Scissors
Rummage around your garage or promote recycling by seeking discarded pieces of lumber from local housing developments. Any leftover or used material can be creatively repurposed into an exciting, functional, and cost-effective backyard snowboarding ramp.

Designing the Ramp
To ensure that your snowboard ramp design fulfils all your needs while staying safe, it’s crucial to consider a few essential factors. During the design process, you’ll want to determine the desired size and shape, plan out the structure and slope, and ensure all the necessary safety features are in place.
Determining the Desired Size and Shape
Determining the size and shape of your ramp is the starting point for its design. This largely depends on several factors including the amount of snow available, the size of the chosen area, and your skill level as a snowboarder.
Keep in mind that the shape of your ramp will dictate its functionality. If you’re looking for a good launch, consider a steeper angle while ensuring a smooth transition at the base.
Remember, the blocks of snow used for construction don’t have to be perfect cubes. Expect to make blocks more of a rectangular shape. They’ll conjoin just fine. Each block becomes a piece of your wintry mosaic, where your inner architect can truly shine.
Planning the Structure and Slope
After determining the desired size and shape, next it’s all about planning the structure and the slope.
Your ramp’s primary structure should include a solid foundation that can withstand the weight of a snowboarder. This can be achieved by dedicating specific time to shape the sides and the back, creating well-defined boundaries for the jump. Defining clear boundaries provides a dual advantage: enhancing the structural integrity and making the jump easier to see in low light.
Plan your foreground and launch area to suit your skill set and the tricks you plan to perform. Dig deep to find solid layers of snow for building blocks. The more compact the snow, the better, especially when building tall jumps.
Considering Safety Features
Lastly, but most importantly, safety can’t take the back seat when you’re planning your backyard snowboard ramp.
The right push and carve to do a trick require a smooth surface to land. There should also be an ample flat terrain after the ramp for smooth landings.
Your ramp may need fine-tunings, so make modifications continually to ensure the ramp is safer and better. Slow and steady adjustments enhance your ramp’s safety and usability.
Building the Frame
Having discussed the design process in the previous sections, it’s now time to take a closer look at the nuts and bolts of building your backyard snowboard ramp! In this article, we’ll delve deeper into Building the frame – the very backbone of your ramp. In construction terms, creating a sturdy base, followed by erecting the support beams and finally, fleshing out the sides and back of the ramp.
Creating a Sturdy Base
A firm base lays a solid foundation for your ramp, ensuring its stability and durability. To create a base worthy of your time and efforts, you’ll need lots of snow – more than you think! As the snow compresses when shaping the jump, it’s integral to have an ample amount. Frame up the outer walls with larger ice blocks and fill the centre with smaller ice pieces and loose snow. This way, your base can compensate for some snow that might be lost during the shaping process.
Constructing the Support Beams
The construction of support beams plays a vital role in the longevity of your ramp. These beams act as the backbone, bearing the majority of the weight and distributing it evenly across the structure. When placing these, ensure that the key areas, such as the transition of the ramp and the jump, receive ample support. Also remember, when you’re dropping-in, these beams help safeguard the integrity of your ramp, allowing for a safer and more enjoyable snowboarding experience.
In this step, your assortment of leftover wood from previous projects or even carefully-curated fenceposts could come in handy. Ensure these beams – approximately 2×4’s – are securely adjoined with the help of 3-inch screws and additional brace supports.
Adding the Sides and Back of the Ramp
The last, but certainly not the least, part of constructing the frame of your ramp involves adding the sides and the back. Remember, having straight-cut sides provides an elegant look to your ramp, besides offering some structural benefits.
To achieve this, you can tie a piece of rope from the top of your ramp down to the last step. Ensure this rope line is straight, and then – using a marker – trace a line along the rope. A regular or an electric saw could then be used to cut along this marked line-for-line.
Now take thin planks and fasten them on the side of your ramp. Not only will this step provide additional support to your structure, but it will also offer a tasteful finish to your stylish creation.
All these steps, when performed meticulously and with attention to detail, will ensure you have a reliable and lasting frame for your snowboard ramp. Remember, every function and every feature serves a purpose in the grand scheme of a robust design. Now, with the frame complete, you’re ready for the next phase of constructing the perfect backyard snowboard ramp.
Building the Riding Surface
Crafting the perfect ride on your snowboard ramp requires a smooth, durable, and flexible riding surface. A well-crafted surface will enable your snowboard to glide effortlessly, providing the speed necessary for executing tricks.
Choosing the Right Materials
Selecting the right materials for your riding surface is vital. If you’re constructing your ramp during the summer months, you’ll need to consider a range of synthetic materials designed to mimic the properties of snow. One potential contender is a synthetic snow surface called M-snow which allows you to snowboard year-round. This highly-durable impact-resistant plastic lasts for years and can withstand harsh cold temperatures. Additionally, M-snow is 100% recyclable, making it a sustainable choice.
For winter ramps, stacking and packing the right kind of snow is critical. An occasional sprinkle of calcium chloride (salt) as you build the ramp will cause the snow to melt slightly, bonding together and forming a more solid structure.
Installing the Riding Surface
Installation of your chosen surface material is important. For synthetic snow surfaces like M-snow, a kit will include tiles, mWax, Screws, and a Magnetic Driver. Handy tools you can use for a smooth installation.
If you’re dealing with snow, use a sturdy shovel to pile up the snow. Your snow pile should be substantial, as you’ve got a lot of ramp to cover.
Ensuring a Smooth and Even Surface
To ensure an even and smooth ride, pay careful attention to the smoothing process after installation. Use the back of your shovel along with your snowboard to smooth the surface of your ramp.
Hold a snowboard binding in each hand and push it up and down, or wear your snowboard and rock back and forth, almost like “buttering” your ramp.
Be mindful while smoothing the edges so that you don’t have any bumps on the runway or carving up the jump.
Although the perfect ramp requires close attention to detail and relentless effort, the payoff is definitely rewarding in the form of an unforgettable snowboarding experience. As you progress with your backyard project, think about any potential modifications that will make your ramp even safer and better.
Remember, being creative in your construction process and making use of available resources can pave the way to an amazing backyard snowboarding experience.
Adding Finishing Touches
Despite the groundwork that’s already been laid to set up your backyard snowboard ramp, there are still certain steps you need to undertake to ensure rider safety and smooth operation. These refinements define the ultimate success of your project.
Painting and Sealing the Ramp
An important, but often overlooked, aspect of ramp building is painting and sealing the plank. This critical step serves not only aesthetic purposes but also enhances the longevity of your ramp. When left untreated, the raw wooden of the surfaces can get infiltrated by moisture leading to a higher risk of rotting and structural deterioration.
Using a quality paint or wood sealer adds an extra level of protection to your ramp against weather damages. It’s important to note that the paint should be non-slip to prevent accidents.
Choose colours that are visually pleasing yet practical. Darker colours, although attractive, can absorb more sunlight which can lead to quicker degradation of the wood underneath.
Adding Railings or Barriers
Next step is the addition of railings or handles to enhance ramp functionality. Fasten some thin planks along the side of the ramp to improve the look and support the turf. Although this step isn’t necessary, it adds a little structure and safety to your ramp setup.
You’ll also need to create a simple ladder or stairs that’ll enable you to easily climb your ramp. Fasten horizontal planks securely to form the handles. It not only reinforces the structure but assists in maintaining balance, providing a more enjoyable and secure snowboarding experience.
Adding a Landing Area
Last but absolutely not least, is the creation of a landing area. It’s suggested to check the landing area for any obscured obstacles like stumps or rocks that could lead to havoc.
You can enhance the landing’s safety by staking the corners, setting boundaries using ski poles, twigs or anything similar. Remember that snow type matters. Sugary snow would leave you with an ugly lump while salty snow can prove to be much firmer, making landing speedier.
Plan for a somewhat flat landing spot, making sure there’s ample space to ride smoothly. You wouldn’t want to abruptly end your exhilarating ride with an unanticipated obstacle.

Safety Considerations
When building a backyard snowboard ramp, safety is paramount. Before you start drilling and shaping your ramp, consider the following tips. Remember common sense should be your constant guide. Operating atop a roof while skiing off a jump could pose serious risks.
Checking for Stability and Durability
The first rung of safety to consider is ensuring the stability and longevity of the ramp. Don’t be tempted by a hasty construction process. You need to ensure your ramp’s durability and gym paraphernalia. In the initial trial phase, manually testing the ramp uncovers potential weaknesses that might culminate into accidents. If the transition from the ramp to the flatter part of the slope is too steep, consider reducing it. And, to enhance the ramp’s hardness level sprinkle some calcium chloride as you build it. This also fastens the build process as it partly melts the snow, making it bind together solidly.
Making Sure the Ramp Is not Too Steep
The steepness of the ramp has a crucial effect on its functionality, a more steep ramp means a faster speed and a harder landing. The shape and design of your launch area influence how much air you’ll get. When cutting your plywood panels, ensure the grain direction aligns with your intended curvature. Don’t give your jump too much “Wu-Tang,” or what’s more commonly referred to as “too much kick”. Too much kick is the number one mistake made by novice jump builders. It’s crucial that the lip of the jump matches the length and ramp angle of the transition.
Instead of aiming for steeper jumps, consider incorporating variations such as rails and obstacles to challenge your skills on the snowboard. The turning on plastic may be challenging, but it adds a unique twist to ramp snowboarding.
Clearing the surrounding area of obstacles
Probably the most gruesome hazards come from miss landing. Ensure your landing area is free from small trees, rocks, and hidden obstacles. When scouting for a prospective ramp site, stake out the corners of the intended ramp. This will save you from shovelling the same snow thrice while also giving the initial blueprint of your backyard masterpiece.
Conclusion
You’ve journeyed through the steps of building your own backyard snowboard ramp, and it’s clear that safety is paramount. Ensuring the ramp’s stability and durability isn’t just about its longevity; it’s about your well-being too. Remember, a ramp that’s too steep can be dangerous. It’s crucial to balance thrill and safety.
Clearing the surrounding area of obstacles is another key safety measure. It’s not just about the ride down, it’s also about what happens if you take a tumble. By taking these precautions, you’re creating a safe environment for both training and fun.
So, it’s time to grab your snowboard and hit your new ramp. You’ve got the know-how; now it’s time to enjoy the fruits of your labour. Happy snowboarding!


