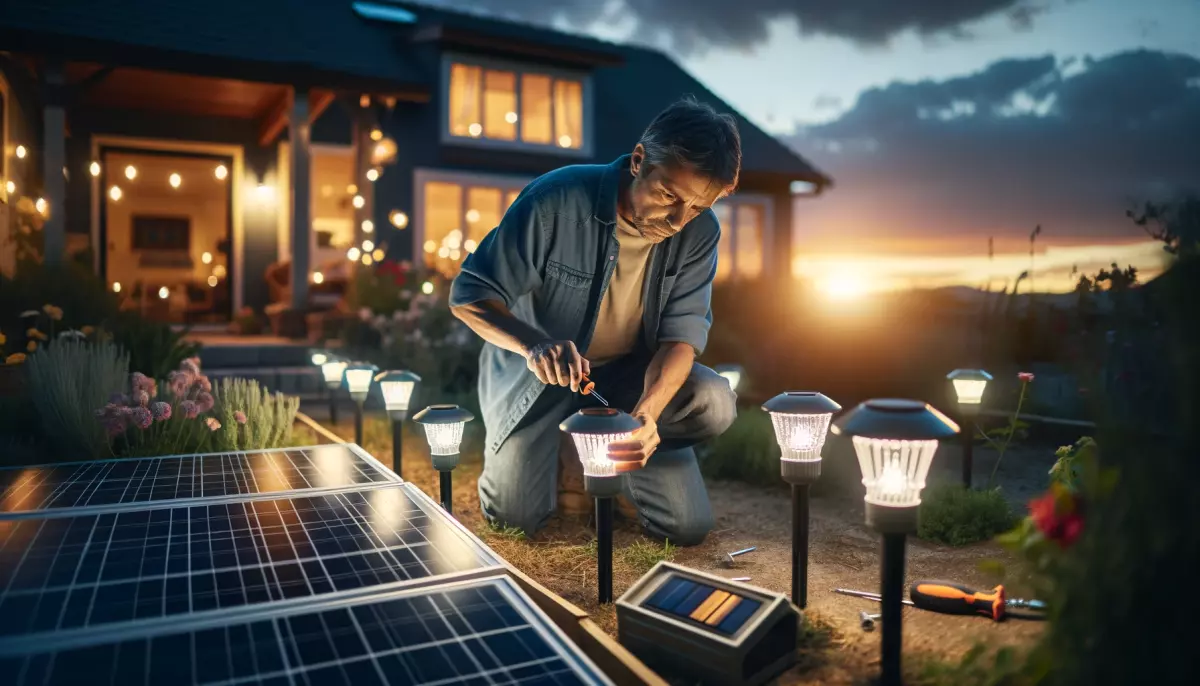
Your once-bright garden is looking a bit dim, and those solar lights you adore aren’t twinkling like they used to. Before you consider replacing them, you’ll be glad to know that fixing common issues with solar garden lights is often easier than you think. From dead batteries to cloudy solar panels, the solutions are usually just a few simple steps away.
You’re not alone if you’ve noticed your solar lights faltering. Many garden enthusiasts face similar challenges, especially after the winter months when residue build-up can take its toll. This article will guide you through troubleshooting and reviving your solar lights, ensuring they’re ready to illuminate your summer evenings with ease. Keep reading to learn how a little maintenance can go a long way in bringing your garden back to life.
Common Problems with Solar Garden Lights
Dim or Flickering Lights
Experiencing dim or flickering lights in your solar garden is often a tale-tell sign of battery-related issues. Batteries might not hold enough charge due to natural degradation. Typically, solar light batteries last for 1 to 2 years before they need replacing. Inadequate daylight hours can also result in your solar lights not charging sufficiently, especially during winter months or prolonged cloudy weather. Clean your panels regularly to avoid dust and dirt build-up which can drastically reduce charging efficiency.
Lights Not Turning On
When your solar lights refuse to spring to life, there’s usually a straightforward fix. First, check for the infamous pull tab that can be easily overlooked. If you’ve recently bought your lights and they’re not turning on, this is likely the culprit. Dead batteries are also a common cause and need checking. With rechargeable batteries typically enduring around 1,000 charges, they will eventually lose their ability to hold a charge. It’s also wise to inspect for water damage or corroded wires, as these can abruptly interrupt your solar light’s functioning.
Lights Turning On During the Day
It may seem counterintuitive for solar lights to be active in the daytime, but this usually points to an issue with the light sensors. These sensors detect darkness and trigger the lights to turn on. However, when a sensor is shaded or faulty, this can cause the lights to activate when they shouldn’t. Ensure that the sensor isn’t obstructed in any way and is clean from debris. If the issues persist, the sensor might need replacing, and this can be done with basic tools and minimal technical know-how.
Remember, your solar garden lights are designed to withstand outdoor elements, so small hiccups shouldn’t discourage you. With these tips and some regular maintenance, you’ll keep your garden shining bright.
Troubleshooting and Solutions
When your solar garden lights cease to function, it’s time to put on your detective hat and troubleshoot the issue. Below, find straightforward solutions to common hiccups, ensuring your garden stays illuminated without hassle.
Check the Battery
Test Battery Charge and Replace if Necessary
The first port of call in your solar light repair journey is to inspect the battery. Given their rechargeable nature, most solar light batteries are either AA or AAA NiMH cells that may lose efficiency after 1,000 charge cycles. Perform these steps:
- Locate the battery compartment; often, you’ll find a clip holding the battery.
- Swap the existing battery with a known good one, temporarily blocking the solar panel to see if the light comes on.
- If the light functions, you’ve pinpointed the issue: the problem lies with either the battery or the solar panel’s charging capability.
- Utilize a battery tester or multimeter to ensure the battery indeed holds a charge.
| Solar Light Battery Lifespan | Number of Charge Cycles |
|---|---|
| Approximate | 1,000 |
Clean the Solar Panel
Maximize Charging Efficiency with Regular Cleaning
A clean solar panel is essential for optimal energy absorption. Dust, dirt, and debris can drastically reduce the panel’s effectiveness. Here’s what to do:
- Use soapy water and a soft cloth to wipe down the panel gently.
- Clear any obstructions that might be shading the panel throughout the day.
- Dry the panel thoroughly to prevent streaks that could diffuse sunlight.
Verify the Connections
Ensure Wiring Integrity for Reliable Performance
Solar lights involve wiring that could become loose or disconnected. Inconsistencies in the manufacturing process mean that wiring colours might not always conform to standard expectations.
- Carefully inspect wiring and connections for any signs of damage or loose contacts.
- Double-check wiring polarity; don’t assume the conventional colour coding applies as red might not always be positive.
- Test connections with a multimeter to ensure that electricity is flowing correctly through the circuit.
By addressing each of these key areas, you’re taking proactive steps to maintaining the functionality of your solar lights. Don’t forget that consistent care and regular checks are the bedrock of long-lasting solar garden light performance.

Replacing Faulty Components
Replacing the Battery
When your solar garden lights begin to lose their sparkle, the culprit is often an aged or expired battery. Solar light batteries typically have a life expectancy of around 1 to 2 years, depending on usage and quality. Replacing a dead battery is straightforward: simply open the compartment, remove the old battery, and insert a new rechargeable battery of the same type and specification. Remember, using the correct battery type is crucial as it ensures optimal functionality and preserves the longevity of your solar lights.
Replacing the LED Bulbs
If your solar lights have dimmed, replacing LED bulbs may be necessary. Unlike traditional bulbs, LEDs can last up to 25,000 to 50,000 hours of use, but they can occasionally fail or dim prematurely. When replacing an LED bulb, ensure compatibility with your solar light model. For those who enjoy a touch of personalization, opting for colored LEDs could enhance your garden’s appeal. However, pay attention to voltage requirements as incorrect voltage can shorten the life of your new LED bulb.
Replacing the Solar Panel
Lastly, if you find your solar lights are not charging efficiently, the solar panel may be at fault. Dirt and debris can reduce the panel’s ability to harness sunlight—so a good clean might be all it needs. If that doesn’t help, replacing the panel is an option. Look for a panel with the same voltage and power capacity as the original to guarantee seamless integration with the circuitry of your solar light system. In cases where damage is extensive, replacing the entire solar unit could prove more cost-effective, providing a fresh start and improved performance.
Maintenance Tips
Maintaining your solar garden lights is key to ensuring they provide the ambient glow for your outdoor space year-round. By consistently caring for your lights, you help extend their lifespan and maintain optimal functionality.
Regularly Clean the Lights
Dirt and Debris can easily accumulate on your solar lights. It’s essential to clean the panels and light fixtures to prevent this build-up from hindering their performance. Here’s how you can keep them shining brightly:
- Use a soft cloth or sponge and soapy water to gently wipe the solar panel.
- For stubborn dirt, a vinegar solution and a toothbrush can be effective.
- Dry them thoroughly with a clean cloth or paper towel to avoid water spots that could diffuse the light.
By regularly cleaning the lights every two months, or more often in dusty regions, you ensure maximum exposure to sunlight and prevent diminished charging capacity.
Protect the Lights From Extreme Weather
Even though solar lights are designed to withstand the elements, they are not indestructible. To protect your investment:
- Secure them firmly to prevent damage from strong winds.
- Consider relocating or shielding your lights during extreme weather events like hailstorms.
- Apply clear silicone sealant around the solar panel and the electronics box to prevent water leakage.
Remember, while these lights are durable, harsh chemicals can corrode materials, and rough handling might lead to breakages.
Ensure Proper Sunlight Exposure
For solar lights to function optimally, they need to bathe in sunlight. If they’re in the shade, they won’t illuminate your garden as intended. Follow these pointers to maximise exposure:
- Place your solar lights in areas that receive direct sunlight for the majority of the day.
- Periodically check for overgrown foliage that may cast shadows and reposition your lights if necessary.
- Adjust the angle of the solar panel seasonally to align with the sun’s changing position.
By ensuring that your solar garden lights receive ample sunlight, you’ll enjoy a vibrant garden space every evening, and the batteries will get a full charge, ready to light up the night.
Conclusion
With these maintenance tips at your fingertips, you’re now well-equipped to tackle any issues with your solar garden lights. Remember, keeping them clean and well-positioned for sunlight exposure is key to their longevity and performance. Don’t let the weather get the best of them—secure them firmly and shield with silicone sealant if necessary. By taking these simple steps, you’ll ensure that your outdoor space remains beautifully illuminated night after night. Happy gardening!
Colin Macmillan is a seasoned entrepreneur and the CEO of Riverwood Landscape, a leading landscaping company based in Canada. He has been at the helm of the company since leaving high school, demonstrating his strong leadership skills and business acumen.
Colin’s expertise lies in various aspects of landscaping, including lawn care, interlocking, sod installation, and commercial maintenance. His hands-on approach and dedication to the craft have been instrumental in building Riverwood Landscape into a reputable brand.
One of his most notable achievements is the creation of a successful landscape franchise that services multiple locations. This accomplishment underscores his strategic thinking and ability to scale operations effectively.
Colin has also had the privilege of working with Guelph Hospital for landscaping and maintenance, a testament to the trust and reliability that his company has earned over the years.
His professional mission is to offer the best services and experiences for customers, a goal that he tirelessly pursues. Colin’s commitment to excellence and customer satisfaction continues to drive the growth and success of Riverwood Landscape.


