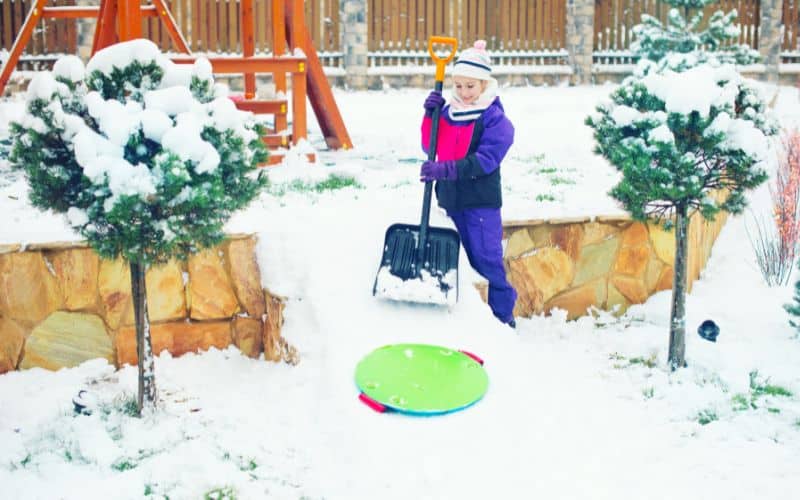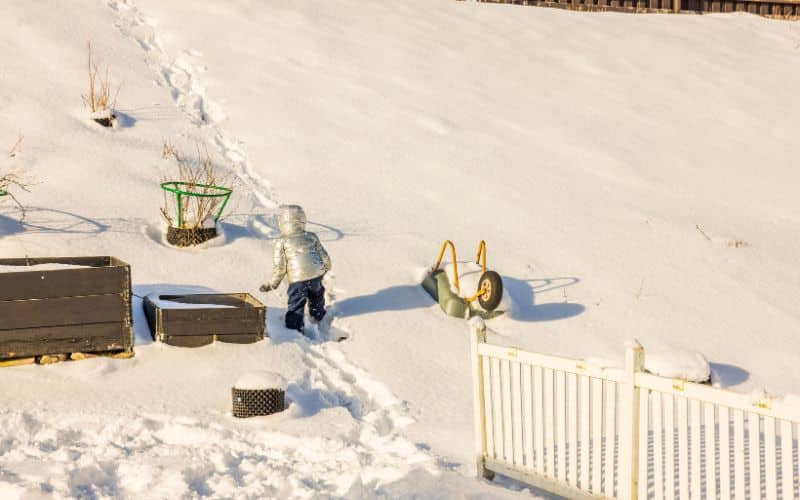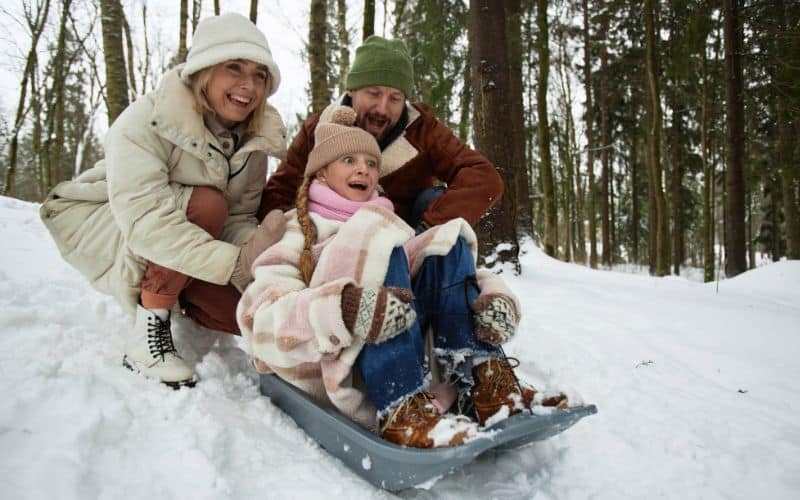
Looking for a way to make the most of the winter season right at home? Transform your backyard into a sledding paradise! With a little bit of creativity, you can turn your backyard porch stairs into a DIY sled hill. It’s not only a fun project but also a great way to provide a safe environment for your kids to enjoy some winter sports.
Firstly, let’s talk about the essentials. You’ll need a decent amount of snow, a deck, and of course, a sled. Once you’ve got that sorted, it’s time to get your hands dirty. You’ll need to clear away the snow, call in a professional to pour a small mound of dirt and gravel mixture, and even it out to create a nice wide hill.
Don’t have a long, straight yard? No problem. Building a backyard luge run is a fantastic alternative. It may require a bit more work and deeper snow, but it offers you more control over the path sledders will travel. So, ready to make your backyard the winter hotspot? Let’s get started.
Planning
Assessing the Space
Your first step in making the most out of your winter backyard is Assessing the space. Ideally, you’re looking at a favourable terrain, namely, an 80 x 60–foot space. You’ll also need snow. Lots of it. An 18-inch carpet of snow on the ground ensures optimal sledding conditions – too little and the ride will be rough, too much and you’ll sink. Of course, the shape of your backyard is also important – is it a gentle slope, or are there sudden dips and rises?
You’ll also want to consider natural features in your backyard, such as trees or rocks. You might need to reroute your hill or place barriers to ensure safety. Garden features, such as ponds, flower beds and furniture, can also impact your planning. So, evaluating your space thoroughly is a crucial starting point.
Gathering Materials
Next up, Gathering materials. You’ll need:
- A sled (for sure!)
- Dirt and gravel (to make a ‘base’ for your hill)
- … and a generous helping of enthusiasm!
Don’t limit yourself here. Be innovative! Re-purpose items laying around your house like tent pegs or cardboard to make sturdy ice structures or experiment with a ping-pong table to fortify your luge runs. There are times when using lined rubber gloves can make life a lot easier when working with ice. It’s about making your backyard winter wonderland both fun and approachable.
Bear in mind, gathering snow is no simple task. You can collect from an area that’s abundant in snow, pile it up and transport it in a wagon. Or use other inventive ways. For example, load up a large plastic sheet with snow and drag it to the desired location. Now, doesn’t that sound like fun as well as work?
Safety Considerations
Finally, let’s talk about Safety considerations. ‘Safe fun’ is the best kind of fun.
Factor in the physical aspects of your luge run: variations in speed, rider’s mass and curve angles. Overcompensating for these during the planning phase can save trips and falls later. The walls of your curves must be secure enough, thick enough, and high enough to resist the force of a sledder.
Curve design can be tricky. A technique is to start with a fairly straight groove, subtly add curves and then magnify them. Experimenting with curves can be as simple as having your kids do trial runs. This provides an idea of the natural descent trajectory and carves a preliminary groove.
Remember that areas near your hill may become busy traffic zones, especially with kids. Essentially, keep vigilant or have someone else play sentinel, shouting “Car!” if there’s a vehicle approaching.

Preparing the Site
Transforming your backyard into a winter wonderland involves more than just piling up the snow. To create a thrill and safe sledding hill, you need to undergo appropriate site preparation. This includes clearing the area, levelling the ground, and setting boundary markers, which are crucial for safety reasons and aesthetic purposes.
Clearing the Area
When attempting to create an at-home winter haven, the first step is Clearing the area. Start by moving any outdoor furniture, garden tools or unnecessary materials cluttering your intended space. Next, grab some shovels and fully clear away snow. You could pile it up in a specific area, easy for transportation later on. Remember, snow isn’t a waste; you will need it later to form your sledding hill.
Leveling the Ground
Once your area is spick-and-span, it’s time to level the ground. By levelling, you’re ensuring a flat and stable base for your snow hill, thereby preventing uneven sled runs. If your ground slopes, use gravel to level such inclines. Just ensure that any materials used do not pose a safety hazard once covered with snow. Keeping children safe is the top priority here. Often, you can do this by simply pouring a mound of a dirt and gravel mixture at specific spots. If you cannot do this, consider calling in a professional. They can assess the area and offer optimal solutions to level the ground.
Creating Boundary Markers
Finally, observe your backyard keenly. You’ll need boundary markers to guide sledders and prevent accidents. This could be as simple as PVC pipes looped together in a circle, or several large pieces of lumber, even railroad ties if you have them on hand. The aim here is to create a clear and safe pathway for the sled. Having your markers in place also gives a clear visual of the intended luge path, which helps if you need to change the course or add some thrills.
This marking out phase is where your sledding hill starts to come to life, where the transformative work begins. It’s like the outline to an artist’s painting or the skeleton to a sturdy building. An essential component, oft forgotten but deeply important to the overall process.
Building the Base
Transforming your backyard into a sledding paradise requires more than just a pile of snow. You’ll need patience, commitment, and a little ingenuity, but the result will be worth it. Let’s discuss building a robust and safe base for your snow hill.
Adding Layers of Snow
One key technique to building a durable snow hill is layering. Rather than dumping snow in one big mound, try arranging bricks, stacks of clean, fresh snow or even giant snow “boulders” on the ground as a foundation. Then, dump more snow over these to fill in all the gaps. This could liken to using snow as mortar between bricks. With a sound thud, the snow will solidify, and presto, you’ve got the first layer. Repeat this process until you reach your desired height.
If you’re struggling with snow supply, windrows built up on the sides of your street could be a viable source. Nevertheless, consider these for the bottom layers, as they may contain dirt and salt.
Packing and Shaping the Snow
Building your hill entails much more than just piling snow. Consider what your hill will look like, the direction it’ll point, and how long you want it to be. As you take these aspects into account, begin stomping down the snow for your “foundation”. Once the snow doesn’t crunch down anymore when you step on it, it’s compacted enough.
To commence forming the structure, compact the snow with your hands or a flat-nosed shovel, creating a vertical slope. For added fun, you can use a sled to pack down the light fluffy snow, adding a couple of shovelfuls of snow after each run. Add some water, wait for it to freeze, and your hill will be nice and solid.
Building Up the Sides
Safety is paramount, and building up the sides is no exception. As you establish your hill’s shape, make sure to build up and firmly pack the edges. These act as guard rails, preventing sledders from tumbling off and into other backyard objects. Don’t forget to construct a flat area on the hill’s apex, so sled riders can easily get on their sleds or skis without sliding off.
Building staircases to the top could be highly beneficial. This makes it easier for riders to ascend for their next run whilst also compacting the snow to make it smooth and slippery.
Finishing Touches
Taking the time to add some final touches will help your backyard snow hill truly stand out. From creating a well-defined sledding path for thrill-seekers, adding playful ramps and jumps, to Decorating the hill with festive lights, here’s how to enhance your snow hill’s aesthetics and functionality.
Creating a Sledding Path
Your backyard snow hill’s sledding path forms the heart of the structure. It’s important to carve out a groove, mark the natural trajectory of the descent, tire the kids out, and turn your backyard into the talk of the town.
Start by dragging your foot down the pile to make a preliminary path for your sled. Build up snow on either side of the centre line to start giving your slide shape. Smoother is better in this scenario. Stomp, shuffle, and use a sled to smooth out as many bumps or sharp curls as you can. You’ll become fully aware that stomping makes the snow smooth and slippery.
Adding Ramps and Jumps
If you’re looking for a rip-roaring joyride on the snow, why not add some ramps or jumps? Work your way up from small, manageable mounds and you’ll be flying high in no time.
For building ramps, you must create a wedge-shaped mound of hard-packed snow. For a jump, aim for around 3 1/2 feet high and adapt the angle according to how far or high you’d like to go. Remember, a lower jump angle will give you more distance, while a higher angle will increase your height. A good combination of both height and length typically comes from a jump with a 45-degree angle.
Decorating the Hill
Once you’re happy with your ramps, it’s time to decorate. You can create a truly magical winterscape with a few simple decorative touches. Whether that’s aglow with tea lights in the frozen lanterns, creating structures with panes of translucent ice embedded in the ceiling, or going one step further with a chandelier dripping in icicles hanging from the ceiling. These elements won’t only make your snow hill more attractive, but they can also increase visibility in the fading light of evening for added safety.
On the other hand, if you’re feeling especially ambitious, why not sculpt a snow fort or an ice palace? If there’s one thing sure to make your backyard snow hill unforgettable, it’s an artfully constructed fort or palace made entirely of snow and ice.

Safety Considerations
While turning your backyard into a winter activity hub, safety should also be at the forefront of your preparations. Even the most secure snow hill may harbour risks. Therefore, carefully consider your supervision strategies, cold weather precautions, and hill stability checks.
Supervision and Rules
Enjoying snowy fun comes with the responsibility of ensuring the safety of all participants, especially children. One strategy from the old days includes having vigilant adults or older kids at each end of the sledding run. Shouts of “CAR!” indicated the need for everyone to promptly vacate the sled run. Though you’ve moved the fun from the roadside to your backyard, always keep an eye on the surroundings.
Set some basic ground rules, like taking turns, no throwing snowballs and clear instructions for signalling danger. Feel free to get creative – use coloured flags or lights as visual cues for when to stop and go. Remember – the key to safe fun is effective communication.
Cold Weather Precautions
Cold weather can be both delightful for play and potentially dangerous. The old saying by Alfred Wainwright, “There’s no such thing as bad weather, only unsuitable clothing.”, is quite fitting in this context. Ensure everyone is dressed aptly, with attention to layering, breathability, water-resistance and insulation. Equip children with well-insulated gloves, hats, and boots.
Encourage everyone to take regular, warm breaks indoors. Particularly on colder days, exposure can quickly lead to frostbite. Keep an eye out for signs of the cold bite such as loss of feeling and white or pale appearance in fingers, toes, ear lobes, and the tip of the nose.
Checking the Stability of the Hill
A snow hill’s stability depends greatly on its construction. Start with a solid base layer of snow, let it freeze, and then heap snow around it, compacting as you continue to build.
Certain factors like speed, the mass of the sledder, and the angles of the curves may require some creative reinforcement strategies. For sharper curves or if the hill is near trees, consider additional support structures, like a ping pong table or a bench. Reinforce the walls of these areas and pack snow under and around them.
Sharp curves might present a safety challenge, especially with sledders of larger mass or high speed. Reinforce curve walls securely to resist the force of a fast-moving sledder. Remember to place padding on potential threats, using foam or hay bales.
Icing on stairs as a makeshift hill might also be an option but make sure the stairs aren’t the sole route into your house and not in use during the sledding period. Proper protection for the sleds and the stairs is crucial to limit damage.
Conclusion
Transforming your backyard into a winter wonderland is a fantastic project that’s both fun and rewarding. Remember, the key to a successful snow hill lies in careful planning and preparation. Start by clearing and levelling your site, then create a sturdy base with layered snow. Don’t forget to set up boundary markers for safety.
Take your snow hill to the next level with a well-defined sledding path, playful ramps and jumps, and festive lights. But amidst all the fun, don’t overlook safety. Supervision, cold weather precautions and regular checks for stability are all crucial.
With the right approach, you’ll have a backyard snow hill that’s not just a blast for sledders, but a spectacle that lights up your entire neighbourhood. So go ahead, get started on your snow hill and make the most of the winter season right in your own backyard.


